DIYer Grabs Dollar Tree Picture Frames To Create Adorable Storage
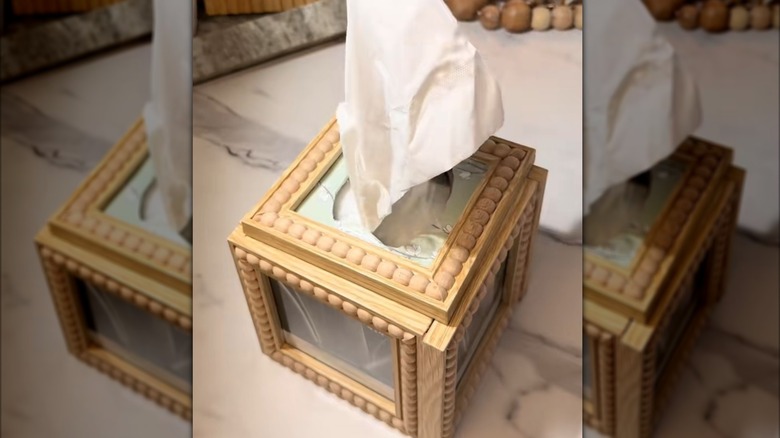
Any time you can turn a boring, household item into a charming piece of decor, sign us up. And if it's a project where the supplies only cost a few dollars? Even better. Offering budget-friendly decor inspiration, one DIYer showed how easy it is to craft the sweetest tissue box cover out of Dollar Tree photo frames. Tissues are essential to keep around, whether you're sick or just watching a tearjerker, but the box can sometimes be an eyesore. By creating a cover from photo frames, you'll have an adorable custom way to store tissues without unsightly cardboard boxes affecting the space's appearance.
The content creator from juju.cares started out by heading to Dollar Tree. She picked up five of their Special Moments 4x4 Wooden Beaded Photo Frames ($1.25 a piece) for the DIY. They are just over 5 inches wide by 5 inches high and have lovely bead-embellished borders. Besides the frames, you'll also need a hot glue gun (or another strong glue), a crafting knife, cardboard, and a small piece of patterned contact paper. If you already have these items, the total DIY could cost less than $10. As for the tissue box, it should be a square cube rather than a longer rectangular shape.
You'll also need four 4-by-4 photos to display on the sides of the tissue storage piece (one frame won't need a photo). Changing the photos after the project might be a little tricky, so choose some of your favorites. You could also pick scenic photos to match the room's vibe. A handful of simple, coastal shots could be lovely if you like a beach chic style, for instance. You could also choose photographs a relative would love if you're giving it as a gift.
How to make a tissue storage piece that also serves as decor
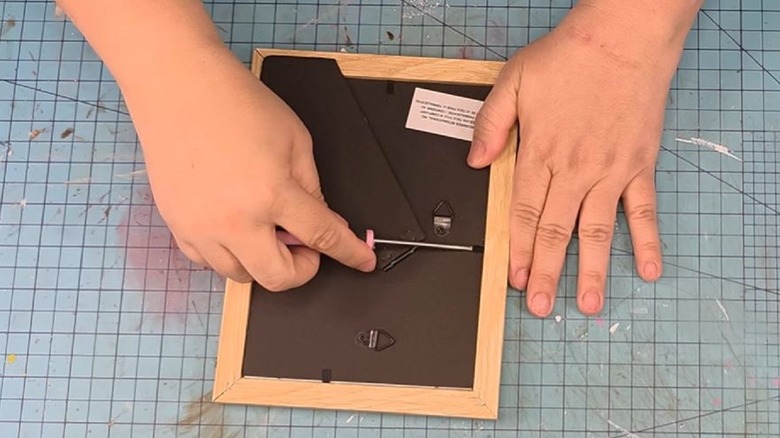
Start by removing the paper inserts from four picture frames. From here, you have the option to apply paint or gel stain or even use vintage doilies to turn the plain frames into statement pieces and enhance the tissue box cover's final look. Then, cut photographs to fit the frames, and shut them in as normal. It's now time to combine the four frames into a square to create a cover. Lay one of the frames upside down, and squeeze glue on the back along one side. Attach the second frame to the glue (by its side edge), applying a bit of pressure. Repeat this with the additional frames to make a cube.
@juju.cares A Dollar Tree diy idea that is so cute for any home decoration 😍 #diy #dollartreehacks #dollartreediy #dollartreefinds #dollartree
While your tissue box cover dries, consider an optional next step. At this point, you could just plop the tissue box inside the cube and call it good. Or, you can further enhance the decoration by adding a fifth frame over the top of the cube where the tissues dispense, concealing the tissue box completely.
Take the inserts and glass out of a fifth frame, and snip off the tabs. Use the frame's backing to cut out a cardboard square the same size. Next, peel the perforated top seal off the new tissue box. Trace the piece onto the center of the cardboard square, and cut out the shape from the cardboard using the utility knife. Cover the cardboard with contact paper or fabric before cutting out the middle (it's where the tissues will be dispensed from). Glue the decorated cardboard piece inside of the final frame before attaching the frame to the top of the cube. Set it over the tissue box, and watch it instantly upgrade your decor!