Ditch Wood Filler: Use An Unusual Alternative That's Expert Approved
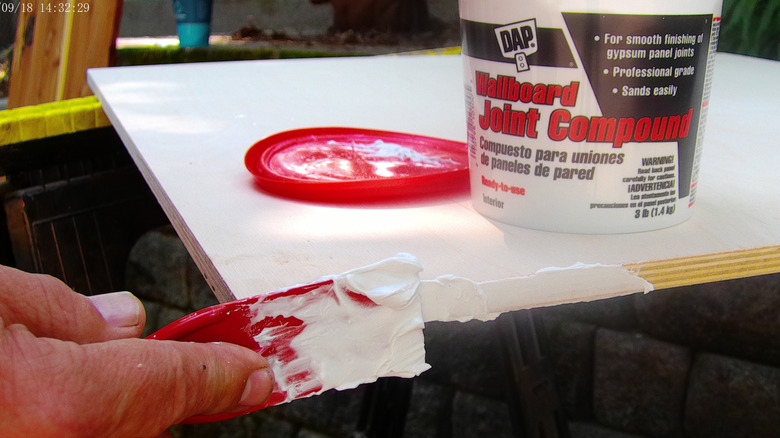
As a professional woodworker, I generally tell people to let wood be wood and stop painting it (considering it at the very least a venial sin), but sometimes it must be done. When that occurs, there are always challenges regarding how to achieve a smooth finish. Filling cracks, the edges of plywood, and veneer voids effectively can be a frustrating task. One hack I choose is using joint compound rather than traditional wood filler to achieve a level, smooth surface, ready for painting. Unusual, certainly, but practical — without a doubt. Joint compound is normally used with drywall, also known as sheetrock, and is made of calcium carbonate and talcum. It's also called drywall compound or often in the trade, simply mud. It's regularly used as wall patching compound.
Using joint compound this way has several advantages. First of all, it is dirt cheap. Specially formulated wood fillers cost more and are often available in only smaller quantities. Second, it dries quickly when used in this way. Not only will the compound's moisture evaporate, but the surrounding wood fibers will absorb some of the water. I like that its white-ish color is easy to spot as I am sanding, so I don't accidentally miss a spot. Another benefit is that it's easy to find at hardware and big box home improvement stores in various sized containers. You may already have a container in the garage.
The downside is that joint compound is very dusty when you sand it — you'll need to wear a dust mask to protect your lungs. You'll have more dust to clean up as well when you're done with the project. It also absorbs paint differently than wood or plywood, so it will absolutely require a primer coat of paint.
How to use joint compound as a wood filler
Using sheetrock mud as a wood filler is not exactly rocket science, but it is a bit more technical than just "slather and sand." In fact, the surface you're applying it to can affect your process. Regardless of the wood surface, make sure the area you will apply the compound to is free of loose material and generally clean. When painting plywood, give the edges a light sanding to clear stray wood fibers before applying joint compound. If using it to skim over a void or gap in a veneered surface, ensure that the edges of the void are still glued tightly to the substrate.
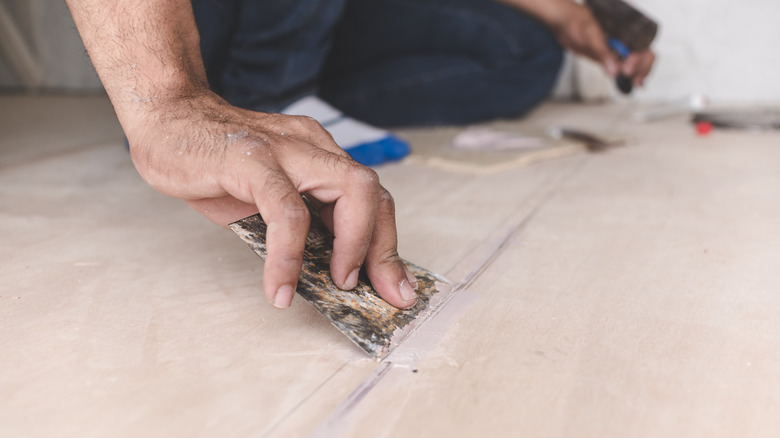
When you're applying joint compound, use what I call the Goldilocks method: Not too much and not too little. Leave enough surplus to sand, ensuring a smooth surface, but not so much that you need to sand a large lump of it away, taking more time and making a big dusty mess.
When you've filled the cracks and plywood edges and sanded the compound smooth, use a damp cloth to remove the swarf (fine debris) from the surface of the wood. Prepare the entire surface with a final, uniform sanding and apply a primer. I always recommend sanding between coats of paint on wooden surfaces. Wood is a dynamic material consisting of fibers that will absorb primer and paint slightly differently in various areas of its surface. Sand the primer coat smooth and move on to the paint you've selected. The end result should be a smooth, attractive surface.