Don't Toss Empty Soup Cans — Turn Them Into Glowing Home Decor You'll Love
We may receive a commission on purchases made from links.
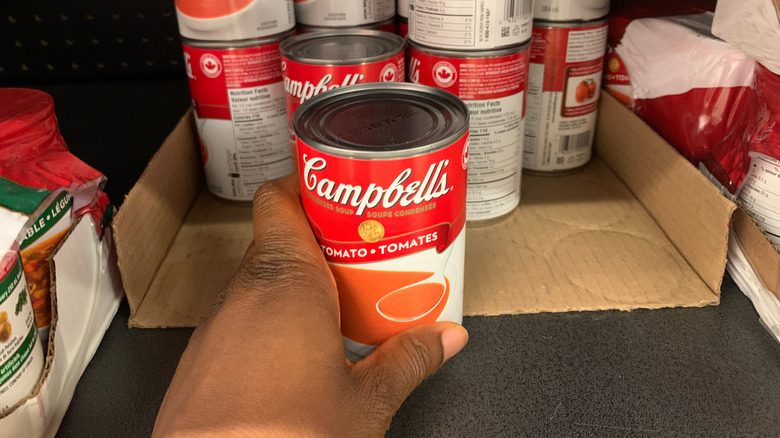
It turns out Andy Warhol isn't the only one who understood the potential aesthetic value of a humble soup can. It's surprisingly easy to turn one into a one-of-a-kind piece of glowing home decor you'll love. No matter which side you take in "the big light" debate, there's no denying that lamps, pendants, and chandeliers are fantastic ways to illuminate a space. However, making your own punch tin lantern is an extremely affordable way to layer your lighting to bring depth and warmth to any room. After peeling off the labels, you'll use a simple hammer and nail or punching tool to create a series of holes in each soup can before setting a candle inside to create lanterns that practically glow.
While there are plenty of genius ideas to repurpose empty soup cans around the house, tin can lanterns have a rich history. Vintage punch tin lanterns are highly prized by collectors of Early American antiques. Although perfectly reproducing the intricate patterns made by expert tinsmiths centuries ago may require a little practice, with a hammer and the punching tool of your choice it's easier than you may think to create patterns and shapes in the side of your soup can luminaries.
Along with soup cans of any size, you'll need either a hardened masonry nail or an inexpensive tool punch, one of the essential carpentry tools that come in handy for DIY projects. For complex designs, a piece of craft paper, scotch tape, and fine-tipped permanent marker will also be helpful.
Create a pattern guide and opt for safer flameless candles
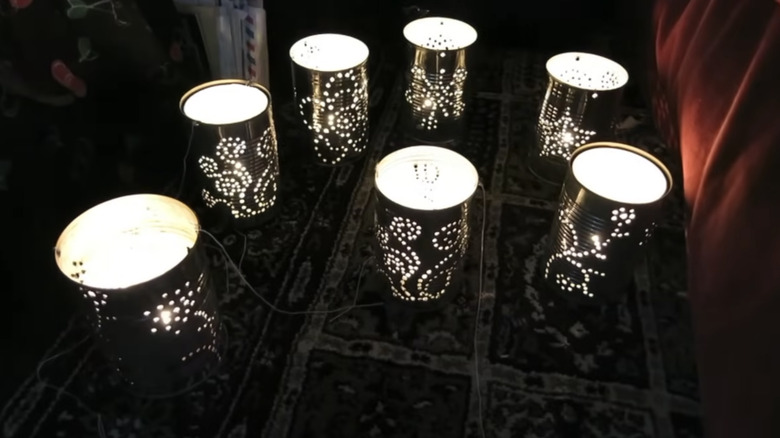
For the best results, start your DIY home decor luminaries with a punch pattern in mind. For a starry night effect, this involves punching random holes around the entire can, concentrating them more closely together at the bottom and creating more space as you move up. With a steady hand, you may be able to freehand initials, hearts, or other simple shapes. However, for more complex designs, using a guide will come in handy.
While you could simply use a permanent marker to dot everywhere you want to create a hole since your nail or punch tool will push the marked spot inside the soup can which hides it, this approach doesn't leave much room for revisions. Instead, consider wrapping a piece of scrap paper around the can before fixing it in place with a little scotch tape. You can then use a pencil to draw until your pattern is perfect. It's easy to punch directly through the paper guide, which you'll remove and discard once you've finished making all your holes.
To customize your soup can lantern even further, consider spray painting it. Once it's completely dry, it's time to add your light source. Wax candles with real lights will flicker, making the light show from the lamps mesmerizing. However, as the candle burns down the sides of your can, it may become a hot fire hazard due to the direct flame exposure. For safety's sake, consider opting for a flameless alternative. Soup cans typically measure between four and seven inches tall and three to six inches wide, making products like Amazon's highly-rated 7LinRay 3" x 4" Flickering LED Candles the perfect fit.