Turn A Mini Wood Pallet Into The Cutest Hanging Storage For Coffee Mugs
We may receive a commission on purchases made from links.
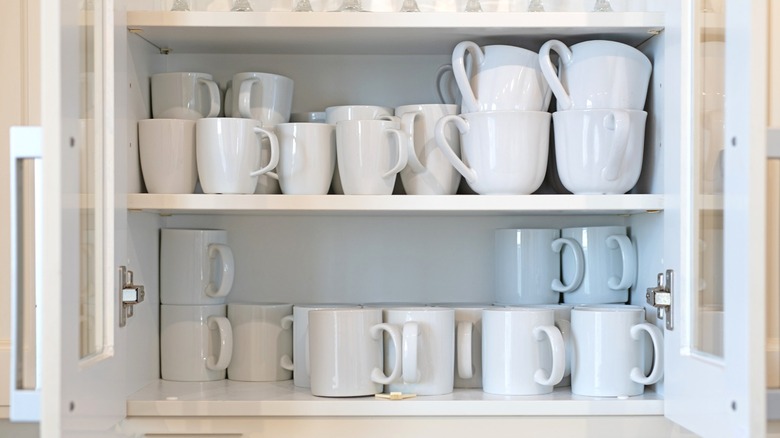
Are you ready to say goodbye to coffee mug clutter? If you are like most people, your kitchen cabinet is probably overflowing with mugs. Fortunately, there are plenty of DIY coffee mug storage solutions you can use to get the situation under control. If you have some mugs that are sentimental or stylish, one way to get them out of your cabinet (and free up more room for your ever-expanding collection) is to display them as hanging decor. Using a mini pallet and a small wooden board, you can easily DIY the perfect hanging mug holder and storage shelf for your kitchen wall. This project was shared by Instagram DIYer Priscila Raposo, who presented a fun, creative, and adorable way to add more organization to your space.
Most of the materials you need for this crafting project are relatively inexpensively at your local craft store or online. A small pallet like Vintiquewise 13-Inch Rustic Wooden Pallet and a simple wood board (e.g., a 1-by-8) to act as the shelf will form the main structure. Then, you just need some hooks to hold your cups on the pallet, a pair of small L brackets (like these Bonsicoky L Brackets), and decorations. In the original DIY, Raposo uses a miniature paint roller and a small paintbrush to apply a coat of sky blue multi-surface paint, but you can use any color you'd like. For wood projects, oil-based paint, milk paint, chalk paint, latex paint, or acrylic are all good choices. Finishing it up, a decoupaged pattern across the front surface creates a stylish and eye-catching backdrop to show off your favorite mugs.
Build and style your DIY shelved hanging mug holder

The first step in creating your mug holder is to paint the mini pallet. Tape off the top of the deck boards so they stay clear of paint (you'll decoupage them later), and get painting. While the paint dries, you can paint the wooden shelf that will attach to the top of your pallet. Or, use wood stain the shelf, and for the pallet, pick a paint color to complement the stain.
Once your mini pallet has dried, remove the tape from the front surface. Then, use Mod Podge to decoupage these panels of your mini pallet in a stylish pattern. Though decorative napkins are a classic choice for decoupage projects, any type of paper will do — you can even use wrapping paper or repurpose old magazines instead of getting rid of them. If decoupage isn't your style, this DIY would also look adorable with hand-painted designs or stencils. Top your pieces off with a coat of Mod Podge to seal them, and let it dry.
Now that you have your mini pallet and top shelf decorated, it is time to assemble the pieces. Use two small corner brackets to attach the shelf to the top of the pallet. Then, use screw hooks on the front of your pallet — this is where you will be hanging your mugs! You can use as many as you like, as long as they are spread out enough that your mugs aren't hitting each other. Once you've put in the last screw, it's time to hang it on the wall. Hang up your favorite mugs, and store your coffee and tea supplies on the shelf above. Then, kick back with a mug of something hot in hand, and enjoy your hard work.