Skip Bins And Lazy Susans: A Smarter Way To Organize Deep Cabinets
We may receive a commission on purchases made from links.
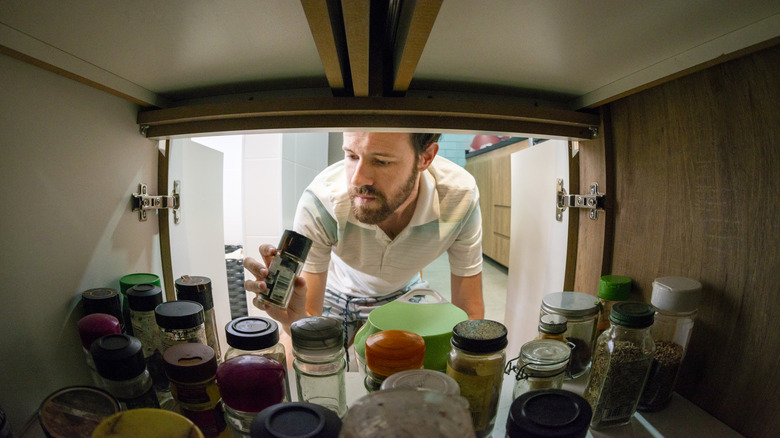
Want to ensure that your kitchen, bathroom, or garage offers as much functionality as possible? One of the first things you should try to do is maximize the storage space available within your cabinets. Although there are all sorts of organization upgrades for kitchen cabinets and tips for tidying up bathroom cabinets out there, this task is often easier said than done. You can make an impactful start, though, by targeting your deepest cabinets, since that's often where you're wasting the most space. Many homeowners and renters choose to use Lazy Susans and plastic organizer bins to tackle these areas of their cabinetry because they're inexpensive and easy to integrate. However, they're not necessarily the most efficient nor most elegant of solutions. Building and installing your very own pull-out shelves could work much better.
Pull-out shelves make it much easier to find all sorts of miscellaneous items that frequently get lost in the back of your cabinets. That's because the way they move outward allows you to avoid bending down or reaching around blindly to access stored contents. A pull-out shelf can also help capture your cabinet's corner space better than the likes of a lazy Susan, because it doesn't require as much clearance around the edges of the cabinet in order to function. Organizer bins also require existing shelves, whereas the pull-out shelf is a fixture that you can attach to the walls of the cabinet interior, at a height of your choosing. This shelf is ultimately the sort of genius storage solution that lets you maximize every inch of cabinet space available to you, no matter the room you're using it in.
How to DIY a pull-out shelf for deep cabinet organization
First, measure the dimensions of your cabinet and decide what the width and height of your pull-out shelf will be. The shelf will attach to the sides of the cabinets via drawer slides; don't forget to account for these when measuring. You may also need to attach 2-by-4s or similar supports to the cabinet's sides to bump out these slides so they don't come into contact with the cabinet's face frame when they're extended. Alternatively, purchase drawer slides with rear mounting brackets, such as OCG Soft Close Drawer Slides. You can attach the back end of these to the rear of the cabinet box instead and screw the fronts to the cabinet face frame.
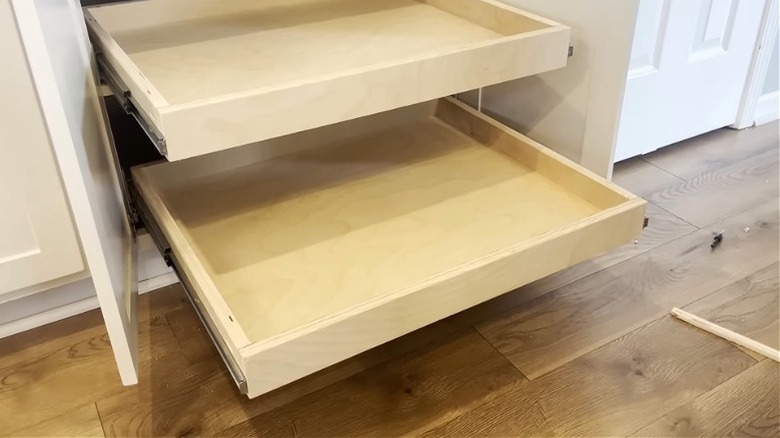
After measuring, build a frame for the outer edge of your shelf using finished 1-by-2 boards. Use a router table to cut ½-inch-thick grooves into the inside edges of these. Then, cut a ½-inch-thick finished plywood board down so that it fits within the grooves to let the assembled frame lock it in on all sides. Attach all your newly-made components together with wood glue and brad nails.
Screw the drawer slides into place along the sides of the shelf. Then, separate the two slider sections from each slide, and install the larger pieces on the insides of the cabinet. Use a level and a speed square throughout this process to ensure the slides aren't tilted and are even with one another. Finally, simply fit the shelf into the cabinet by snapping together the two halves of each slide. With this contraption complete, you'll find it easier than ever to tidy up the back of your deep kitchen cabinets, especially when you pair this solution with extra kitchen storage ideas that free up space.