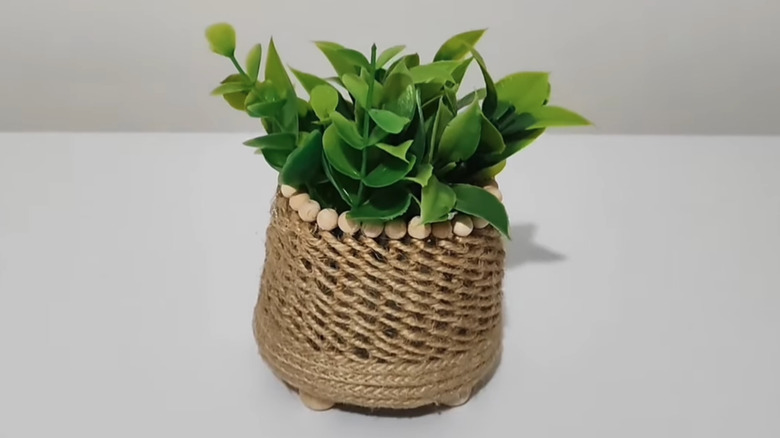
Turn The Lid From An Old Glass Jar Into A Cute Decorative Planter
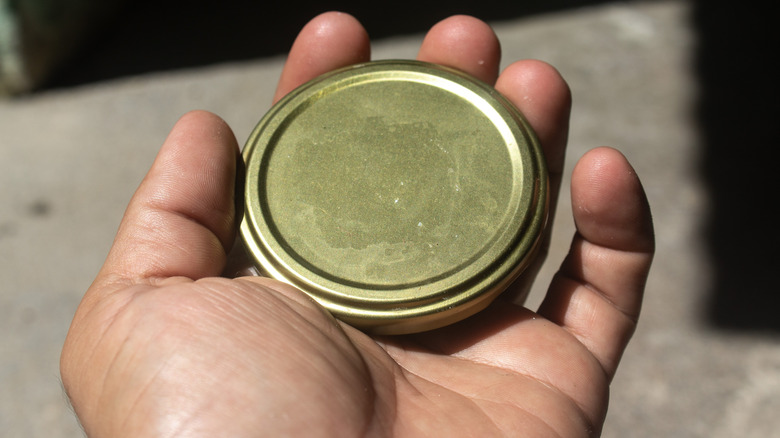
Your first instinct when finishing the contents of a glass jar is probably to clean the container out and throw it and its lid in the recycling bin. However, there's so much you can do with these two seemingly unremarkable items. For example, you can transform old jars into a thrifty workshop storage hack. Or, you could try out one of the many clever ways to use mason jars for bathroom storage and decor. Alternatively, you can use just the lid of a jar to make a chic decorative planter that's perfect for any room in your house thanks to a smart idea from Mini Atölyem on YouTube. This DIY involves hot gluing wooden toothpicks around the edge of the lid, and then weaving twine between them to build up the sides of the planter. The end result is ideal for small faux plants and should blend in nicely with both modern and traditional interior decor styles.
Completing this project won't require much in the way of budget — you'll just need a few items from your local craft store. Besides the twine, toothpicks, and hot glue, you'll need a small square of burlap fabric and some wood beads, in two different sizes. The smaller beads should fit over the top ends of the toothpicks, and you'll use the larger beads as legs for the planter's base. The finished DIY could be perfect for an entryway shelf, or perhaps for a bathroom countertop. Put it on your desk, and it might even help you nail a minimalist modern home office design.
How to DIY a chic decorative planter using a jar lid
Before you get started, clean and dry the jar lid you're going to use. Once that's done, begin by hot gluing the bottom edges of your toothpicks to the rim of the lid. The lid should sit upside down, with its rim pointing upwards. The toothpicks should stand up vertically. Space the picks out equally, approximately a quarter of an inch apart from one another. Next, glue your burlap fabric to the bottom of the lid, and wrap its edges around the sides so that they cover the bases of the toothpicks. Cut away the excess fabric. Then, starting from the fabric's edges and moving up, wrap three full circles of twine on top of each other around the outsides of the toothpicks, gluing them down as you go.
After completing the circles around the bottom edge of the planter, cut the end of the twine and glue it down neatly. Then, starting from where you left off, cover up the toothpicks by looping a new, continuous length of twine around each of them, again moving upward and in a circular direction as you go. When you get near a quarter inch from the top, stop. Glue a small wood bead to the top of each toothpick, and four large wood beads to the bottom of the planter, in a square configuration. You can paint the wood beads with acrylics if you want to give them a visual boost. If you want your entire planter to be more colorful, use HSTECH Colorful Natural Jute String, or a similar product, in place of brown twine.