Create A Floating Entryway Storage Piece To Add A Pop Of Color To Your Home
We may receive a commission on purchases made from links.
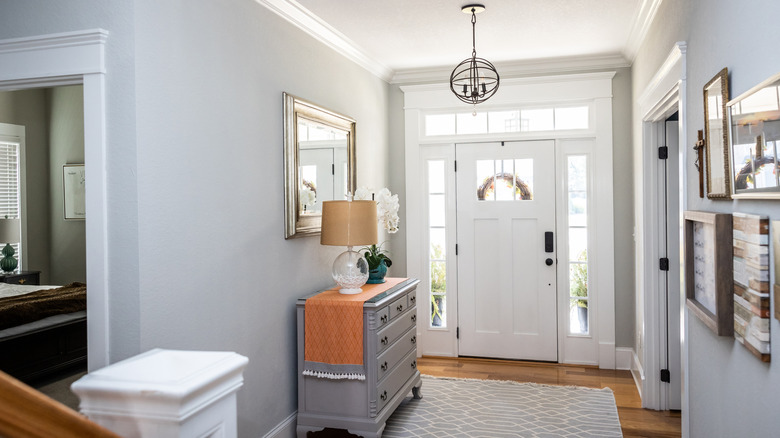
Your entryway is a space that practically demands an even balance of functionality and visual appeal. The room should look inviting and set the aesthetic tone for the rest of your home while still offering a place to keep everyday items like coats, keys, sunglasses, and purses. As it turns out, you can achieve all of these things at once with the right storage fixtures — and there's a fantastic DIY inspired by building_bridget on TikTok that proves this to be the case.
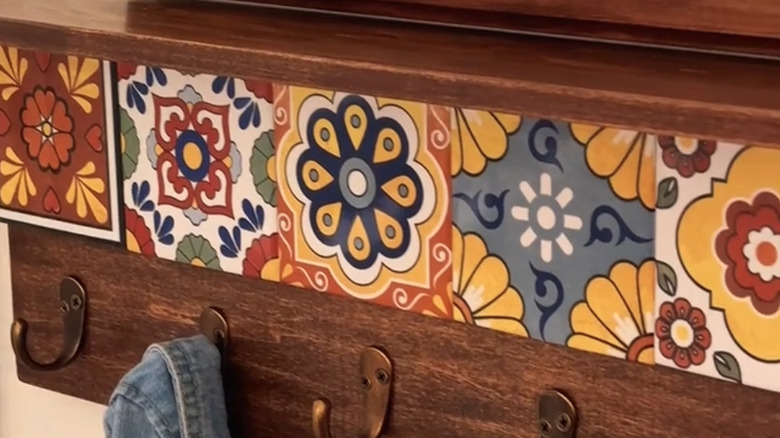
The project involves assembling a narrow wood floating shelf with a larger panel beneath it that has hooks for things like jackets and bags. What really takes this shelf up to the next level, though, is a row of patterned square tiles just below the shelf. Any tiles to match your interior style and scheme can work, including the Talavera tiles seen in the video, an amazingly bright and colorful way to bring a sophisticated touch of Southwestern style suitable for all sorts of spaces.
With the right tools and supplies, you could build this shelf at home within a few days. You'll need pine or poplar boards, wood conditioner, a wood stain of your choice, wall hooks (like GlideRite Coat Hooks), and a polyurethane top coat. You'll also need wood glue and tile mastic for assembly, as well as wood screws and a pocket hole jig. Finally, don't forget about the tiles themselves — you can order them online from specialty suppliers or retailers like Walmart. Although this sort of shelf is technically a storage fixture, it definitely counts as one of the best wall decor ideas for your entryway, all thanks to these decorative highlights.
Assembling your DIY tile entryway shelf
Begin by measuring, cutting, and sanding your two shelf boards. The first board needs to be just wide enough for a narrow floating shelf (e.g., a 1-by-4), and the second board should be a bit wider so it can fit the tiles and the hooks (e.g., a 1-by-8). Customize the length of the boards based on the size of your entryway, but make sure that they're at a length where an exact number of tiles can run from edge to edge. Do a dry run of your preferred tile arrangement on the wood board, and mark the cut points to ensure you get the perfect size.
@building_bridget Wait till you see the TILES 😍 My sister LOVES how this little entryway nook turned out and it was such an affordable makeover! Let me know what you think and if you'd try this 😊 #talavera #smallentryway #entrywaydecor #entrywaydecor #diyshelf
Drill pocket holes along one of the longer sides of the back of the bigger panel. Then, join the smaller board to the larger one in an L shape, bonding them with wood glue along the board's edge and wood screws drilled through the pocket holes. Wipe away any excess glue. Apply your wood conditioner, followed by your wood stain and, lastly, your polyurethane top coat. For an alternative look, prime and paint the shelf with a neutral color that won't steal focus from the tiles.
Once everything dries, use the mastic to attach your tiles to the larger panel against the joint at its top edge where it meets the smaller panel. From there, simply drill in your brass hooks just below the tiles, using a measuring tape to keep the distance between them even. Finally, use a proper-sized drill bit and self-drilling anchors or toggle bolts to secure the shelf on the wall. Afterwards, consider pairing your colorful new shelf with small entryway table ideas to brighten up and complete your space.