Upgrade Your Garden Edge With This Simple Scrap Wood DIY
We may receive a commission on purchases made from links.
Looking for a low-cost and effortless way to give your garden an aesthetic boost? A tiny stockade fence adds a cute, vaguely beach-y border to garden beds and is arguably one of the best landscape edging options overall. Since you won't actually block out anything besides turfgrass, it's simple enough to build your little "fence" about the height of a boot ... meaning you can make it out of wood scraps. Just grab some leftover decking, old pallets, or any other boards from a past project. Cut them into stakes, and string them together into a barrier to contain your garden and create a tidy, attractive appearance.
This scrap wood border will work with any solid wood lumber. Thinner planks will be easier to drive into the border soil, while wider ones will require fewer boards. So, thin and wide might be ideal. The height of your border (and, consequently, the length of your boards) is a matter of personal preference, but remember that longer boards will be more prone to hiding plants and will make it more difficult to work within that bed. Giving the border some structure by binding the pieces together along the back side will make it more stable, of course, but the biggest advantage might simply be in a neater-looking edge.
Your support method might bring a substantial expense to what was originally a free project, unless you happen to have a workshop full of leftover materials and fasteners collected for years in defiance of your wife's preferences (ahem). Note that thin stock will be more likely to split from thick staples or nails as you attach the supportive backing. Once you've decided on your materials, you'll just need a rubber mallet to hammer the edging in place.
Forming your stockade scrap wood garden edging
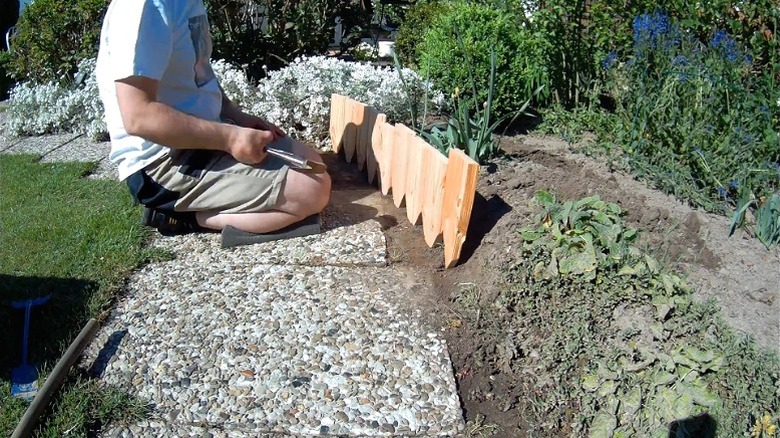
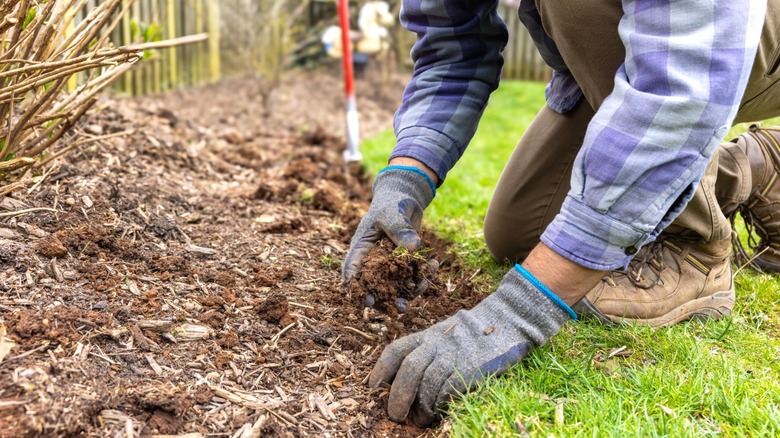
Basic installation for this garden edging is easy. Start by figuring out how tall you want your tallest board to be. This might affect how much of the board you need to sink into the ground, but since the planks aren't bearing any real weight, there's no reason to get overly math-y about it. Just estimate how much buried wood should support the unburied length you want, and use that buried length for all of the boards to keep things simple. Generally, you'll want to put at least one-third of the edging below the ground for stability.
To make your life easier, cut the buried end to a point so that it will drive more efficiently into the ground. Put the point in the center, meaning you'll need to make two cuts, each ending in the middle of the board's buried end to form a "V" shape. It's tempting to just make a single diagonal cut that ends on one side of the board, but this will usually make the boards lean as you're driving them in. Because the pointy bits don't need to be cut precisely, it's perfectly fine to freehand your cuts with a circular saw or table saw. Of course, whatever lumber, support material, and fasteners you use should be able to withstand the weather and ground contact if you want your edging to last. So, it might be a good idea to seal the wood the way you'd waterproof a wood planter box or deck.
Adding hidden support to your garden border
The materials (if any) you choose to support your border can be nearly anything, from more wood (furring strips, perhaps) to chicken wire to the sort of temporary plastic fencing you sometimes find around newly seeded ground in construction zones. To save on costs, you could even borrow a tip from YouTube channel UpcycleStuff and cut old plastic bottles into strips to link your stakes in short sections. One easy, flexible option is webbing or strapping like the Master Flow vinyl woven hanger strap available at Home Depot ($25.98 for 100 yards) ... the sort of thing used to hang ductwork from joists. Using some heavy-duty staples, you can quickly combine your stakes into a single, flexible run with a line of strapping spanning them across the middle.
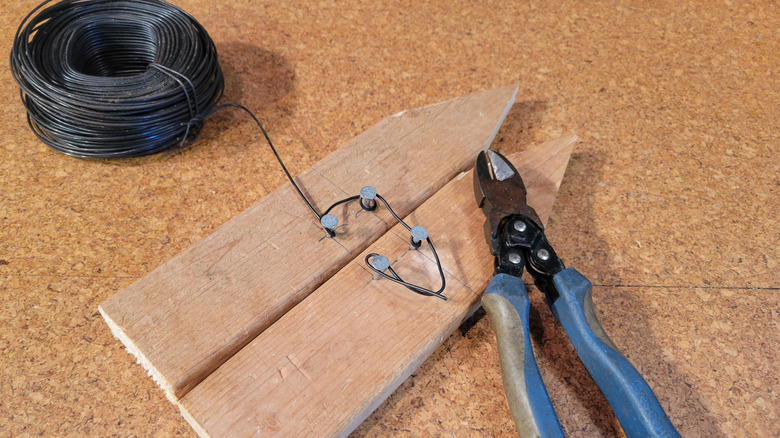
A better way to keep your border boards together and upright might be to string them together with galvanized wire (ungalvanized wire like bailing wire will work but will have a shorter lifespan out in the elements) and staples or, better yet, nails. The wire could be wound around the two nails similar to the way you'd anchor a halyard when stringing a flagpole. There's no need for a fancy hitch or knot, though; just wrap the wire around one or two nails, and the stiffness of the wire should hold it in place fairly well. Using two nails will make this easier and more adjustable, should you need to make changes along the way or even after you complete your border. You just need a sufficiently long bit for each junction between two boards. With your supports prepped, you can hammer your edging in place, snaking it in any direction as needed to give your garden a quaint, functional border.