Not Wallpaper, Not Paint: The DIY Accent Wall Idea That's Much More Unique
We may receive a commission on purchases made from links.
Coming up with a unique and gorgeous accent wall idea can be a bit of a riddle. You want the wall treatment to pop and draw attention, but you don't want it to be too over the top, as it may clash with and distract from the rest of your decor. At the same time, being too subtle makes for a disappointing accent. Wallpaper and paint can feel so "been there, done that" that it may be hard to find that point where stunning meets staying power, but what are your remaining options? A fabric-covered accent wall could be an ideal solution, a straightforward DIY project that will give you that unique look to really make the wall stand out.
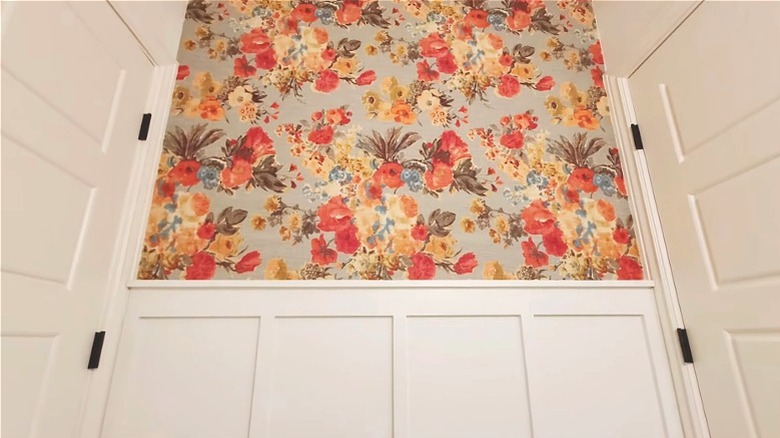
Fabric provides color, patterns, and texture that would be hard to replicate with other wall covering options. It may not always be practical for whole rooms or very large walls, but for an accent wall, it can be perfect. It looks great above wainscoting, next to fireplaces, or on a narrow wall between rooms. Unlike wallpaper, fabric also allows more renter-friendly installation options that make it effortless to put up and take own.
Figuring out the details for your fabric wall
This project is a great way to repurpose bed sheets and other unused lightweight fabrics, but you can also buy yards of your desired pattern. Measure the wall's width and length, and take those measurements to the fabric store. If you choose a fabric with a pattern on a larger wall, you'll need more material, because matching the pattern will mean you'll trim away some waste. The fabric store will help you in this calculation. You may also find unique vintage fabrics of various types at thrift stores or estate sales.
When you decide on your fabric, installation can be as easy as tacking it in place, as TikToker justlanchen did in an accent wall project. Hang your fabric, tacking the top edge against your crown molding with 1-inch wire nails, and pull it tight across the wall before tacking the bottom edge along the baseboard. It's quick and simple, but for a more durable and tight hold on the wall, you can use an adhesive.
For a renter, a concentrated liquid starch like Linit Starch may be the best adhesive to use, because it will let you quickly and safely take the fabric down later. (You can wash the wall starch off the wall with soap and water.) Liquid starch is also a great choice if you are a homeowner who likes to frequently change the look of your home, though you could use wallpaper adhesive as a stronger, more permanent solution when you're ready to commit to a pattern. One person can do this job, but it's exponentially easier with four hands rather than just two. Find a friend to help before getting started.
How to install your DIY fabric wall
There are some steps to take before applying the adhesive and fabric, similar to how you would prep a wall for paint. Remove any outlet or switch covers, fill holes with spackle, and sand any bumps or high spots. Then, clean your wall to remove dust and get it in good condition. Cut your fabric pieces so there will be a few inches of overlap at the top, bottom, and side of the wall when you hang them. You can trim this excess off for a clean finish at the end.
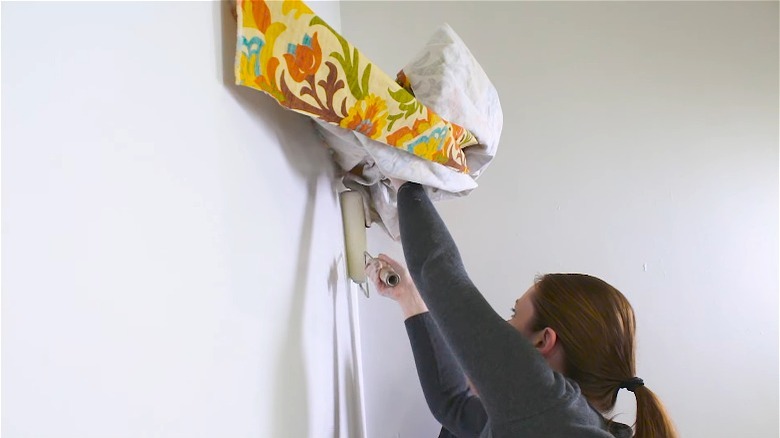
Start installing your fabric by using push pins to hold it along the top of the wall. The fabric should hang smooth and straight. Starting from the top corner, lift the fabric so you can roll the adhesive onto the wall underneath it with a paint roller. Use a smoothing tool to cleanly adhere the fabric and remove any bubbles or wrinkles. The installation is basically the same as how you might hang wallpaper. Apply the adhesive a bit at a time, smooth the fabric onto the wall, and let it cure. Since you'll likely use several strips of fabric to cover a whole wall, allow a little bit of overlap between them and carefully align the patterns to make the design look seamless.
When using liquid starch for your fabric accent wall, you can run an extra coat of it over the fabric after you finish the installation. Trim the excess fabric around any wall edges and molding using a straightedge and a utility knife (switch out the blade as it dulls). Cut out the outlets and switches after the fabric is secured, and replace the covers. Use the same adhesive to secure any edges that may come loose.