Build A Sturdy Garden Fence In A Weekend With This DIY Solution
We may receive a commission on purchases made from links.
If you're looking for a good DIY project you can complete in a weekend, why not give your garden the fence it's been needing? A high-quality fence can serve as a protective barrier against pests and as a decorative border for your garden. And while it may not increase the value of your home, plenty of potential buyers will love the look of a garden fence. So, why not give it a try?
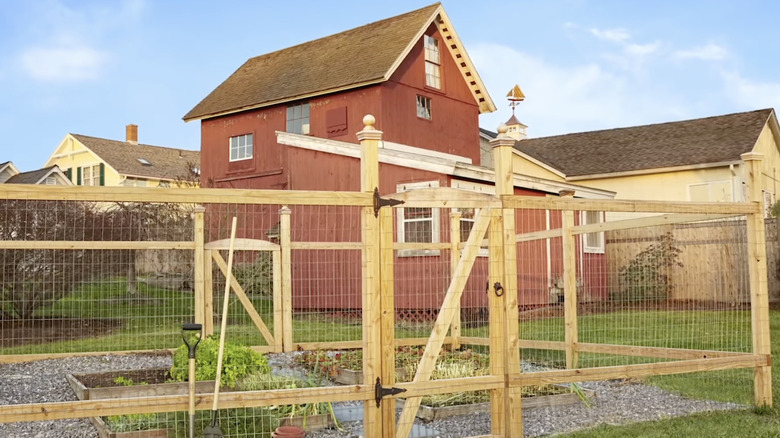
Before you start building, determine the style of fence you want. There are numerous common types of fencing, each with its own benefits and drawbacks. Importantly, check any local ordinances or HOA rules regarding permitting and height restrictions. In terms of what you can accomplish in a weekend, a wood and wire fence with a gate is a great combination of cost-effectiveness and sturdiness. This garden fence style uses wooden post framing and pairs it with metal wire that runs between the posts. These fences can go up pretty quickly and don't require as many materials as, say, a picket fence system.
Next, you need to figure out where your fence will go and how large it will be. If you already have a garden, measure its perimeter to determine the linear footage. If you're putting your fence up before you start your garden, you can make the area as big as you want your garden to be. These measurements, along with the height of your fence, will help you determine how much fencing material you'll need.
Building the wooden frame for your DIY garden fence
The two main things you'll need for this build are wooden fence posts and rails (e.g., 2-by-4 boards), and a roll of metal fence wire, such as Everbilt Galvanized Steel Welded Wire. For the posts, you can choose durable and affordable pressure-treated pine or naturally rot-resistant cedar. Welded wire fencing typically comes in 50- or 100-foot rolls of various heights. Other materials you'll need include: concrete mix, a level, measuring tape, hammer/drill, nails/screws, stakes, string, and a post hole digger or motorized auger.
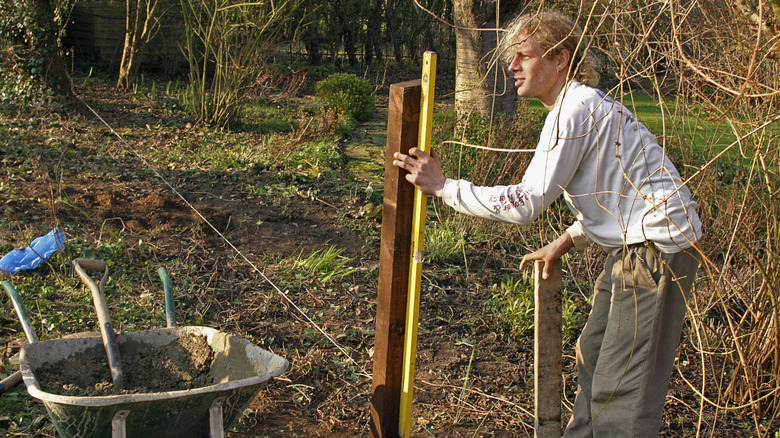
Lay out your fence using stakes and string to mark the perimeter and ensure everything is straight. Use stakes to mark the points where you'll put up posts, spacing them about every 6 to 8 feet (except where the gate is going). Using a post hole digger or motorized auger, dig the holes to ⅓ to ½ the height of your exposed fence post. Set your posts into the holes, and use the level to make sure they aren't leaning, bracing them so they will stay in place while you pour in the mixed concrete.
Once the concrete has set, which can take just 20 to 40 minutes if you use a fast-setting mix, install your panels. Run the boards horizontally between the posts, check that they're level, and attach them with nails or screws. The bottom stringer should be 6 inches from the ground. Going up, space the boards 2 feet apart, using enough stringers to suit the height of your fence. For a 6-foot-high fence, that would be a bottom, middle, and top rail.
Secure the wire and build the gate

Next, unroll the wire and cut it into measured lengths for the sides of your fence. Secure it in place with a hammer and U-nails, or use a heavy-duty stapler. One thing you might want to consider during this stage is burying part of your wire underground. Do this by digging a 6-inch to 12-inch-deep trench along the fence line, securing the bottom of the wire with stakes, then burying it. This will help keep out burrowing pests such as rabbits, moles, and mice, as well as larger diggers like foxes. If you need to prevent jumping animals, such as deer, a taller fence of 6 to 10 feet will be required.
Once you've wired in the fence, it's time to build your gate. The width of your gate will be determined by the opening you left while setting the posts. Re-measure the top and bottom widths of the gate opening, then subtract 4 inches from each measurement. This will ensure you have enough room for the hinges and gate latch. The height of your gate should also be 2 inches shorter than the posts to allow adequate ground clearance when opening.
Construct your gate using the same wood for the fence rails. For an easily built yet no less effective gate, build a square or rectangular frame and add horizontal or diagonal braces for structural support. Next, attach a measured piece of wiring to the braces using the same U-nails or heavy-duty staples. You can then set the gate posts using hardware from a gate kit.
Finishing touches for a transformed yard
Now that the gate is in place, your fence is practically completed. However, there are some finishing touches you can make that will really help transform your yard. One of the easiest ways to accessorize your new fence is to add post caps. These come in a wide variety of shapes and styles. Some even come with solar-charging lights that turn on after dark for a cozy glow. While not strictly necessary, the caps will give your fence an elegant, complete look.
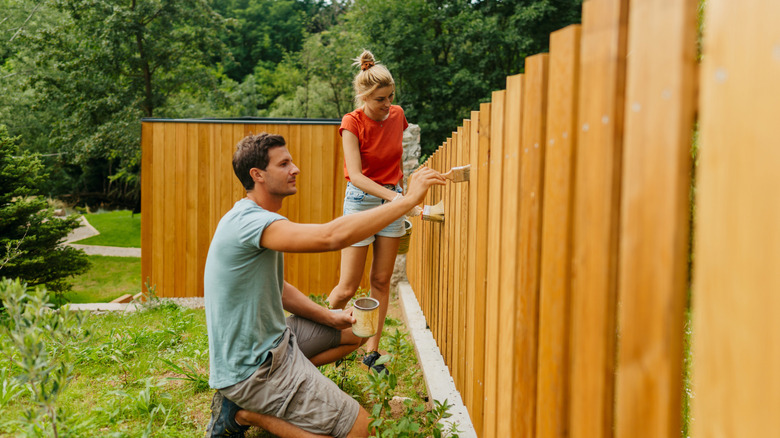
It would also be a good idea to add a coat of paint or stain to your fence. By applying a protective coating to the wood, you can extend your fence's life by up to seven years. In terms of which to choose, paint will give you some extra color and protection, whereas stain will enhance the wood grain but has a shorter lifespan, depending on the intensity of your local weather.
While this is certainly an involved project, it can nevertheless be completed between Friday evening and Sunday evening. So long as you prepare in advance and have the right tools, you can get this DIY completed to protect your garden and spruce up your yard.