Repurpose An Ordinary Mason Jar Into An Eye-Catching Countertop Decor Piece

We may receive a commission on purchases made from links.
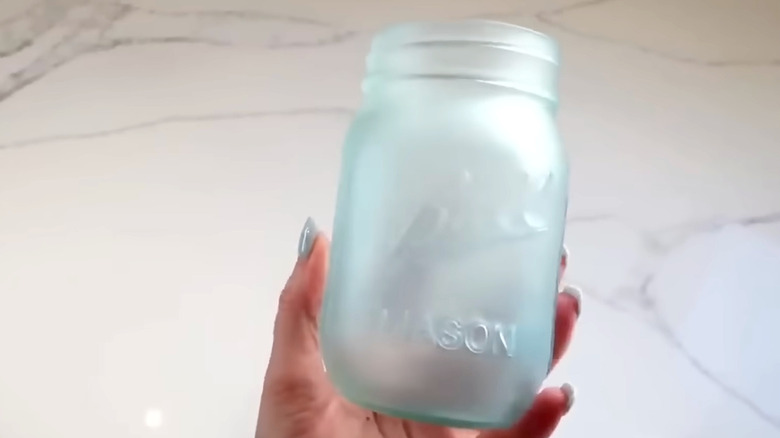
Mason jar storage hacks are handy for organizing all sorts of things around the kitchen and beyond. The jars themselves, though, may seem a little too boring to leave on display if they're just your basic clear variety used for canning. There's no need to run out and search for vintage blue-tinted Ball mason jarsif you're looking for that extra pop of color. You can concoct a similar jar colorant with a mixture of two things you probably already have: food coloring and basic white glue such as Elmer's School Glue. When mixed together and spread over the outside of a clear jar, it dries to give the glass a somewhat frosted, translucent look similar to beach glass.
Since the coating is made from a thin layer of glue, it will not be waterproof and can still be scratched or scraped, so keep your finished jar dry and handle with care to avoid scuffs. Even though school glue is non-toxic, it's best to use your tinted mason jars for non-beverage or food purposes, such as storing cotton swabs or makeup brushes in the bathroom, or as a vessel to hold wooden spoons and spatulas in the kitchen. Either way, they're sure to add visual interest to any countertop.
How to tint mason jars with glue
Before you can transform an old mason jar into beautiful countertop decor, you'll need to make sure it's clean and dry. Wipe it with rubbing alcohol on a cotton pad to remove any oils that would make it harder for the glue paint to stick. Rinse the jar off and allow it to dry completely. To make the coating to frost your jars, pour some white school glue into a bowl, along with a few drops of food coloring. You'll need about 2 teaspoons of glue and a few drops of food coloring per mason jar. The ratios aren't an exact science; experiment and see what looks nice to your eye.
Stir the ingredients with a craft stick or paint brush, then brush the the mixture onto the outside of the mason jar. It's easiest if you put your fingers inside the jar to hold it securely rather than grabbing the outside of the jar. If you see brush strokes, go over it again with the brush. The goal is a smooth finish. Don't coat the bottom of the jar since it will need to stand up to dry. Set the jar aside for at least a few hours before handling it. Once it's dry, you're ready to place it on your countertop and get organized with this genius mason jar hack.