Say Goodbye To Entryway Shoe Clutter With This DIY Storage Solution
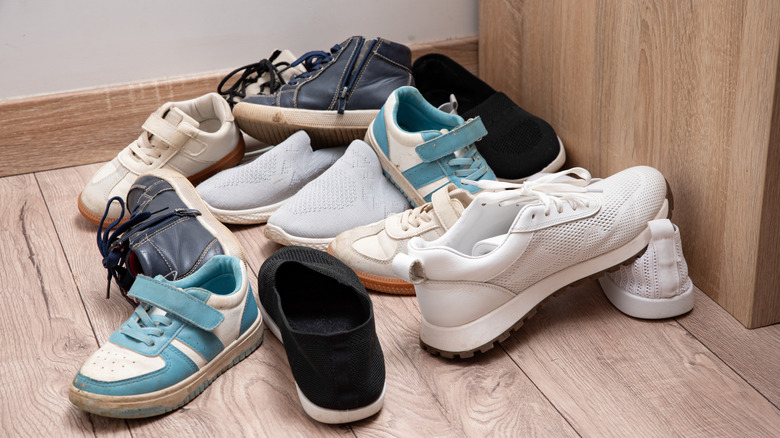
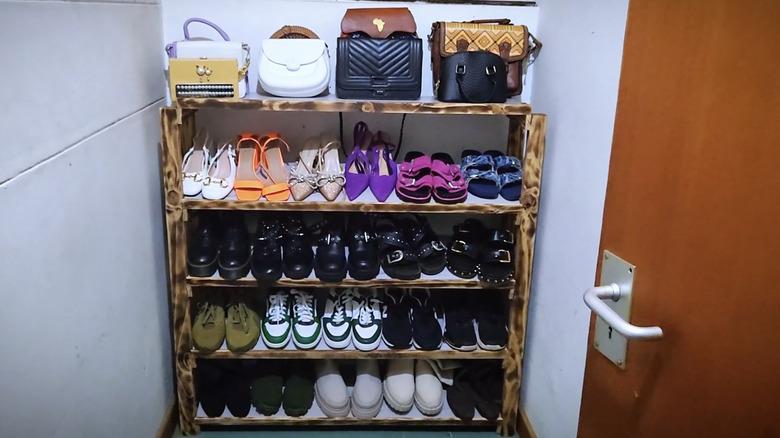
Your entryway can be one of the trickiest places in your home to keep clean and organized. Between keys, purses, hats, coats, and, most importantly, shoes, this area can get very cluttered. Not only will the space be cluttered, but, without proper storage for shoes, your home can get very dirty quickly as mud, dust, and grime get tracked in. To keep things neat and clean, you can build a shoe rack designed by Shaw Woodworking DIY on YouTube. This design is great for organization because it provides plenty of space for shoes, has a flat top shelf for other entryway items, and keeps your shoes easily accessible at a slant.
To build this great shoe rack, you'll first need several tools. This project requires several precise cuts, so a table saw will work best. If you don't have a table saw, but still need to clean up your entryway, this common thrift store find doubles as a smart shoe storage solution. To hold everything together, you'll need wood glue and nails, and some sort of stain or finish to protect the wood and keep everything looking pretty for years to come. You can use spare boards, as long as they are sturdy wood, to assemble the shoe rack, and you will just need to cut them to size. If you are looking to organize your shoes beyond the entryway, you'll love this sleek storage solution.
Building your entryway shoe rack
To begin decluttering the shoes and miscellaneous items in your entryway, you'll want to start by cutting your wooden boards to size. For this rack, you will need four 45x1x2-inch pieces of wood to form the posts. For the supports, you will need 10 12x2x.25-inch pieces of wood. For the shelves, you will want five 45x12-inch boards and five 45x1x.25-inch pieces for the shelf guards. If you want a taller rack with more shelves, you will just need to make taller posts, two more supports for every extra shelf, an extra 45x12-inch board for every extra shelf, and an extra 45x1x.25-inch piece for every extra shelf.
Start by sanding every piece of wood so it is smooth to the touch. Then, assemble the frame with the top support level to make a flat shelf, and the bottom supports at equal angles to make slanted shelves. Then, attach the shelf guards to the front of the boards and put the shelves in place. Once the entire shoe rack is assembled, add your choice of finish to make it shine. You can use the top shelf for any purses, keys, wallets, or other miscellaneous items, and use the slanted shelves to keep your shoes organized. If you have tall boots that won't fit, this DIY keeps footwear organized by making a space for your boots to be stored upside down.