The Stunning Way To Give Basic Closet Doors A Glow-Up Without Removing Them
We may receive a commission on purchases made from links.
Every element counts in interior design, and you better believe the style of a closet door has a big impact on a room's overall look. Outdated and boring doors interrupt well-designed spaces and take away from the overall ambiance. Fortunately, you don't have to ditch the closet doors entirely if the style is lackluster. Instead, there are plenty of ways to upgrade ugly closet doors with affordable DIYs, and there's one stunning DIY that doesn't involve removing them: gluing yardsticks to the doors to create paneling in a geometric design.
TikToker @_ceceilia_ shared an idea that completely transforms closets without breaking the bank. This project is doable in one day and requires minimal tools and supplies. All you need are adhesive, a single quart of paint, a 12-count case of Fulmoon Wood Yard Sticks, and additional painting tools. If you want to copy the look of the original DIY, you'll need Glidden Premium English Ivy Interior Latex Paint. However, think twice before picking the same paint color, as it may not work in your space. The end result of this project should refresh your interior door with a geometric board-and-batten-inspired design in a complementary color.
For reference, a brand-new barn-style door with intricate paneling costs hundreds of dollars just for the door itself. This doesn't include additional assembly and labor fees. In contrast, the paint and yardsticks for this project are around $61. Even if you have to spend a little more on glue and paintbrushes, the budget shouldn't exceed $100.
How to upgrade a basic closet door with yardstick paneling
@_ceceilia_ Easy DIY project with LOW Cost & HIGH Impact! You can upgrade your hollow core doors with just a few yard sticks and some paint #creatorsearchinsights #homeimprovementprojects #diyhomeimprovement #diyprojects #budgetfriendly #diyproject
In addition to being cheap, this renovation idea is easy for people of all skill levels. Amateur DIYers don't have to worry about disassembling the door, throwing it away, and assembling a new one. In most cases, there's no need to take the closet door off its hinges at all. The only reason you may have to take it down is if the top and bottom edges weren't previously sealed, finished, and painted. Unfinished wood could absorb moisture that causes it to warp or rot. But in most cases you won't need to remove it. Prepare by putting painter's tape over the hinges and laying a tarp or cardboard on the ground surrounding the workspace.
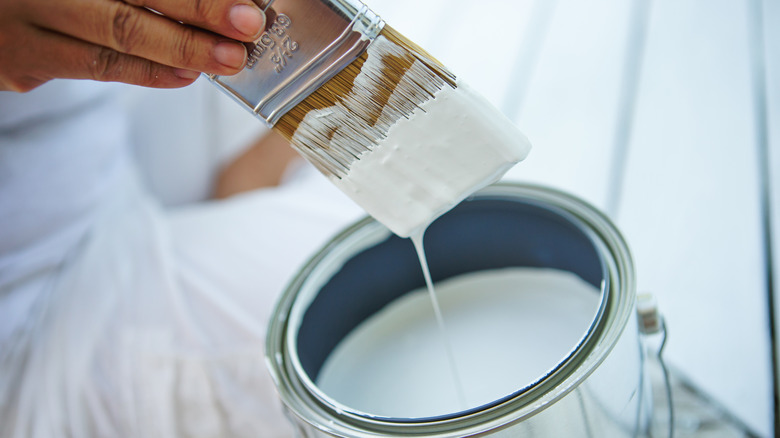
Create the geometric design by gluing the yardsticks in a deliberate pattern. Mirror @_ceceilia_'s pattern, or get inspiration from these gorgeous closet door ideas. Use a sturdy glue, such as E6000 Craft Adhesive. After the glue dries, paint over both the yardsticks and the door with semi-gloss paint. You can use the aforementioned paint, but keep in mind how color greatly impacts a space. Cooler, muted tones are calming, while warm, bold shades are energizing. More importantly, the paint shade should complement the rest of the room's color palette.
Once the closet door is finished, your room should feel refreshed from the outside. If you want to go all the way, you can also add a geometric design to the inside of the door. There should be enough paint to cover both sides. Take the whole project another step further by also upgrading the inside with these closet ideas for a beautiful well-organized wardrobe, so the setup is stylish inside and out.