Take Your Cabinets From Dated To Dazzling With A DIY Refresh That Looks High-End
We may receive a commission on purchases made from links.
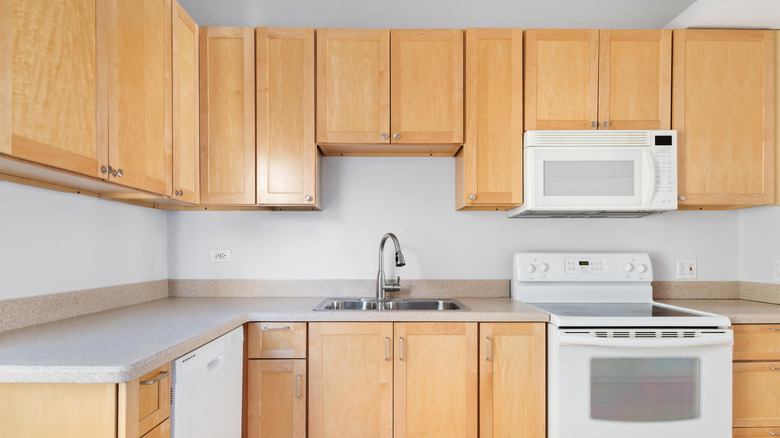
Every once in a while, an idea comes along that is simply genius. This cabinet upgrade idea using pole wrap is one of those. As a professional woodworker who has built cabinets for years, it almost blew my mind when I saw it done. It's elegant, easy to do, practical, and most importantly, looks stunning. It can also solve a problem that many of us have in our homes: low-quality, mass-manufactured cabinets. On the one hand, they are such a bargain that they are hard to resist. I frankly can't build a cabinet from scratch for what a builder can charge. On the other hand, they're so plain and boring that they are a true eyesore. This clever use of pole wrap is an affordable way to lift their aesthetic appeal. It's a cabinet refresh that will give your dated kitchen a whole new look.
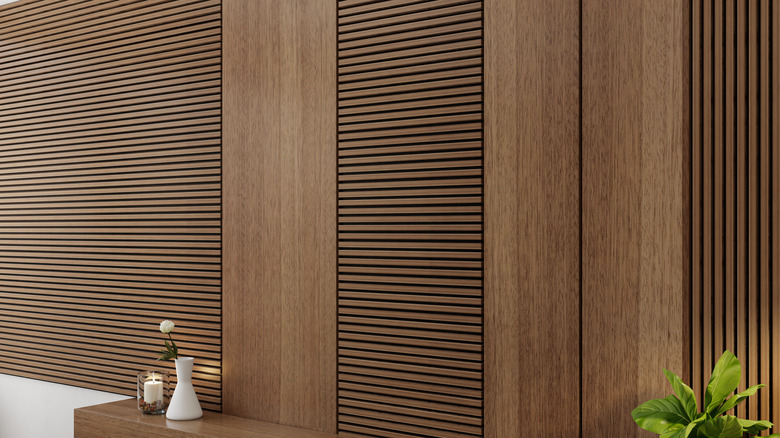
You may never have heard of pole wrap, and don't feel bad about that. It is a product not commonly used in the DIY world. (Although I'm thinking it should be.) In its most common form, it consists of ½-inch-wide (about 5/32-inch-thick) veneer-covered MDF strips mounted to a flexible backing. The veneer is most commonly red oak. There is also a bamboo-veneered pole wrap from the ULTAC Store available on Amazon. If you are going to get yours from a big-box home improvement store, you should check ahead of time — they may need to order it for you. You can stain it or paint it, and the regular geometric pattern of the strips (installed vertically or horizontally) to create a beautiful look.
How to upgrade your cabinets using pole wrap
Most construction-grade cabinets have a frame surrounding a flat panel. (Although there are many cabinet door styles.) Our goal is to install the pole wrap on that center panel. Start by removing the door and hardware from the cabinet. You have a couple of decisions to make here. Are you going to paint the whole door when you are done, or are you going to try to stain the pole wrap to match the existing wooden frame on the door? Your choice. If you plan to paint the door (perhaps you are thinking of painting your wood cabinets completely), start by sanding the whole door with 100-grit sandpaper. A random orbit sander is perfect for this task. If you are going to keep the frame as is, just sand the flat panel in the middle of the door.
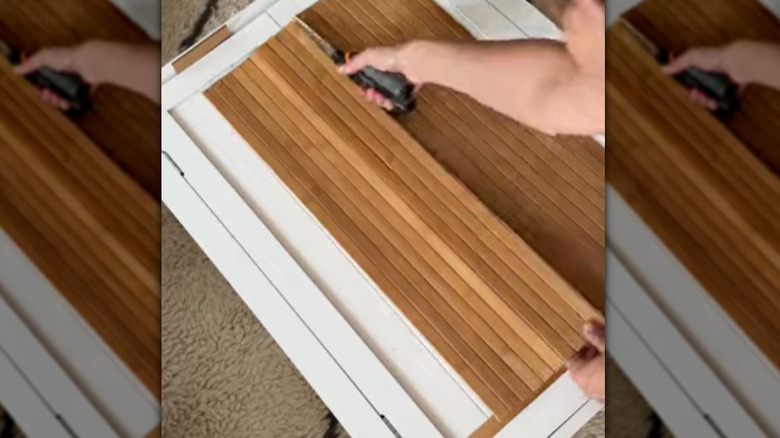
With the sanding done, measure the flat panel area and cut a piece of pole wrap to fit. Mark the lines on the pole wrap with a pencil. Then take a utility knife, and with the aid of a straightedge, scribe the pencil line. This step will help prevent the veneer from chipping out during the cut. Put a strip of green painter's tape just inside of the scribed cut ... also to prevent chip out. If one of your cut lines happens to fall on a joint between two strips, that's great. You can use the utility knife to cut the backing. So easy. Cut out the pole wrap piece using a handheld jigsaw or a hand saw. Sand the cut edges smooth.
Final steps
To secure the pole wrap to the door panel, use construction adhesive, something like Liquid Nails, Locktite Power Grab, or something similar. Apply the adhesive and then trowel it evenly across the panel. I use a toothed trowel, but it is not required. The adhesive should be about 1/16-inch thick on the panel. Place the pole wrap piece and push it down on the panel. Make sure it is touching the adhesive across the whole piece. With the door lying flat, allow the adhesive time to set (see the instructions on the adhesive's tube).
If you are going to paint the door, apply a coat of primer to the pole wrap, let it dry, and give it a quick sanding. At that point, go ahead and paint the entire door. If you are matching the pole wrap to your existing door frame, use a scrap of the wrap and test stain colors until you find one that matches. When you are satisfied, wipe on the stain and allow it to dry. Then use two coats of polyurethane to seal and protect the panel. A good trick is to apply the poly to the entire door for a uniform look. Reinstall the hardware and hang the door. It will look like a brand-new upscale cabinet.