Turn Dead Behind-The-Door Space Into Valuable Shoe Storage With This DIY
We may receive a commission on purchases made from links.
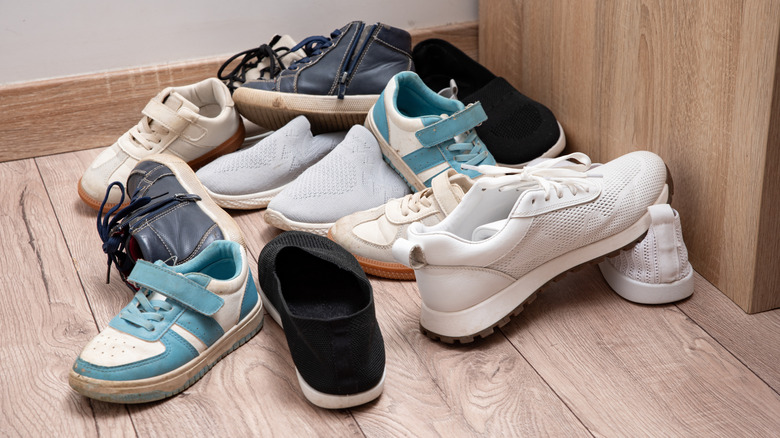
There's no shortage of household items that contribute to daily clutter, and when it comes to our shoes... they can be a real nuisance. At the end of a long day, the last thing anyone wants is to be making extra rounds cleaning up everyone's strewn-about footwear. If it's just you, this may not be a big deal, but add in roommates, partners, and/or kids and that shoe pile can really grow. While outside storage can be a space-saving solution, it's not ideal as weather can wreck shoes, bugs can crawl inside, and it can still be a trip hazard. If you've been searching for just the right thing to keep shoe clutter tucked away and organized, this DIY is for you. It's the perfect budget-friendly shoe storage hack that makes use of empty wall space.
One of the best parts of this project is its ability to use dead space to create storage, making it the perfect space-saving shoe storage for literally every home. Though this project isn't necessarily level zero DIYer, you don't need years of expertise either. You're basically just going to use a drywall saw to cut into your empty wall space behind your door (after checking for studs and wires!), use wood to create a box with shelves for shoe storage, paint or stain it, then secure it inside the hole. Boom, you've now got yourself the perfect, stylish, shoe storage that uses up that previously useless dead zone behind your door.
Customize your recessed shoe storage
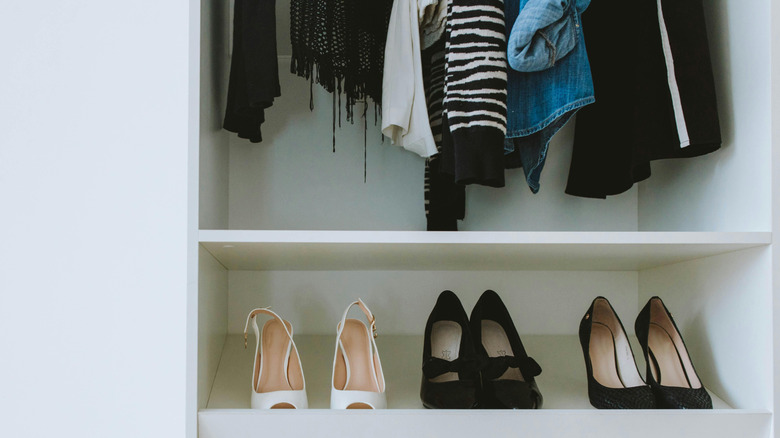
This project is a great alternative to things like over-the-door storage, which can damage your door and let's be honest, is usually quite the eyesore. You'll need a handful of tools like a drywall saw, wood glue, clamps, drill and screws, stud finder, measuring tape, wood to make your storage box, and your choice of paint or stain. There are plenty of helpful DIY videos to get you started online, but the basic rundown starts with locating your wall studs and measuring the space between them. Once you know how much space, use a saw, wood, wood glue, clamps, and a drill to cut and put together your shoe storage box (don't forget wood slats or slanted shelves so your shoes stay in). Next, you'll paint or stain it. Lastly, you'll insert it in your cut-open wall (carefully removing any insulation in the way) and then secure it with a screw on each side, into the studs.
If you want to cut out a few steps and a slightly higher cost isn't a deal breaker, consider buying a built-in style cabinet like the Hampton Bay Recessed Wall Cabinet. Simply assemble and place in your cutout, and you'll be done. Just make sure your dimensions match whichever cabinet you purchase (there are a lot of options!). You can also add hooks so you can store things like bags or jackets here, or add some wallpaper on the back for extra pizzazz.