The Clever Thrift Store Flip That Turns Ordinary Picture Frames Into Hidden Storage
We may receive a commission on purchases made from links.
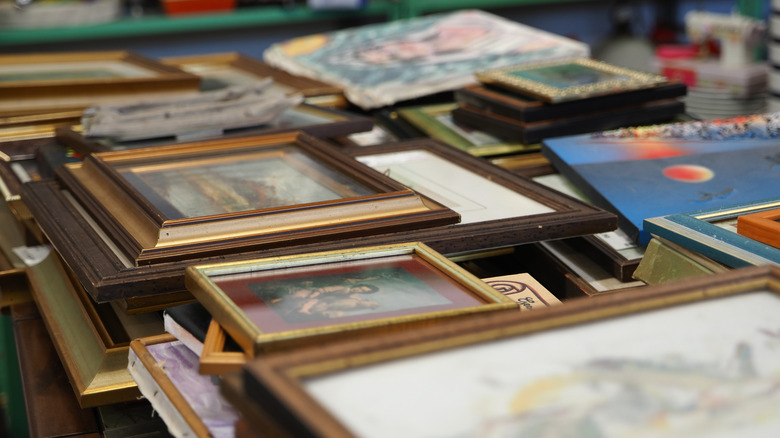
If you enjoy crafting custom home decor, picture frames are some of the best items to look for at estate sales, flea markets, and thrift stores. Consider setting aside small frames to DIY Christmas tree decorations after a thrifting expedition, and use larger ones to add hidden storage to your walls. A thrifted frame makes a lovely cover for a variety of wooden boxes and shelving units suitable for wall mounting. The key is finding a hangable container whose length and width are similar to the length and width of your frame. Better yet, construct the container yourself to get the dimensions just right. This is also likely to keep your project costs low if you use a sturdy but inexpensive wood such as pine.
A wooden frame is a good choice for this project because it's likely to be easy to drill. This makes adding a pair of hinges a snap. Whether you have a pre-made container or a homemade one, attaching the frame with hinges turns it into a door rather than a lid that you might drop or misplace. First, use a measuring tape to determine where you'd like to put the hinges. Next, pre-drill holes in the container to prevent the wood from splitting when you add the hinges. To help the picture-frame door stay shut, screw on the hinges and affix strong, flat magnets. Cabinet magnets such as those in the 4-Pack of Mousike Magnetic Door Catches work well.
Want to make a storage container to go with your frame? Before you start building, decide what it's likely to store and where you'd like to hang it in your home.
Making a storage container to attach to your frame
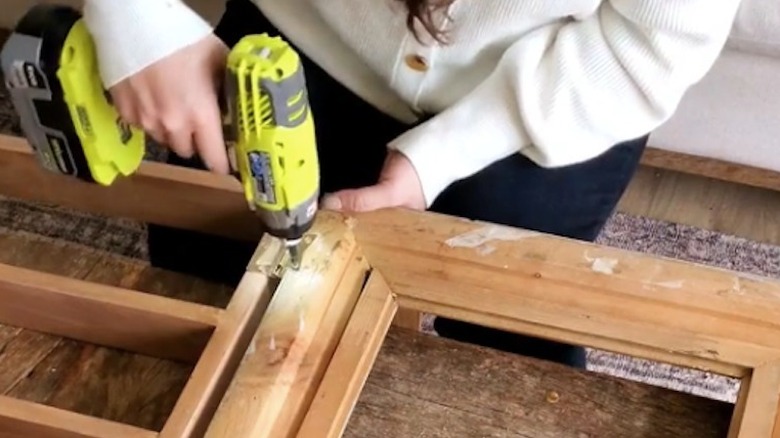
If you're planning to hang your frame-covered container in a bedroom or living space, you might want to make a boxed-in shelving unit that's just a few inches deep. This can be used for hiding small items such as medicine bottles and remote controls. First, cut four straight-edged pieces of wood and arrange them in a rectangle that's the same size as the frame. A nail gun is helpful for creating the corners of the box and attaching the shelves, and Gorilla Wood Glue or a similar product may be used for reinforcement. Use a wood filler such as DAP Plastic Wood-X to address gaps and crevices, and smooth away any splinters or rough edges with sandpaper. Paint or stain the shelf-lined box to elevate its look and extend its life. Once the finish is dry, attach the frame to the box.
You could also pair a thrifted frame with a deeper container made to fit a cable box or wi-fi router. In this case, you may want to forego the shelves and create a simple compartment for the object you'd like to conceal from view. Shelves or no shelves, make sure to put back hooks on your container after assembling it. If your creation is relatively heavy, consider hanging it with drywall anchors that can support its full weight when it's loaded up with objects. Or, you could hang the frame-topped container on a wall stud after installing picture frame wire on the back.