Simple Ways To Care For Hostas In Fall So They Come Back Strong And Healthy In Spring
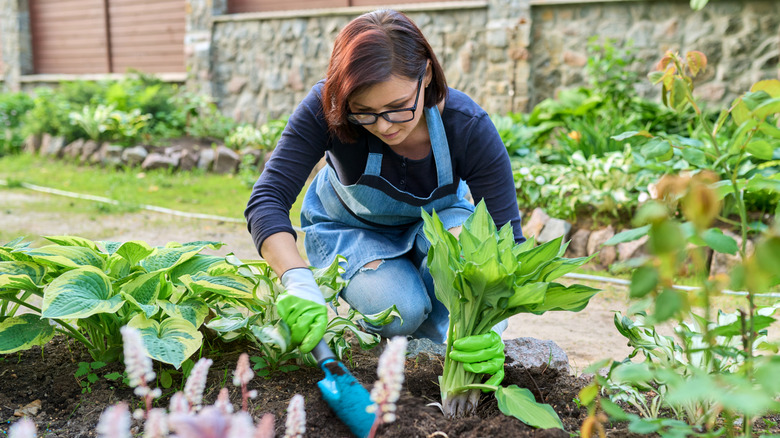
Hostas are prized among new gardeners and landscaping experts alike because they offer loads of visual appeal but need minimal care. Most varieties like shade, so they're perfect for gardens beneath tree canopies and flower beds near shadow-casting awnings. Hostas are also ideal if you like choices. There are more than 2,000 cultivars of these stunning plants, many of which sport big, showy leaves and offer summertime flowers that attract a range of pollinators. If you're deciding when to plant new hostas or divide existing ones, consider early fall. When you introduce — or re-introduce — the plants to your garden at this time of year, they can focus most of their energy on root development rather than directing some of it toward flower production. There are also a few steps you should take to nurture all of your hostas in the fall. Whether they're new recruits or old friends, they'll need you to adapt your watering regimen, prune their foliage, and provide some extra insulation in the autumn.
Sometimes called plantain lilies, hostas are well-suited to the climates of USDA hardiness zones 3 through 9. This means that they'll thrive as far north as Minnesota and as far south as Texas. Especially if you live in the northern parts of this range, you should set aside some time in the fall to prepare these plants for winter. Though hostas are extremely tough, they can suffer damage from strong winter winds, heavy snow, or repeated cycles of freezing and thawing, which can kill roots by forcing them above ground during harsh conditions.
Water hostas carefully before the ground freezes
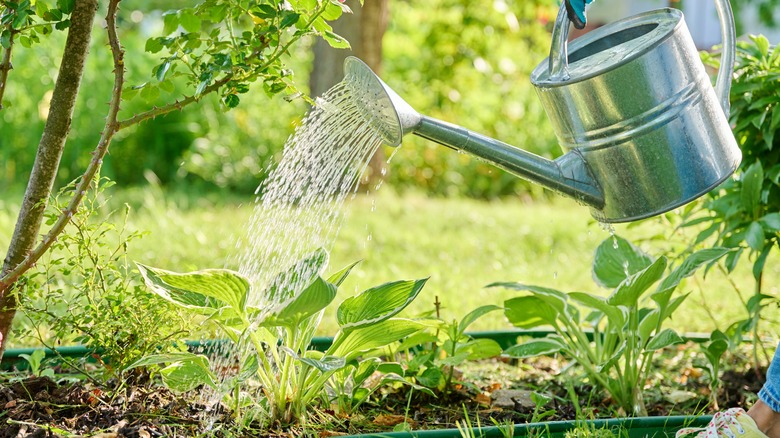
Just as there's an ideal time to stop watering your lawn in the fall, there's a point at which you should stop hydrating your hostas. If you live somewhere that the ground freezes in the winter, these plants will need a steady supply of moisture before the soil surrounding their roots turns icy. This moisture helps their roots survive the stress of springtime thawing and freezing. That said, take care not to over-serve them, since this raises their risk of developing root rot. Checking the soil's moisture often and watering when there's no trace of liquid is a solid approach. A product such as the Hathdia soil hygrometer can help you ensure that your hostas' home is damp enough. Once your hostas go dormant for the winter, it's time to hang up your watering can for a while. In general, you should pause your hosta watering efforts when air temperatures go below 40 degrees Fahrenheit. This rule of thumb is true for other perennials as well.
You may find that full-grown, in-ground hostas need a drink about once a week in the fall, but local weather conditions, like excessive rain or dry spells, can influence this significantly. Like other container-grown plants, potted hostas will need more frequent visits from your hose or watering can. If your hostas are growing in a particularly shady spot, they are likely to need less water than if they were planted in a sunnier garden; that's because water evaporates faster when exposed to sunlight.
Be extra vigilant about nesting pests
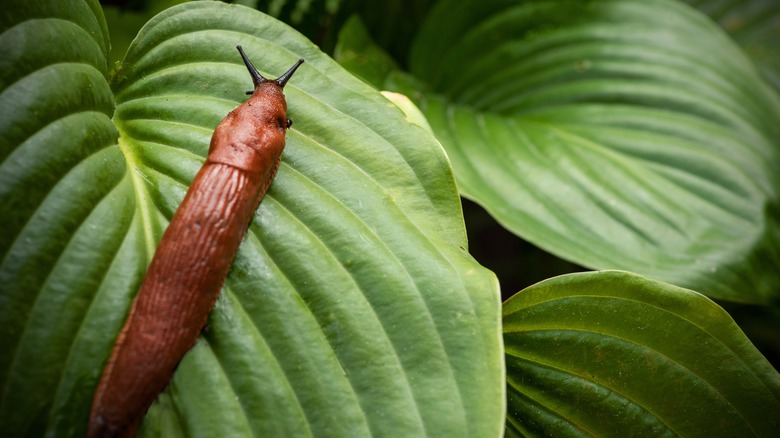
Hostas are related to asparagus, but they're typically used as ornamental plants in the United States. Unfortunately, slugs and deer don't understand that eating these beauties is a bit of a faux pas. Even if your hostas aren't prone to nibbles in the spring or summer, they may draw snails, nematodes, and more in the fall, when falling temperatures put many creatures in shelter-seeking mode. While these pests are hunkering down, they may decide to munch on the luscious foliage surrounding them. In other words, check your hostas for signs of bugs and slugs throughout the autumn. Though several types of soft-bodied insects find hostas particularly appealing, these plants are sometimes bothered by weevils and grasshoppers as well.
When dealing with garden pests that have invaded your hostas, don't just look for holes in the leaves. Slugs and snails will also leave slimy trails near the plants. Removing wilted leaves from your hostas gives these creatures fewer places to hide. You can also pluck slugs off of plants when they're feeding, which they almost always do at night. Surrounding your hostas with beer traps is another slug-control option. Long story short, slugs love hefeweizens even more than hostas. If you push small, beer-filled containers into your hostas' soil, slugs will fall into them in their quest to consume the liquid inside.
Prune your hostas properly
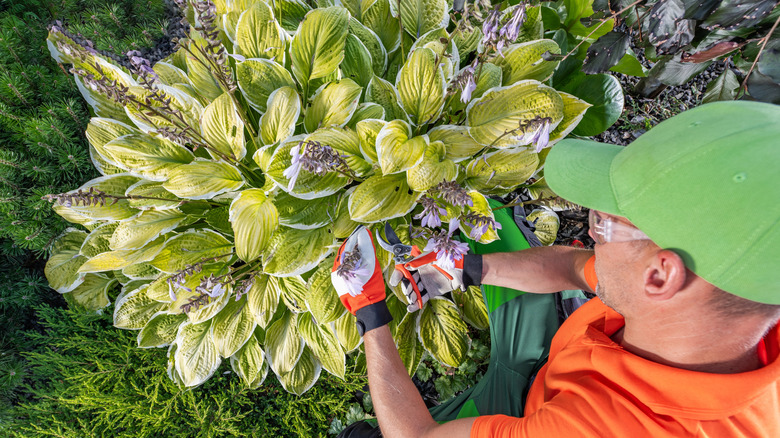
Knowing when to cut back your hostas is crucial for helping them make a triumphant return in the spring. At the start of the fall, snip off spent flowers and leaves that have lost their luster. Prune these parts to a height of 2 inches or so. This tells your hostas to focus their efforts on their roots rather than their foliage. As the season progresses, snip off leaves that are turning yellow. Eventually, all of the leaves will start looking lifeless, which indicates that the plant has gone dormant. At this point, you should take this foliage down to the ground as well. Hostas will typically go to sleep and let their leaves wither when air temperatures are 28 degrees Fahrenheit or lower.
If you prefer a single fall pruning session, cut off the foliage at the base of each hosta soon after the first significant frost of the season. Make sure to use sharp, disinfected pruning shears to discourage the spread of disease. This will also prevent you from tugging on the leaves, which can uproot your plants. The leaves you've removed can go in your compost pile as long as they're healthy. Recycling them in this way returns their nutrients to the soil.
Decide if it's time to divide your hostas
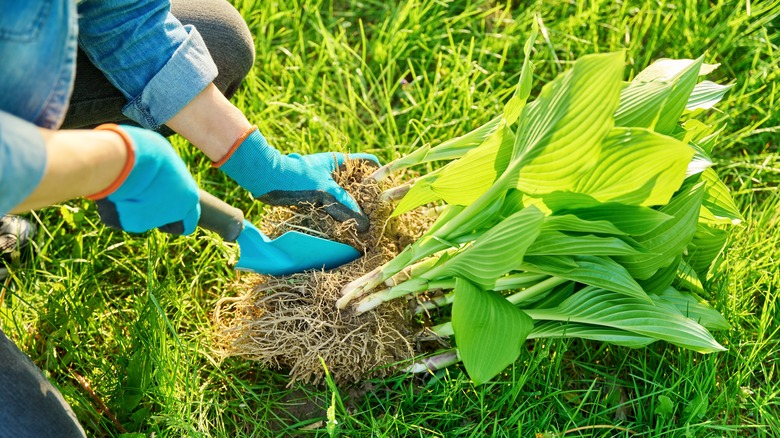
Hostas have underground stems known as rhizomes that tend to grow in expanding clumps. Knowing when and how to divide the rhizomes is key. Plus, division is a low-cost way to get even more hostas for your yard. Though hostas can be divided in the spring, many gardeners prefer to do it in the fall. According to the Greater Ozarks Hosta Society, September tends to be the best month for division in the northern half of hostas' growing range, while October is usually ideal in the southern half. Completing this task at least a month before fall's first anticipated frost lets you install the divided plants in the ground. If you miss the cutoff date, place the separated clumps in pots for overwintering and then plant them in their new homes in the spring. Likewise, if you don't get around to dividing your hostas in the fall, wait until spring to give it a go. In the fall and spring, cool temperatures keep plant stress at bay, and the soil's moisture is easiest for roots to locate and use.
Dividing hostas involves digging clumps of them out of the ground and then breaking them into smaller chunks. You may be able to do this with your hands, or you can use a knife to slice them apart at the roots. Be sure each chunk contains some leaves as well. It is important to separate hosta clumps every 3 to 4 years so they don't get too cramped, which can stifle their development. If you wait too long to divide your hostas, foliage growth may be inhibited.
Mulch your hostas for winter protection
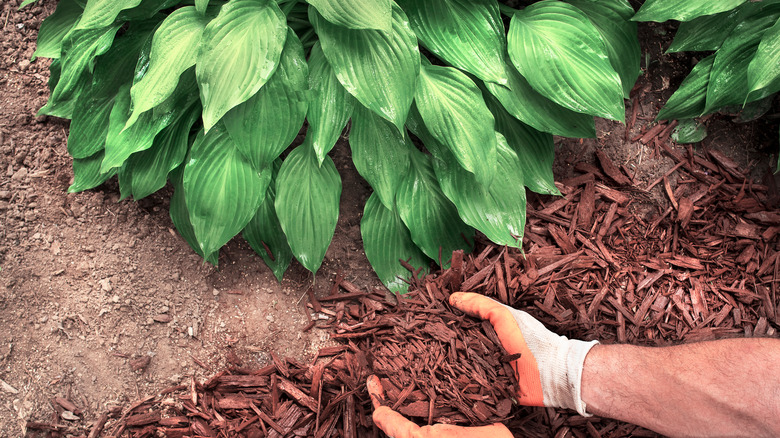
In general, winterizing your hostas involves protecting their roots from the cold. Blanketing the base of each specimen with cozy mulch is an easy way to do this. Choose an organic material such as dried leaves, wood chips, or straw, and spread a layer of it around your hostas. When doing this, aim for a thickness of 2 to 3 inches. The mulch will serve as insulation for the soil and any plant parts that are underground. As an added bonus, the mulch will discourage weed growth in the spring while encouraging moisture beneath it to stick around rather than evaporating. Remove weeds and other extraneous items from your hostas' growing area before applying mulch, and water it afterward.
If you have hostas that are particularly sensitive to frost or cold temperatures, consider putting them in pots so you can move them to a warmer location. This may simply be a garage or a sheltered spot next to your house. If you bring your hostas indoors, don't leave them there for too long. To thrive in the spring, they need to hang out in temperatures below 40 degrees Fahrenheit for a few months between growing seasons.