8 Garage Door Maintenance Tips You Should Know

We may receive a commission on purchases made from links.
If you're not in the habit of doing garage door maintenance, here are some of the things that could happen: Your door could open or close halfway and get stuck, stranding your car outside on the driveway. The door could open unevenly and wear out the garage door opener. And more seriously, the safety sensors could fail, and the door could close while a child or pet is standing underneath it.
Homeowners can't DIY repairs to all the moving parts of a garage door, but with proper garage door maintenance, repairs shouldn't be needed very often. Garage door repair isn't necessarily beyond the ability of a DIY-savvy home improvement wizard but it can actually be quite dangerous. Some of the moving parts of a garage door are under extreme tension, and if something pops when you loosen the wrong nut, you could wind up with serious injuries.
Garage door maintenance doesn't take a long time, and the more often you do it, the better your garage door will work. Make it a monthly routine, especially in the cold winter months, when rain, snow, and ice do the most damage to metal components.
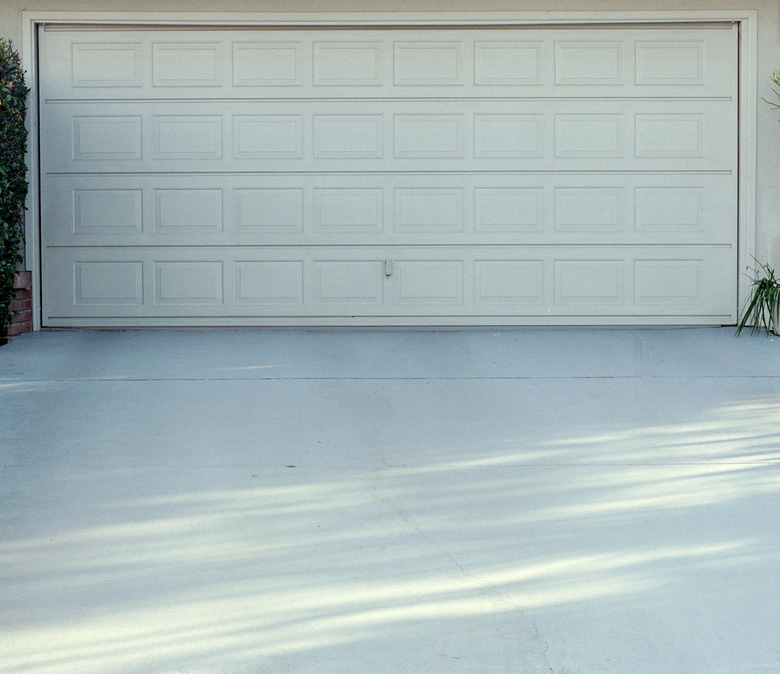
1. Check the Door Balance
1. Check the Door Balance
This is one of the most important garage door maintenance tips, and it can help you diagnose worn or broken garage door springs or cables. Close the door, disconnect the garage door opener by pulling the emergency release cord, and lift the door manually to the half-open position. When you release it, it should stay where it is (it's OK if it lowers less than a foot). If the door falls, the springs are worn and need to be replaced. Call for service because while you might be able to do this job yourself, you're better off getting a pro to do it.
2. Inspect the Door and Tracks for Damage
2. Inspect the Door and Tracks for Damage
Dents in a garage door do more than hurt the home's curb appeal; they indicate impacts (as in collisions) that may have thrown the door out of alignment, forced rollers out of their tracks, or bent the tracks. Any of these conditions will force the garage door opener to work harder and fail sooner. You can sometimes reseat a displaced roller by bending back the track with pliers, pushing the roller into the track, and pounding the track back into shape with a hammer. You need a pro to repair bent or damaged tracks or a skewed door, though.
3. Tighten and Lubricate the Tracks and Rollers
3. Tighten and Lubricate the Tracks and Rollers
If the garage door makes a lot of noise when it's in operation, it could be because the tracks are loose. Not only does that create more work for the door opener but it could throw the safety sensors out of alignment. It's safe to tighten the nuts that hold the tracks to the wall using a socket wrench. Pay special attention to the bottom roller brackets because the bottom of the track has the most play and is most likely to be loose.
If a track has become loose enough to move side to side, check the space between the track and the door to make sure it is consistent top to bottom. An even gap is important for smooth door operation. Tighten the mounting nuts or lag screws securing the track to the wall.
When it comes to lubrication, a product containing white lithium grease or silicone is best. Spray it liberally along the tracks and spray it on the rollers. If any of the rollers are rusty, spray the grease into the gap between the roller and the axle to help it turn more freely. Severely corroded metal rollers should be replaced with vinyl ones by a garage door service pro.
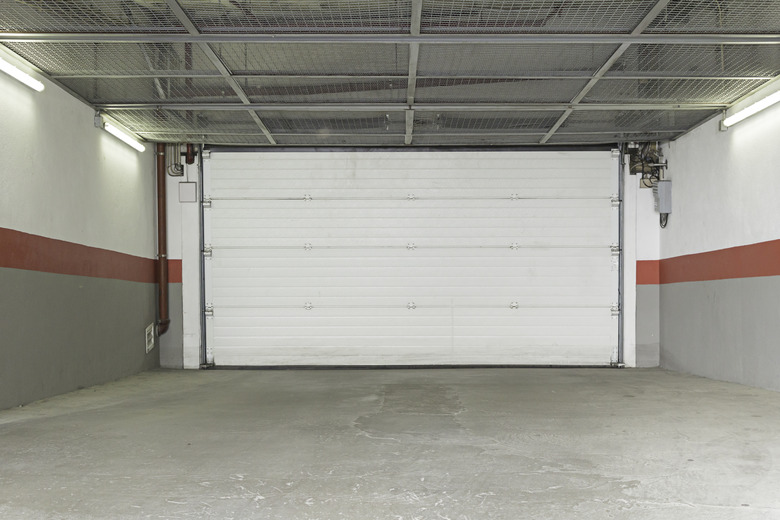
4. Check the Pulleys and Cables

4. Check the Pulleys and Cables
Many, but not all, garage doors employ pulleys and cables to connect the door to high-tension springs that carry much of the door's weight. This makes it easy to lift and prevents it from crashing to the floor on the way down. Check the pulleys for damage and lubricate them if they appear rusty. Check the tension on the cables by plucking them like guitar strings. They should have equal amounts of tension. If one seems looser than the other, call a service pro.
5. Inspect the Weatherstripping
5. Inspect the Weatherstripping
Most garage doors have weatherstripping along the top, sides, and bottom, and many have a threshold on the floor against which the bottom seal on the door seats when the door is closed. When weatherstripping wears out, cold air and water can get into the garage, and the damaged weatherstripping can bend and interfere with the operation of the door.
Luckily, replacing worn weatherstripping or a worn bottom seal is a job you can do yourself. Use a pry bar to remove the old weatherstripping (which is usually attached to exterior trim) and install the new weatherstripping with a nail gun. You can usually slide out a worn bottom seal from one side of the bottom of the door and slide on a brand-new one while the door is halfway open.
6. Test Auto-Reverse and Door Limits
6. Test Auto-Reverse and Door Limits
Open the door, put a 2x4 wide-side down on the pavement underneath it, and close it again. When the door hits the wood, it should reverse and open again. This is a safety feature to prevent damage or injury to anything or anyone in the door's path. If it doesn't reverse immediately, disconnect the door using the emergency release handle and operate it manually until you can get a service pro to fix the door opener.
If the door passes the auto-reverse test, open it all the way, close it again, and check the gap between the bottom of the door and the pavement. If you see one, adjust the close limit on the door opener to make the door close that extra amount.
7. Check the Safety Sensors
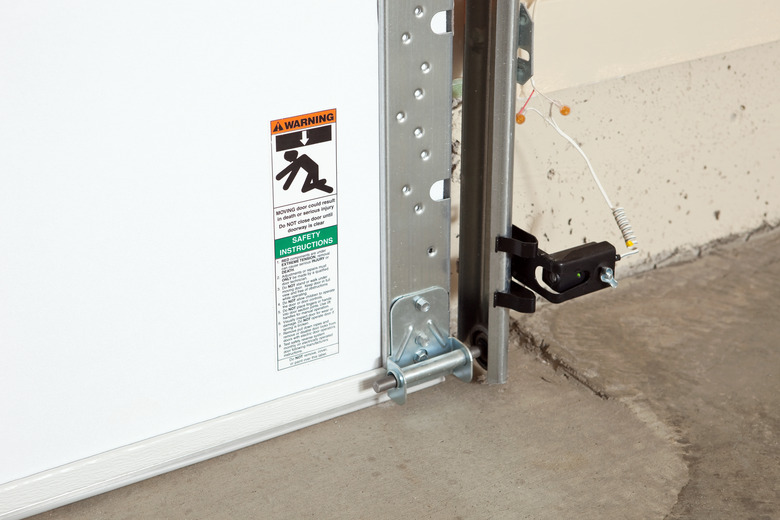
7. Check the Safety Sensors
The safety sensors are located on either side of the door about a foot from the ground, and they pass an invisible beam of light between them. If anything crosses the beam while the door is closing, the door should reverse and open again. This is one of the most important safety features, and it's designed to protect people and animals that might cross the doorway while the door is closing. Open the door and close it again, and as it's closing, pass your hand in the path of the beam. If the sensors are working, the door should reverse and open again.
If the sensors aren't working, you can usually fix the problem yourself. Try cleaning the lenses on the sensors using a clean rag. You might also notice that the sensors are out of alignment, which is indicated by the failure of the green LED on the receiving sensor to illuminate. This often happens when the tracks are loose. Consult your owner's manual for the proper procedure for realigning them. If the sensors are clean and aligned, check the wiring connections in the sensors and the door opener and tighten them if they are loose.
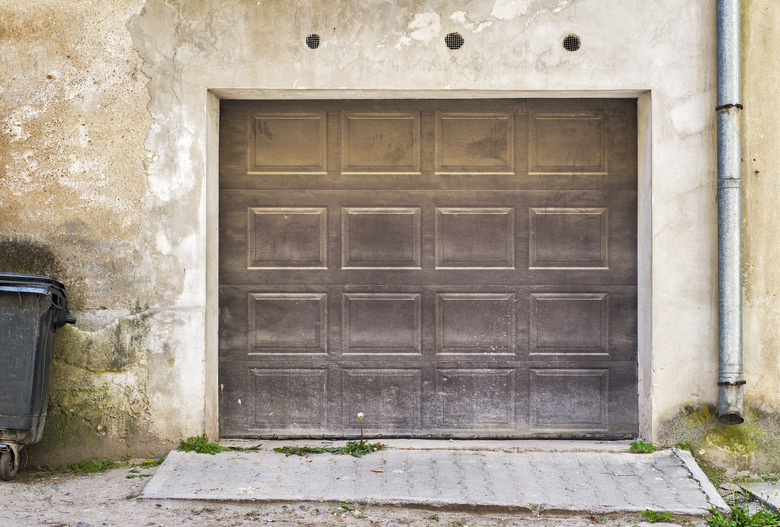
8. Maintain the Door Itself

8. Maintain the Door Itself
Keep the door in good repair, filling gaps and holes that allow air to pass through with epoxy filler or silicone caulk. Lubricate rusty door hardware to ensure you can operate the door manually when the automatic opener fails. Wood doors have to be repainted every few years or so to prevent the wood from expanding or warping. It's also important to maintain the finish on metal doors to prevent rust and corrosion.