How To Install Shades And Blinds — And Get It Right The First Time

Blinds and shades are two of the most popular window treatments because they are versatile, relatively inexpensive, and can be combined with curtains and drapery for extra design panache. Blinds differ from shades in that they have individual slats or vanes made of wood, vinyl, or some other rigid material, whereas shades consist of a continuous expanse of fabric or something similarly flexible. Although they are different, you install blinds and shades in essentially the same way.
If you're ready to install your window coverings, you've already made measurements and purchased ones that fit. If you had them custom made, they are already the right width, but window treatments you purchased off the shelf may have to be cut to size. While this is something you can do at home, it's a better idea to have it done at the store to ensure an accurate width and a smooth, straight cut.
You've no doubt also decided whether to mount the blinds or shades inside the window frame or outside it. If you're mounting them inside, it's crucial for them to fit exactly, so it's a good idea to check before you begin mounting them. When mounting outside the frame, you have more leeway, so this pre-check probably isn't necessary. Either way, mounting blinds and shades is a fairly simple DIY home improvement project that shouldn't take more than 20 minutes per window — if you do it correctly.
Tips on Installing Window Treatments Correctly
Tips on Installing Window Treatments Correctly
If you're a seasoned DIYer, mounting window coverings looks like one of the easiest jobs you can do — and you aren't wrong — but take a minute to read the manufacturer's installation instructions anyway. Products differ, and the few minutes you spend matching parts to the materials list in the instructions and noting the specifics of the product you're installing could save you a do-over (and holes in the wall)
If you're planning an inside-mount installation, double check the depth of the window frame to make sure you have enough room, particularly if you're hanging wood or faux wood blinds. You need enough space for the slats to be able to rotate without touching the window, so the frame depth should be at least 1/4 to 1/2 inch wider than the width of the slats. If it turns out you don't have the room you need, all is not lost because you can still do an outside-mount installation. If that turns out to be necessary, it's good to know before you start so you don't drill unnecessary holes in the window frame.
Sometimes, the top of the window frame isn't level, and an important consideration when doing an outside-mount installation is whether the headrail should follow the line of the top of the frame or be objectively level.
Generally, it should follow the line of the frame if you're mounting window blinds or window shades on the trim or in such a way that the top trim is visible. But if the trim isn't visible, the headrail should be objectively level. When installing full-length vertical blinds, the level of the floor also matters, and you may want to set the headrail off-level to match the line formed by the bottom of the slats to the floor.
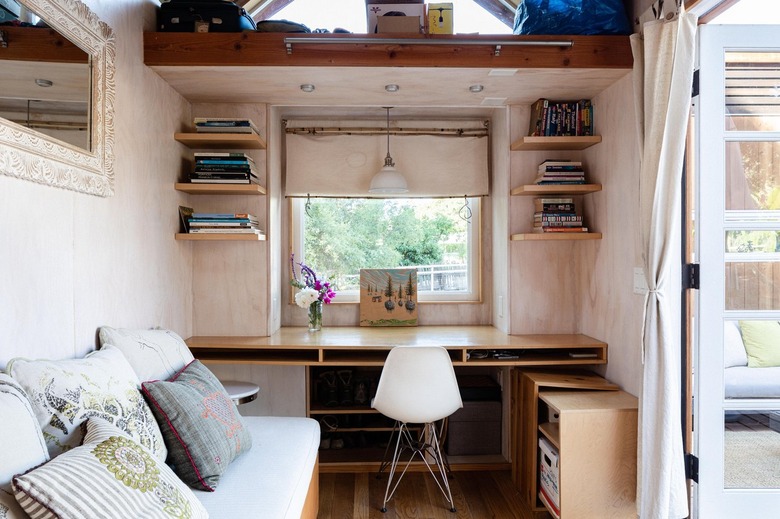 Stephen Paul for Hunker
How to Install Shades and Blinds
How to Install Shades and Blinds
Things Needed
Even though they're different, you install blinds and shades in basically the same way. Most products come with mounting brackets to hold the headrail, and the bulk of the installation procedure involves securing these brackets to the inside of the window frame, the surface of the window trim, or the drywall. Positioning the brackets is easy if you're doing an inside-mount installation or you're installing the brackets on the window trim, but some measurements will be needed for installation on drywall.
Most of what you need for installation comes with the product you're installing, including brackets, fasteners, and drywall anchors, which can range from simple plastic conical anchors to heavy-duty hangers, like toggle bolts. You'll need a few basic tools, and don't forget the step ladder. Your chances of mounting window treatments accurately the first time around decrease significantly when you're trying to maintain your balance on a sofa or chair.
1. Unpack Your New Blinds or Shades
Remove everything from the box, including all the hardware and the installation guide. Make sure you have all the parts indicated in the guide and then read the instructions. If you're reinstalling an old blind or shade in a different window, check the brackets to confirm that they aren't bent or damaged and make sure you have the required number of screws. If you're installing a used blind or shade on drywall, you'll need to purchase new screw anchors because you usually can't reuse old ones.
2. Mount Brackets Inside the Window Frame
If you custom ordered blinds or shades to fit inside the window frame, you're all set to begin installation. If you bought the blinds or shades off the shelf, they may need to be cut. To ensure an accurate, clean cut, have this done at the store when you buy them. Some heavy window treatments may need a third support bracket, but if you're installing roller shades or a very lightweight blind, you won't need one.
- Position one of the brackets on one of the top inside corners of the window frame. If the bracket has a hinged cover (as most do), close the cover. Align the front of the bracket (which is the side with the cover) flush with the front edge of the window jamb (not the trim) or if you have enough room, a short distance behind it. The top of the bracket should be about 1/8 inch below the top of the frame to allow the cover to open and close freely.
- Mark the positions of the screw holes on the window frame using a pencil.
- Remove the bracket and drill a pilot hole on each mark using a drill and an 1/8-inch drill bit.
- Set the bracket back in place and drive screws into the frame to hold it using a drill and a screwdriver bit or a screwdriver.
- Install a second mounting bracket in the opposite top corner of the frame. If you set the first bracket back from the edge of the frame, use a tape measure to measure the distance and position the second bracket with the same offset.
- Measure the inside width of the window frame, mark the midpoint on the top inside of the frame, and center the middle bracket on that mark. The middle bracket doesn't have a cover and will be identified by the manufacturer. Mark the screw holes, drill pilot holes, and screw the bracket to the inside top frame, remembering to offset it by the same distance as the other two.
3. Mount Brackets on the Window Trim
Whether or not the top trim is level, it's best to install the headrail parallel to it. This prevents setting up an incongruence between them.
- Position the corner brackets near one of the top corners of the trim. If it isn't directly on the corner, measure the vertical and horizontal distance from the corner.
- Mark the screw holes, drill pilot holes, and screw the bracket to the trim.
- Position the other corner bracket on the opposite corner of the top trim. Maintain the same vertical and horizontal offset as the first bracket. Mark the screw holes, drill pilot holes, and drive the screws to secure the bracket.
- If necessary, position a third bracket midway between the other two and screw it to the trim.
4. Mount Brackets on the Wall (Level Window Frame)
When you have a level window frame, you can use it as a reference for leveling the headrail. Note that if the window treatment needs a middle bracket, it's easier to install it when you install the headrail rather than doing it before.
- Use a 2-foot level to determine whether the top trim is level. If it is, make a template from a flat piece of cardboard to help you position the brackets.
- Cut a square notch in one corner of the cardboard, fit it around the corner of the window frame, position one of the brackets on the cardboard, and mark the screw holes with a pencil. You want the horizontal position of the holes from the frame to be the same on both sides of the window, so subtract the width of the window (measuring from the outside of the trim) from the length of the headrail, divide the difference by two, and make the holes that distance from the edge of the frame.
- Remove the cardboard, drill holes on the marks, put the cardboard back, and mark the holes on the drywall.
- Flip over the cardboard, fit it around the other corner of the frame, and use the same holes to mark the drywall on that side.
- Drill a hole on each mark you made on the drywall using a drill bit large enough for the screw anchor you're using, following the manufacturer's directions.
- Install an anchor into each hole as applicable.
- Line up the brackets with the screw anchors and drive a screw into each anchor to secure the brackets.
5. Mount Brackets on the Wall (Window Frame Not Level)
When the window frame isn't level, the headrail should be. You can use the template method to position both brackets, with some modification. If the window treatment needs a middle bracket, it's easier to install it when you install the headrail.
- Notch a piece of flat cardboard, fit it around one corner of the frame, position the first bracket on the cardboard, and mark the screw holes. Make sure the horizontal distance from the edge of the frame to the bracket is half the difference of the length of the headrail minus the width of the window frame. Remove the cardboard, drill through each hole, set the cardboard back in place, and mark the holes on the drywall.
- Install the first bracket by installing drywall anchors and screwing the bracket to the wall.
- Flip over the cardboard, fit it around the opposite corner of the frame, and make marks on the opposite wall.
- Fit the bracket you haven't yet installed onto one end of the headrail and insert the other end of the headrail into the bracket you just installed. Working from the side of the window with the unattached bracket, lift the headrail and line up the screw holes on the bracket with the marks on the drywall.
- Put a level on top of the headrail and adjust the headrail until the bubble is centered. Mark the new positions of the screw holes.
- Remove the headrail and bracket, drill holes for drywall anchors in the new marks, install the anchors, and screw the bracket to the wall.
6. Install the Valance Clips
Install the valance clips onto the headrail according to the instructions in the installation guide.
7. Install the Headrail
Open the covers of both corner brackets, insert one end of the headrail into each bracket, push until it's fully seated, and close the covers. Push the valance onto the clips you installed previously until it snaps into place.
8. Install the Middle Bracket for Wall-Mount Headrails
If the headrail is mounted on the wall, fit the middle bracket onto the back of the headrail. Seat the headrail in the corner brackets, adjust the position of the middle bracket midway between the corner ones, and mark the screw holes on the drywall. Remove the headrail, drill a hole for a screw anchor on each mark, tap in the anchors, and screw the middle bracket to the wall. Set the headrail back in place and close the covers of the corner brackets to secure it. Finish by installing the valance.
References
- The Home Depot: How to Install Blinds or Shades
- Blinds.com: How to Install Window Blinds and Shades
- FactoryDirectBlinds.com: The Installation Guide: How to Install Roller Shades
- The House Designers: 5 Tricks to Hanging Blinds Perfectly the First Time
- United States Consumer Product Safety Commission: Window Blind Cords Voluntary Standards Activities