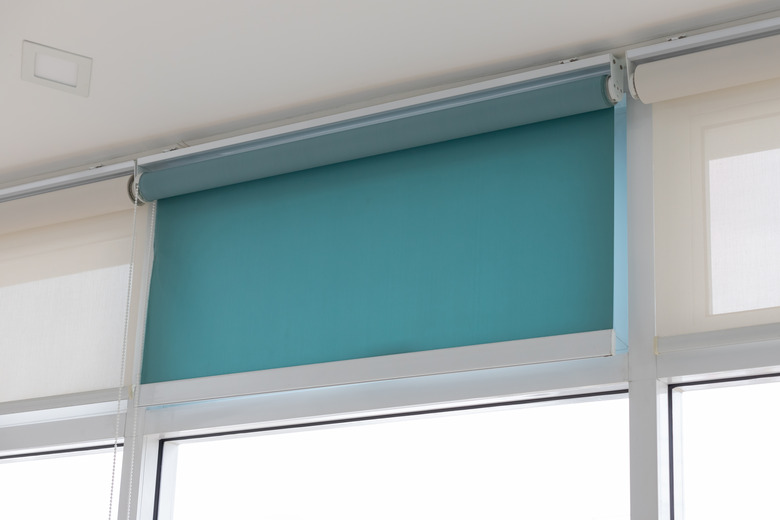
How To Cut Roller Shades To Size
We may receive a commission on purchases made from links.
If you go to the store to buy a window shade and come home with one that fits exactly, buy a lottery ticket too. It's very rare that off-the-shelf roller shades will fit your specific window dimensions perfectly. It's far more likely that you'll need to cut down your shade to get the right fit. Doing so isn't difficult, but your measuring game will have to be in top form for this particular DIY project.
In some cases, roller shades, like those in the Trim-At-Home product line, are very easy to cut. Designed for DIY, trimming these shades to the proper width is a simple matter of measuring your desired size and cutting the shade with a sharp knife. You do this when the shade is rolled up all the way, cutting through the shade fabric and the top roller on the shade all at once.
It's not always this easy, however. Some shades require that you take them apart and remove the fabric from the roller. You then cut the roller to the proper width and then cut the fabric. When you're finished, you need to reinstall the roller bar and hang the shade.
Things Needed
-
Drywall anchors (optional)
-
Sharp knife (optional)
-
Hacksaw (optional)
-
Metal file (optional)
-
Yardstick or straightedge
-
Needle-nose pliers (optional)
How to Cut Roller Shades to Size
How to Cut Roller Shades to Size
When cutting roller shades, keep in mind that you might need different tools for different blinds. Cardboard rollers cut easily with a sharp utility knife. Aluminum rollers, however, require a hacksaw. The shade fabric is often stapled onto cardboard, whereas aluminum rods tend to feed into a pocket sewn into the top of the shade.
Because shades can be so different, always check any directions that came with yours. They may include tips and tricks to make cutting the shade easier. They may also outline a specific trimming process that you must follow to make sure you don't make the kind of mistake that voids the warranty.
1. Install the Mounting Hardware
Before you trim your shade, you need to know the exact measurements needed. Mounting the blind hardware in the desired position makes it easy to measure for your shade without accidentally moving a bracket while you do so. Installing the hardware now also makes it easy to quickly hang your shade when you're finished trimming it.
- Decide whether you wish to mount your shade inside or outside the window frame.
- Line up and level your brackets, drill pilot holes, and install drywall anchors if needed. You can then mount the brackets where you want them.
- Measure from the outside edge of one bracket to the outside edge of the other so you know how much shade to trim.
2. Disassemble the Blind
Getting to the roller in your shade will require you to take it apart. Typically, this involves merely popping off the end cap with a screwdriver. Some end caps have a tiny pin in them that you must remove to release the cap.
- Unroll your shade as far as you can and lay it on a clean, flat surface.
- Examine the end of your roller blind. Pull the pin to remove one end of the roller or use a screwdriver to pop it off.
- Slide the roller bar out of its housing and remove the blind from it. The bar may slide out of a pocket within the shade. If the roller is cardboard, remove any staples that are holding the fabric onto the roller. Needle-nose pliers make this job much easier if you have a pair handy.
3. Trim the Roller and Shade
You only get one shot at cutting your shade, so work carefully. "Measure twice and cut once" is a good mantra, but you may want to measure three or four times just to be sure. Shade warranties don't cover trimming mistakes.
- Measure the roller and use a pencil to mark where you need to make your cut. Cut the roller at the mark using a utility knife or hacksaw depending on the material you're cutting. If you use a hacksaw, file away any burrs when you're finished.
- With a tape measure, measure into where you need to cut the shade's width. Make several marks down the curtain and then connect them using a yardstick or another straight edge.
- Cut the fabric with sharp scissors or a utility knife. If using a utility knife, getting a straight cut will prove easier if you hold your yardstick firmly in place and cut alongside it.
4. Reassemble and Hang the Shade
When reattaching your shade to its roller, always makes sure you wrap it in the same direction that it was before you removed it. This step is important for ensuring your shade will work properly when you hang it. Think of this in terms of the raging toilet paper debate — it matters whether the fabric comes off the back or front of the roller.
- Use a staple gun to reattach the shade fabric to the roller. If your roller is aluminum, simply slide it back into the shade.
- Roll the shade back up onto the roller, making sure you hold everything straight as you do so. If you roll too tightly, the shade won't recoil itself as it should, so make sure you leave a little wiggle room.
- Place the rod back in its housing and reinstall the end cap you removed earlier.
- Hang the shade.