How To Install Roman Shades — And Get It Right The First Time
We may receive a commission on purchases made from links.
Roman shades can add softness and color to your windows, and because they're cordless, they're also a safer alternative to traditional blinds. As a bonus, Roman shades are also less difficult to install than traditional draperies or curtains. A drill, a tape measure, and a pencil are all you need to complete this project in just a few minutes (although a level might come in handy as well).
Ready to hang up your Roman shades? Here's a step-by-step breakdown of both an inside- and outside-mount installation.
Inside vs. Outside Mount
Inside vs. Outside Mount
Before you install your Roman shades, you have to decide: Inside or outside mount? The installation process for both is fairly similar, so the choice really boils down to aesthetics.
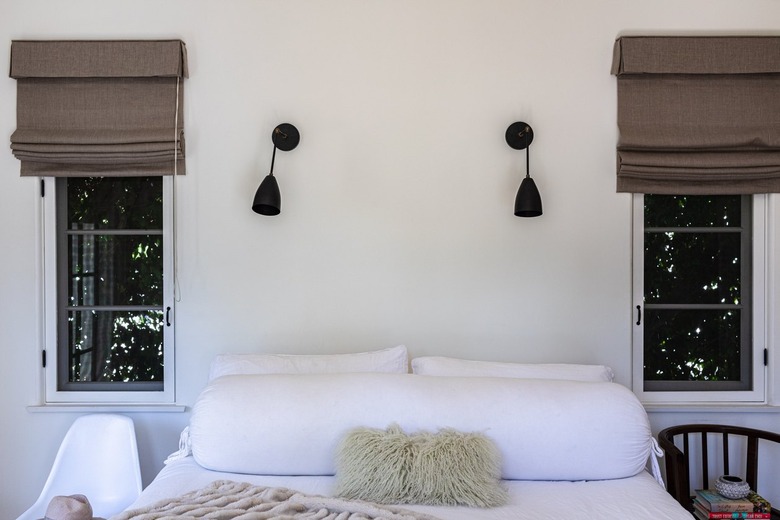
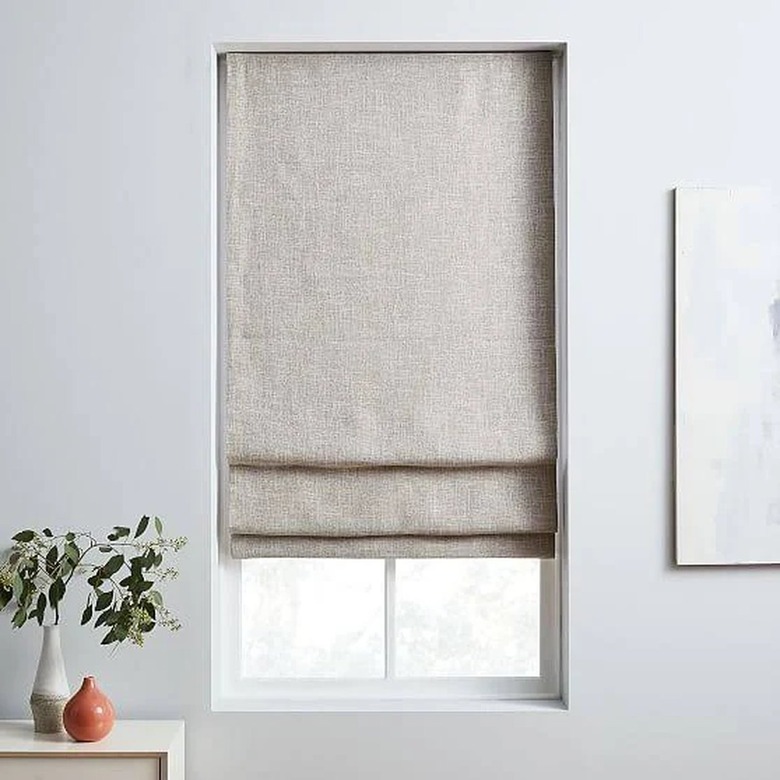
Inside-Mount Shades
As the name indicates, inside-mount shades get hung inside the window frame. This provides a clean look that fits well with a no-fuss minimalist design. Roman shades also take up less space when mounted on the interior of the window. This works well in kitchen windows and in small rooms where you want the window treatment to function — without claiming a large portion of the space physically or aesthetically. Inside-mount installation allows you to show off any pretty woodwork. (Vice versa, outside-mount can help you hide woodwork you're less than enthused about.)
You'll also want inside-mount blinds if you wish to layer your draperies. A Roman shade that fits completely inside the window won't interfere with curtain rods or drapery mounts that are hung above. Keep in mind that you'll need at least 1 inch of depth on your window frame to perform an inside mount, so verify that you have this before you commit.
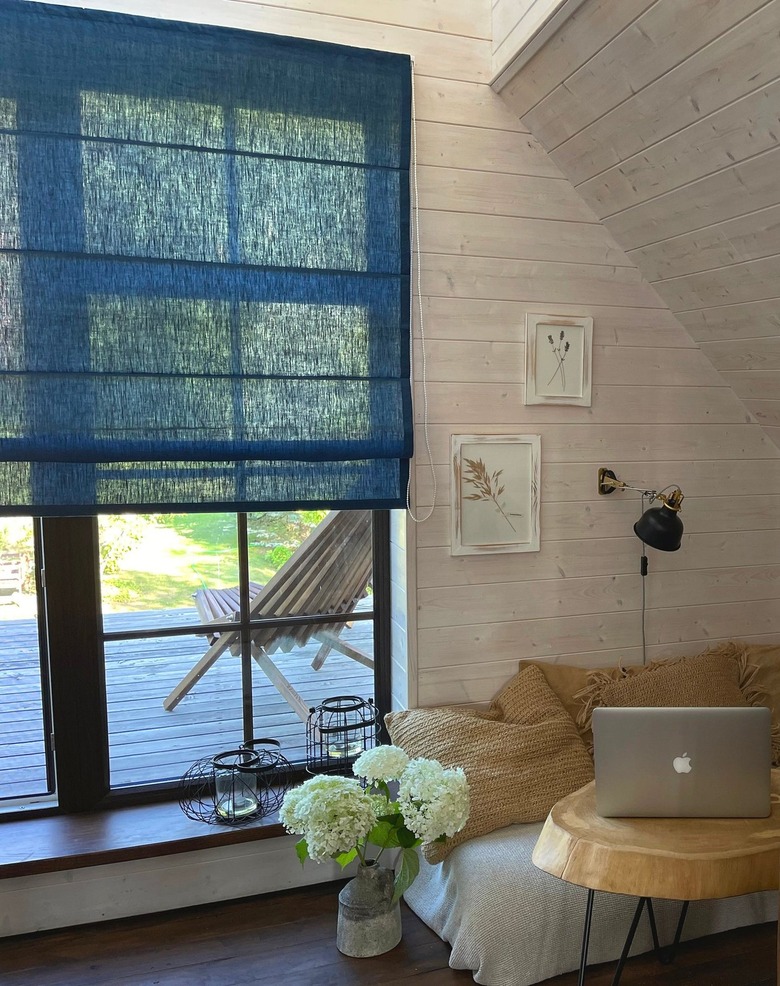
Outside-Mount Shades
Outside-mount shades attach outside the window frame by mounting to the surrounding trim or wall. This configuration offers a few benefits as well. Mounting your Roman shade above the window makes the window look taller and the ceiling appear higher. Outside mounts can also make a room darker because they allow for less light to peek around the edges of the shade (which might be ideal when planning out your nursery or even a primary bedroom).
Exterior mounts are also more forgiving than their interior cousins. When measuring for interior-mount Romans shades, you must be precise. If you order window coverings that are too short, they won't cover the window, and if they're too large, they won't fit within the frame. An exterior mount can give you a little more wiggle room since it doesn't have to fit inside the window frame.
In some situations, the choice between inside and outside mounts is made for you. If you're covering a window on a door, for example, you'll need to use an outside mount. Most of the windows on doors are quite shallow and lack the depth required to host an inside-mount shade. There's simply not enough room to mount the bracket inside the window frame.
How to Install Inside-Mount Roman Shades
How to Install Inside-Mount Roman Shades
Before you begin your installation, it's important to note you may encounter several different types of brackets when installing Roman shades. Some are L-shaped metal brackets that feature drop bolts (long skinny pieces) that face the ground when the bracket is installed. The shade headrail (or the piece at the top that houses the mechanism) will fit over these bolts and is then secured with wing nuts or similar hardware. However, some brackets are notched or grooved instead, allowing the headrail of the shade to snap into place without any extra hardware. The general idea behind all these brackets is the same — to hold the shade in place by firmly keeping the headrail in place.
- "Dry fit" your brackets in the headrail of the shade the way they will fit into the shade when the installation is complete. The back of the bracket should face the back of the shade. This will make it easy to mark out exactly where you need to install your brackets on the window.
- Hold the Roman shade inside your window and center the headrail. When you have it at your desired height, use a pencil to mark the bracket location.
- Take the Roman shade out of the window and remove the brackets. Then, hold the brackets in the marked positions on your window frame and mark the holes where the mounting screws will go.
- Use a tape measure to gauge the space between your brackets and verify that they are in the correct position before you drill any holes.
- Drill pilot holes for the screws. Make sure to drill out the entire length of the screw so the wood doesn't split when you mount the bracket.
- Screw the brackets into place.
- Place your Roman shade in the window with the front facing toward you. The drop bolts hanging down from your mounting brackets will go through the holes in the headrail.
- Slide the shade over the drop bolts and use the wing nuts that came with your blind to screw it in place.
- Test the blind, making sure it goes up and down smoothly and feels secure.
How to Install Outside-Mount Roman Shades
How to Install Outside-Mount Roman Shades
Outside-mount shades require an installation process very similar inside-mounted shades. The only real difference is where you will place your brackets. You'll want to take a little extra care making sure the brackets are level, however, since you won't have the inside of the window frame to use as a guide.
If you can, you'll also want to ensure you secure your mounting brackets to a stud inside your wall or to the window header (the top of the window frame). Screwing the brackets into this wood will hold them much more securely than screwing into drywall. If your bracket spacing just doesn't line up with your stud and you have to screw into drywall, use heavy-duty drywall anchors. Without anchors, the drywall around your mounting screws will crumble away and won't hold.
- Place the mounting brackets into the headrail. Fitting the brackets now will make it much easier to measure where you'll need to install them on the window trim or wall.
- Hold the headrail and mounting brackets in place where you want the shade to be. This could be on the trim above your window or on the wall above that. Mark the location of the top of the brackets with a pencil.
- Use a stud finder to check your pencil marks and see if they align with a wall stud. If they don't, check to see if shifting your shade a bit one way or the other will let you mount your brackets into studs without making the shade look odd when installed. Move your pencil marks if necessary.
- Remove the brackets from the headrail. Align them on the wall where you want them and then use your pencil to clearly mark where the screw holes will go.
- Make sure your pencil marks are level and properly spaced before drilling pilot holes and installing any drywall anchors.
- Drill pilot holes for the mounting screws. If necessary, install drywall anchors. Drywall anchors will require you to drill through the drywall completely. Then, push the anchor into the wall until it is flush with the drywall before installing the screw.
- Mount the brackets by screwing them into place.
- Position the shade on the mounting brackets so that the long bolts hanging from the mounting bracket slide through the slots on the headrail. Use wing nuts to tighten the shade onto the bolt and hold it in place. Make sure your shade is facing the right direction before you lock it.
- Test the new shade. Verify that it goes up and down easily with no binding and that it's mounted securely.