Cute Chore/Activity Wheel DIY Using This IKEA Product
We may receive a commission on purchases made from links.
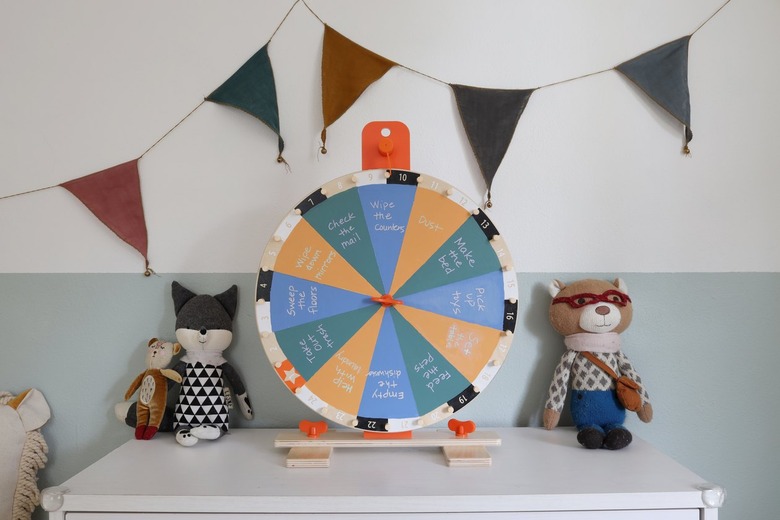
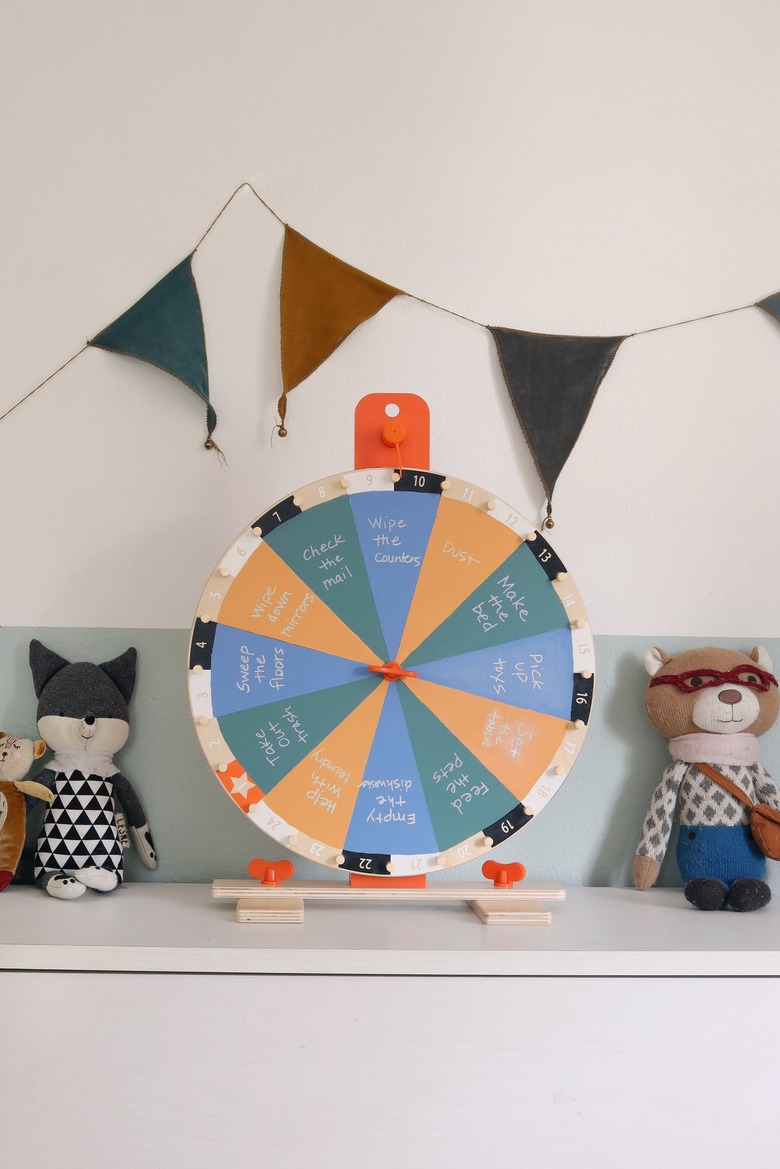
How do you motivate kids to get excited about chores? Turn it into a game, of course! Our latest IKEA hack transforms the Lustigt wheel into a fun activity wheel for little ones. By painting it with chalkboard paint, we created an erasable surface so the "theme" can easily be changed — from chores to activities to prizes to learning exercises, or anything else you'd like. We had the chalkboard paint tinted a variety of colors for a festive look, but you could just use regular chalkboard paint in a single color. The main idea is that your kiddos will be giddy with suspense and excitement whenever they spin the wheel of fate!
Things Needed
Step 1
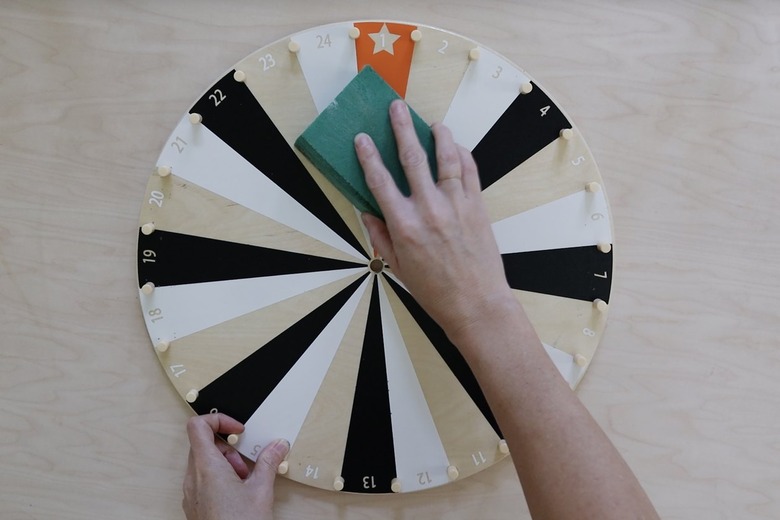
Remove the wheel from the base, and use a medium-grit sanding sponge to sand off the clear topcoat. Be thorough with this step, since the paint won't adhere if any of the glossy surface remains. Wipe away any sanding dust.
 Trisha Sprouse
Step 2
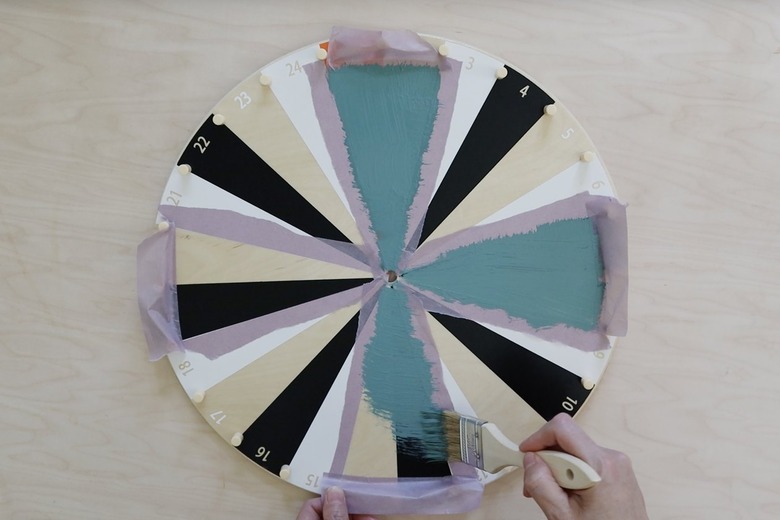
Tape off four equal quadrants on the wheel, and paint them with the first color of chalkboard paint. You'll likely need to paint at least two coats, allowing the first coat to dry before applying the second.
 Trisha Sprouse
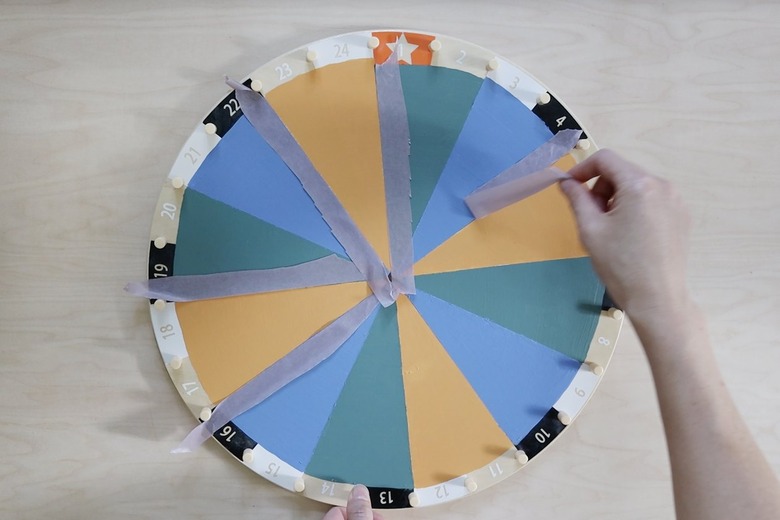
Step 3
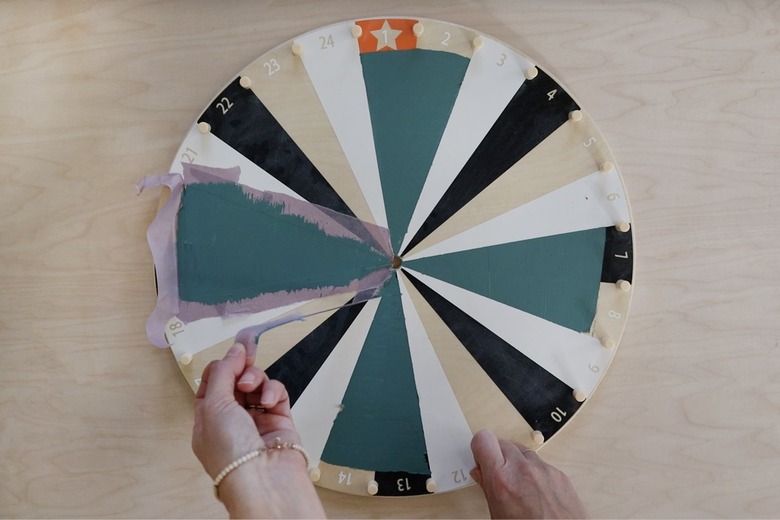
Let the paint dry, and then carefully peel off the painter's tape.
 Trisha Sprouse
Step 4
Repeat the same process of taping off four quadrants and painting them with a second paint color. Let the paint dry before removing the tape.
 Trisha Sprouse
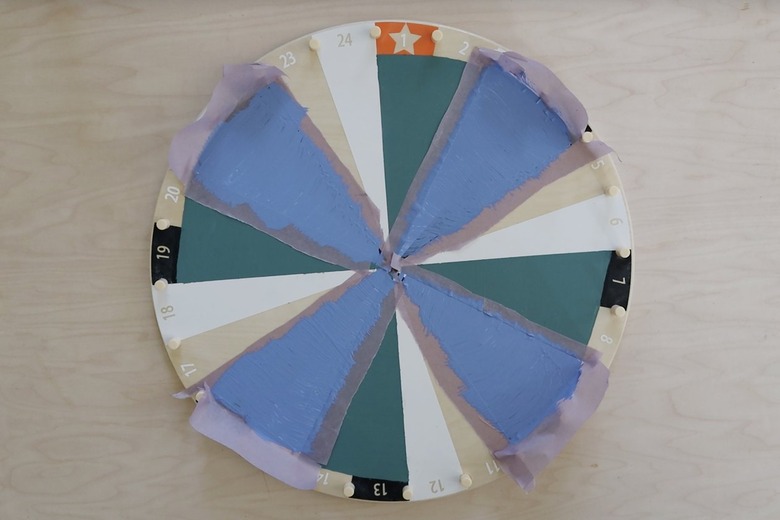
Step 5
Again, repeat the taping and painting process for the remaining four quadrants with the third paint color. Once the paint is dry and you've removed the tape, you'll likely need to go back and touch up some spots where paint has bled through. You may also need to clean up the rounded edge near the numbers on the wheel.
 Trisha Sprouse
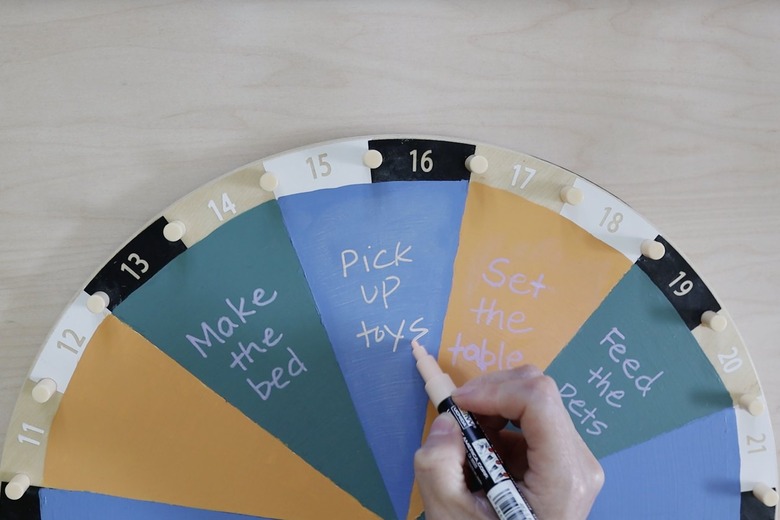
Step 6
Allow the paint to dry for at least one full day, and then grab some chalk and write out your various chores (or other activities) in each slot.
 Trisha Sprouse
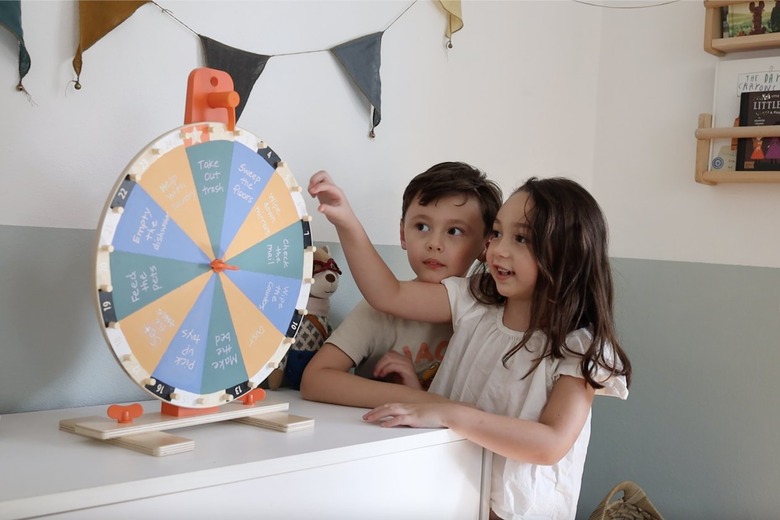
Reattach the wheel to the base, and let the spinning fun begin!
 Trisha Sprouse
 Trisha Sprouse