What Is A Tamper-Resistant Electrical Outlet? (And Why You Need This Childproofing Feature In Your Home)
We may receive a commission on purchases made from links.
Tamper-resistant receptacles, or outlets, have been required in most areas of homes in the United States since 2008 per the National Electrical Code (NEC). These outlets, which feature spring-loaded shutters or flaps that snap closed when the outlet isn't in use, help to prevent shocks that may otherwise occur if a child tries to place a metal object into one of the openings. If your house is older and you have little ones running around (or plan to), upgrading to tamper-resistant outlets is a cinch and takes just a few simple steps.
Tip
A tamper-resistant electrical outlet has spring-loaded shutters that prevent a child from sticking objects into the outlet slots when the outlet is not in use.
Tamper-Resistant Outlet Requirements
Tamper-Resistant Outlet Requirements
All new residential construction is required to include tamper-resistant receptacles (TRR) for just about every outlet location in the home. Among the few exceptions are outlets more than 5 1/2 feet above the ground, as these are well out of the reach of toddlers and young children. Outlets used specifically for large appliances, such as those behind a range or dryer, also do not have to be tamper-resistant, as these are not easily accessed. In other words, just about any outlet that a child could find and reach should be tamper-resistant, even if no children live in your home.
In 2020, the NEC added the TRR requirement for both attached and detached garages as well as any outbuildings with electricity. New outdoor outlets and any outlets in common areas of multifamily homes must also be tamper-resistant. Likewise, if you add or replace an outlet in an existing home, the new outlet must be tamper-resistant per NEC requirements. If you're planning to sell your home or if you have young children, it's a good idea to replace old outlets that are not tamper-resistant, although it's not a legal requirement.
How a Tamper-Resistant Outlet Works
How a Tamper-Resistant Outlet Works
A tamper-resistant outlet looks and works just like a conventional outlet but features an internal safety device that includes spring-loaded shutters just inside of the two straight outlet slots. When you push a plug into the outlet, the two straight blades of the plug push on the shutters simultaneously; this makes the shutters open so the plug can be inserted all the way. However, if you try to push a single object into one of the slots, such as when a child attempts to insert a paper clip, the shutters do not move, effectively barring the entry of the item and preventing the chance of electrical shock.
Annually, more than 2,000 children experience severe electrical shocks or burns after sticking items other than electrical cords into electrical outlets. Tamper-resistant outlets are much more effective at preventing children from experimenting with the outlet than the old child-proof safety caps or sliding outlet covers. Even toddlers are capable of removing those child-proof outlet caps or covers in a matter of seconds, especially if they've seen an adult remove them.
Are Your Outlets Tamper-Resistant?
Are Your Outlets Tamper-Resistant?
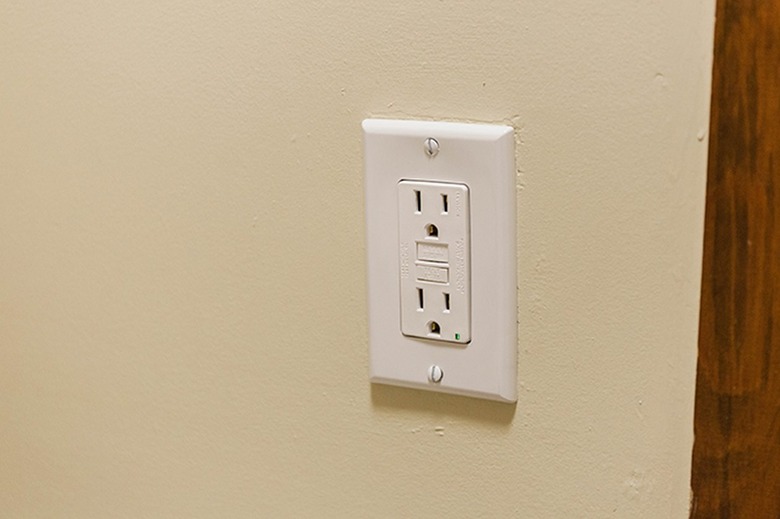
The easiest way to tell if your receptacles are of the tamper-resistant variety is to look at them up close in good lighting when they're not in use. Look inside the two straight prongs of the outlet. If you can see plastic just behind the slot openings, the outlet is tamper-resistant. If you just see darkness inside the slots, it's not tamper-resistant.
For definitive proof of a tamper-resistant outlet, look for "TR" stamped on the face of each outlet socket between the two straight slots. The letters aren't very obvious unless you take a close look. On some brands, such as Leviton, the "TR" marking may be on the metal portion of the receptacle near the screw holes, so it isn't visible with an outlet cover in place. Other brands have the words "tamper-resistant" somewhere on the outlet.
Virtually any newer type of 15- or 20-amp, 120-volt receptacle can be tamper-resistant. This includes standard outlets as well as ground-fault circuit-interrupter and arc-fault circuit-interrupter outlets.
 Carrie Waller for Hunker
How to Replace an Old Receptacle
How to Replace an Old Receptacle
Replacing an older receptacle with a newer tamper-resistant one doesn't require an electrician. Just make sure the power is off at the breaker box and test for power at the outlet before touching any wires.
1. Turn Off the Power
Open your home's main electrical service panel (breaker box) and find the circuit breaker that controls the outlet you want to replace. In many cases, this information is listed on a label on the electrical panel's door or right next to each circuit breaker. Flip the appropriate breaker to the "off" position to shut off the power to the circuit.
2. Remove the Outlet Cover and Test for Power
Remove the screw holding the outlet cover in place and then remove the outlet cover. Set the screw and the outlet cover on the floor nearby. Confirm the power is off by touching the tip of a noncontact voltage tester to each of the outlet terminals and all of the wires connected to the outlet. If the tester detects any voltage, return to the breaker box, turn off the correct breaker and test for power again to confirm it is off.
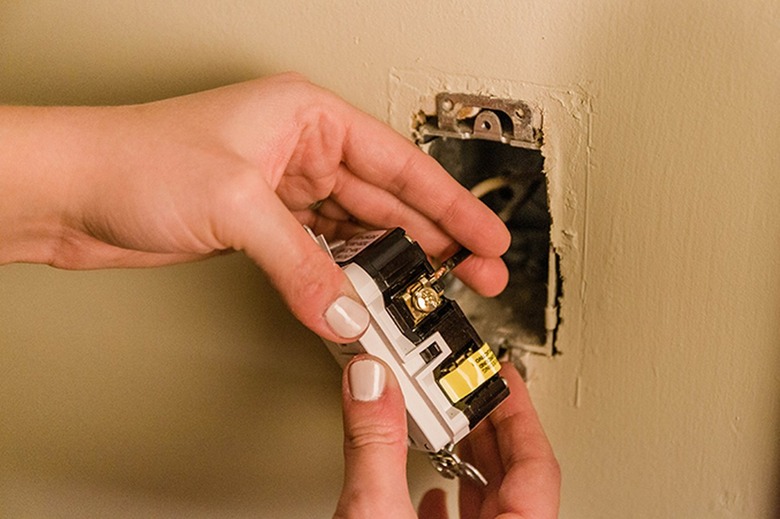
3. Remove the Receptacle Screws
Remove the screws holding the outlet to the electrical box. Gently pull the outlet slightly out of the housing by tugging on the yoke or metal part at the top and bottom. Note where each wire connects. Compare these connection points to the ones on the new tamper-resistant outlet, as the layout should be the same. If you're concerned you might not connect things properly, take a picture of the old outlet with its wiring intact. If you're sure the old outlet is wired correctly, another option is to just remove one wire at a time and attach it to the same spot on the new outlet, working your way through each wire in this way.
4. Remove the Wires From the Old Outlet
Loosen the screw terminal holding each wire in place on the old outlet and disconnect the wire from the terminal. Set the old outlet aside.
5. Connect the Wires to the New Outlet
Attach the wires to the terminals on the new outlet exactly as they were on the old one. The white wire is neutral and connects to a silver screw. The black (sometimes red) wire is hot and connects to a brass screw. The bare copper or green insulated wire is ground and connects to the green ground screw. Tighten the screw terminals firmly, making sure each wire is held securely in place.
6. Push the Outlet Back in Place
Gently fold the wires and push the outlet back into the box. Secure the outlet to the box with its screws. Reposition the outlet cover and secure it with its screw.
7. Restore Power to the Outlet
Switch the circuit breaker back to the "on" position to restore power to the circuit. Test the outlet by plugging in a lamp or appliance to ensure the outlet has power.