A Comprehensive Air Exchanger Maintenance Checklist
We may receive a commission on purchases made from links.
Homes built according to current building codes are so well-sealed and insulated that they need an extra piece of HVAC equipment known as an air exchanger to get rid of stale air and replace it with fresh air from outside. Blowing cold air directly into the house during the winter would be akin to leaving the windows open, so an air exchanger includes a heat exchanger core to transfer heat from the indoor air being exhausted to the outdoor air being blown into the house. In humid climates, the heat exchanger is designed to also transfer moisture to prevent the indoor air from becoming uncomfortably humid.
As far as HVAC equipment goes, an air exchanger is relatively simple, and it doesn't need a lot of maintenance, but it does need some. Its only moving part is a blower, and servicing that is a job for an HVAC technician, so for the most part, homeowners basically only need to keep the air passages clean, change the filters and ensure the system is balanced, which means that the flow rates of the incoming and outgoing air are roughly equal. Units that do not transfer moisture have a metal core that may also need a little deep cleaning to control mildew.
Do You Have an HRV or an ERV?
Do You Have an HRV or an ERV?
An air exchanger that recovers heat but not moisture is known as a heat recovery ventilator (HRV), while one that recovers both heat and moisture is known as an energy recovery ventilator (ERV). An HRV does a better job of heat recovery than an ERV, so an HRV is the type of air exchanger recommended in northern climates where winters are severe. Homes in warmer, more humid climates generally have an ERV to take advantage of its ability to control humidity.
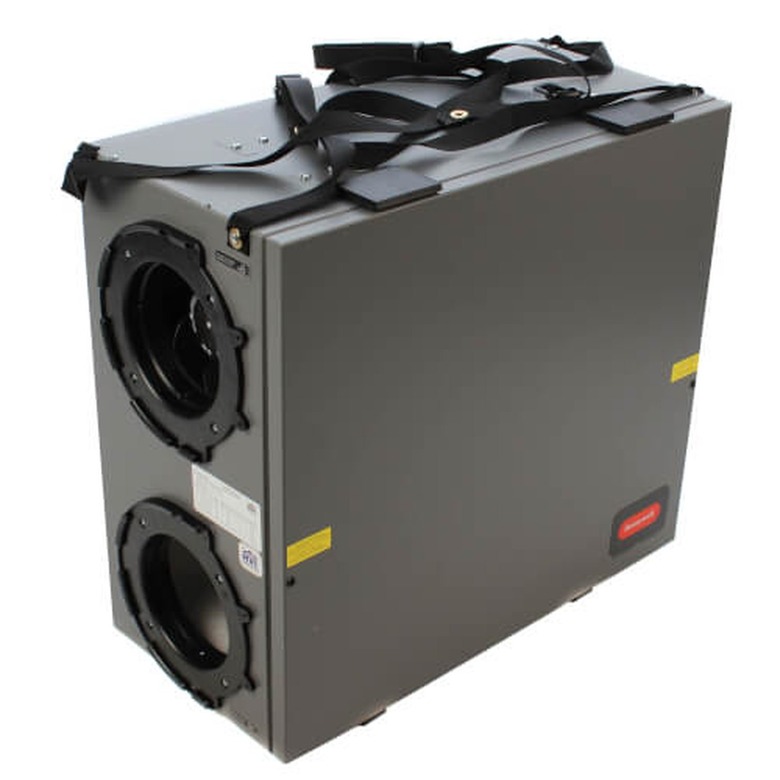
As far as maintenance is concerned, the main difference between an HRV and an ERV is that because an HRV doesn't regulate humidity, condensate collects on the core. The unit has to have a drain, which is on the bottom of the rectangular housing. It's important to check the drain for clogs, which can cause water to back up inside the housing and potentially freeze in the winter, and to periodically check the core for mold. Because an ERV transfers moisture from the warmer air stream to the cooler one, it doesn't need a drain, and the core never needs cleaning.
Routine Maintenance for an Air Exchanger
Routine Maintenance for an Air Exchanger
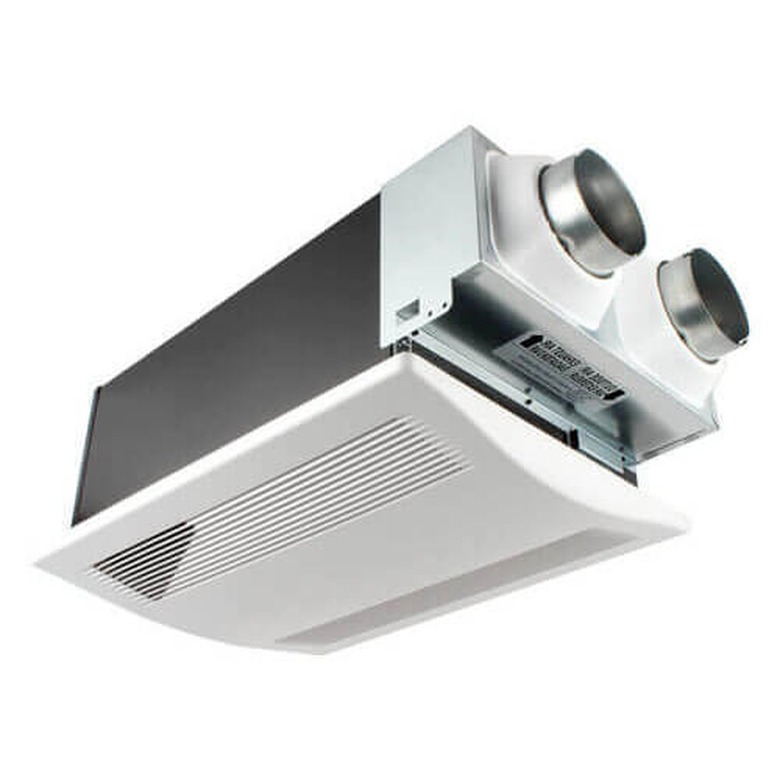
If you're new to air exchangers — perhaps you just moved into a new house that has one — the first thing you have to do is find it. It's usually in the basement near the central air system, and while it may be part of the main ventilation system that includes the heat pump, air conditioner and furnace, it's more often mounted all by itself with its own ductwork. When it's connected to the air system, its main function is to precondition the air so the heating or air conditioning system doesn't work as hard, which lowers your energy costs.
Once you've located the air exchanger, unplug it and open the cover by releasing the two bottom clamps securing the cover, swinging up the cover and lifting it off the top hinges. Now, you're ready to perform the following maintenance tasks:
- Clean or replace the air filters: There are two small filters on either end of the unit positioned in front of the air intake ducts. Pull these out and brush off debris, especially from the one in front of the outdoor air intake port because it's often covered with leaves and other outdoor debris. Clean them by spraying them with cold water — not hot water, which makes the dust particles clump together. If you can't get them clean, replace them.
- Clean the core of your HRV: An air exchanger core is a metal box mounted diagonally, and it just slides out. An ERV core is filled with corrugated, paperlike filters and doesn't need cleaning, but an HRV core is filled with metal corrugations that you can clean with a cold water spray. Once a year, you should immerse it in a solution of warm (not hot) water and mild soap.
- Clean the inside of the housing: Vacuum dust and debris from the inside of the housing and wipe down the metal with a damp cloth. Be sure to wipe around the openings of the air intake and outflow ports. Wipe down the fan blades while you're at it.
- Check and clean the condensate drain: If you have an HRV, wipe around the opening of the condensate drain and check it for blockages. A good way to do this is to insert a cable-tie drain cleaner as far as it will go and make sure it slides freely.
- Vacuum inside the ductwork: Insert the vacuum several inches inside the intake and outflow ducts to remove any debris that may have accumulated there. It's also a good idea to check the vent openings inside and outside the house for debris and vacuum away any that you find.
Be sure to let the filters and core dry thoroughly before you replace them back into the housing. Close and latch the cover and plug in the unit.
 Supply House
Testing the Balance of Your Air Exchanger
Testing the Balance of Your Air Exchanger
It's important that your air exchanger is balanced, which means that the rate of air flowing into the unit from outdoors is roughly equal to the rate of air being exhausted. An imbalance can affect the operation of exhaust fans and combustion devices inside the house and can have a detrimental effect on air quality. It often points to a major blockage inside the ducts that could be caused by a bird, wasp or rodent nest that needs to be cleared, and it could also signify problems with the blower motor. All you need for this test is a large plastic garbage bag and a coat hanger.
- Unravel the coat hanger, form it into a circle and wrap the opening of the bag around it, securing the bag with tape if necessary.
- Make sure the air exchanger is plugged in and is operating. Go outside and locate the outflow vent, which will be the one with air blowing out of it.
- Crumple the bag to void it of air and then fit the coat hanger around the vent opening and time how long it takes for the bag to inflate.
- Go inside and find the air intake vent, which is the one that doesn't have air blowing out of it. If you hold a piece of paper in front of this vent, the paper will stick to the vent cover. Swing the same bag you used earlier to fill it with air and then hold it over the vent opening and time how long it takes for the bag to deflate. This should be roughly the same amount of time it took the bag to inflate at the other end.
If you've cleaned the filters and the core and your air exchanger is unbalanced, call an HVAC technician who has the tools and expertise to clean obstructions from the ductwork and service the blower. Neither of these are DIY jobs, and you could make matters worse if you try to do them yourself.