Easy DIY Repairs For Brick And Concrete Paver Patios
We may receive a commission on purchases made from links.
Just because part of your brick patio is in need of repair doesn't mean you have to replace the entire thing. Brick patio repair can be a simple DIY home improvement project if you have cracked, chipped or stained pavers. You can also fix low spots caused by the ground settling or reposition a raised paver so it doesn't cause a tripping hazard.
The Downside to Repairing Pavers
The Downside to Repairing Pavers
Depending on what's wrong with your brick patio or walkway, it may be best to just leave it alone. Uneven pavers create a tripping hazard that you'll clearly want to address, but repairing cracks and crumbles may require some thought.
The pavers currently installed on your patio have dealt with years of sun and weather exposure. This can wear the pavers and fade them. Brand-new pavers, even if they are an exact match, may look drastically different when placed next to your old pavers.
You can sometimes get around this issue by power washing your old pavers before you start your brick patio repair. Sometimes, pavers are dirty but not faded. After washing your pavers, lay a few new pavers next to them. If the color is vastly different, you'll have to decide if it bothers you. Some homeowners feel that the color difference between old and new pavers is more of an eyesore than a few cracks or chips.
Paver Repair Overview
Paver Repair Overview
There are three common problems that arise with paver patios, and the solution for them all is essentially the same. The problems you're most likely to encounter are cracked or broken pavers, lifting pavers and sinking pavers that cause low spots. To fix all of these problems, you'll begin by lifting out the offending pavers and then removing some of the substrate underneath. You can then add some leveling sand and reinstall your pavers.
Things Needed
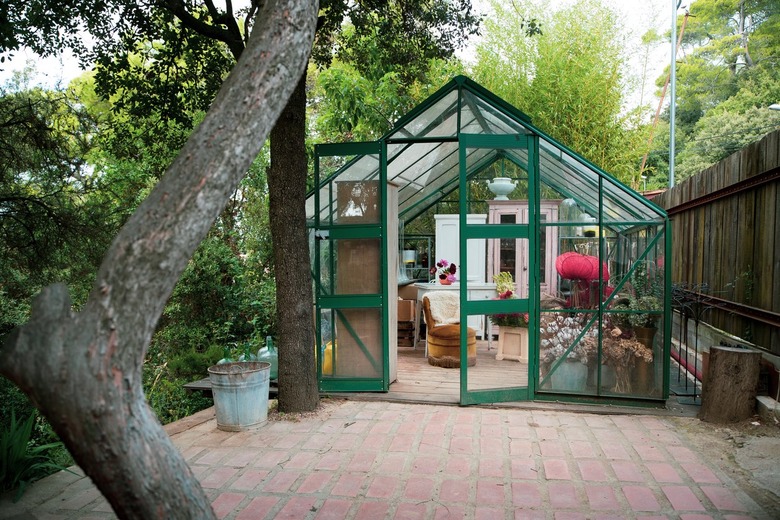
 chuckcollier/iStock/GettyImages
How to Repair Brick and Concrete Paver Patios
1. Remove the Old Pavers
Once they become damaged, it's usually impossible to fix broken bricks and pavers. You'll have to replace them instead, but this is a simple DIY project you can likely tackle in an afternoon. Start by removing the offending pavers.
-
Outline the area you'll repair with chalk. You can skip this step if you're only replacing one or two bricks, but it's imperative to mark out repairs if you're fixing a low spot. Once you start removing pavers, it's very easy to lose track of exactly how far you need to go.
-
Lift out the broken pavers. You can use a small pry bar for leverage but be gentle so you don't damage adjacent pavers. If you can, it's easiest to remove pavers by starting at the edge of the patio. If a brick is particularly stubborn, drill a few holes in the center of it with a 3/8-inch drill bit and then use a chisel to break it apart. If you do, make sure you always aim the chisel toward the inside of the brick and not toward the adjacent pavers you wish to keep.
-
Sort your removed pavers. If you removed broken pavers to replace them, you can discard them. If you're fixing a low spot, however, you may be able to reuse many if not all of the pavers you removed.
2. Prepare the Base
Brick and concrete patio pavers need a solid base on which to rest. If yours are damaged, it's very likely that the base underneath them failed. Don't trust it to work better this time. Instead, remove the old base and replace it with a new one. You can save a few dollars on this part of the project by using basic leveling sand. Later, you'll need to step up to polymeric sand.
- Use a trowel or shovel to remove the old sand that was under your pavers. You're likely to find gravel under the sand, but you don't need to remove this.
- Spread sand where your replacement pavers will go. Use a small screed or other straight edge to level out the sand and make it smooth. Then, tamp it down. If you're replacing only a single paver and a tamper won't fit in the area, it's OK to stomp on the ground with your foot.
- Keep adding, tamping and smoothing sand until your base is tall enough to bring your new bricks even with the old ones. To be sure, place a new brick in the opening and verify that it's level. You'll need to keep adding, tamping or taking away sand until the new bricks sit flush with the old ones.
3. Insert the New Pavers
Lay your new pavers carefully and pay attention to any patterns or designs originally built into your patio. Your repair will call attention to itself if your new pavers go against the layout of your old ones.
- Set your new or recycled pavers into place one at a time, checking as you go to make sure they're level. Tap stubborn or tight bricks into place with a rubber mallet.
- Cut any bricks that you need to make them fit. If the brick you removed was only chipped or cracked, you can use it as a template for cutting the other. You can rent a wet saw if you have lots of bricks to cut, but a hammer and chisel are all you need to reshape a handful of pavers.
- Minimize the potential for future shifting by applying a bead of construction adhesive to the sides of your pavers as you reinstall them. The sand you'll use later should hold the bricks in place adequately, but you can add another layer of protection if you like. Bear in mind, however, that adhesive will make it much more difficult to remove these bricks in the future if you need to do so.
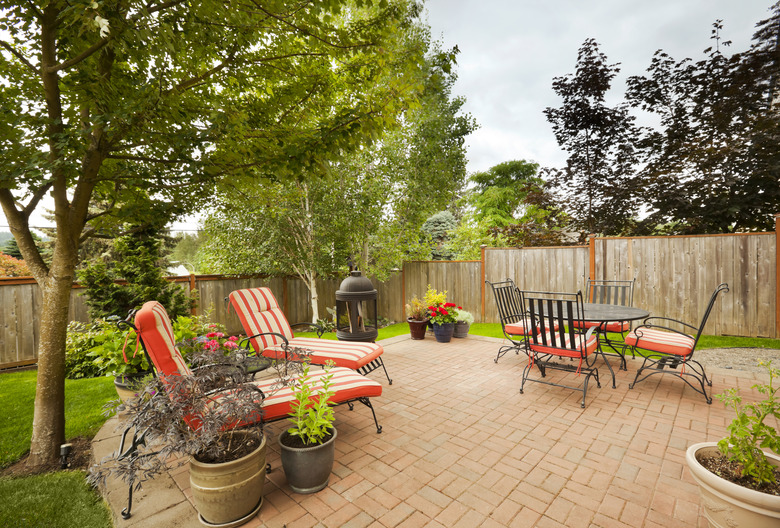
 YinYang/iStock/GettyImages
4. Set Your Brick Patio Pavers
You'll want to set your paver repair with special polymeric sand. This special sand contains bonding agents that will help keep your new pavers in place and help keep weeds from growing up between them.
- Spread some polymeric sand over the area you repaired and then use a broom to sweep the sand into the spaces between the pavers.
- Strike the new pavers and those adjacent to them with a rubber mallet again. This time, the vibrations will help set the sand in the cracks and keep your brick patio repair secure and stable. Keep adding polymeric sand and striking your pavers until the sand completely fills the spaces between them.
- Mist your brick pavers with a garden hose to dampen the sand and to activate the bonding polymers in your sand and form a bond.