How To Install Stone Garden And Landscape Edging
We may receive a commission on purchases made from links.
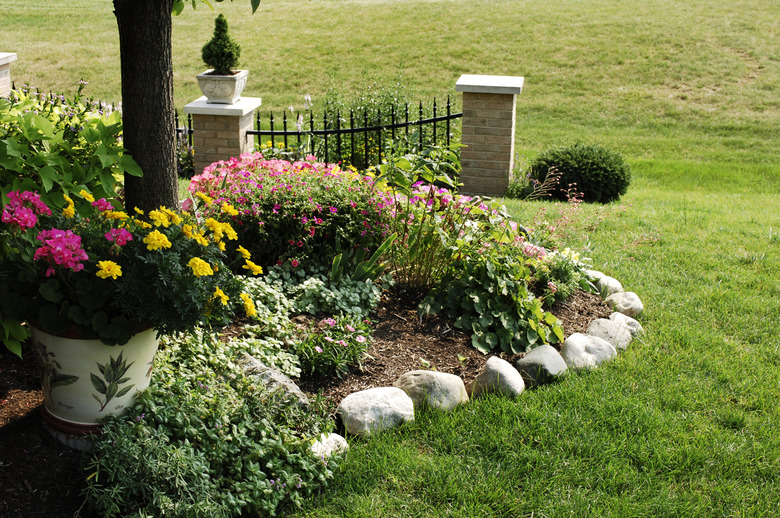
Natural stone landscape edging is perfectly at home in the garden, adding a rustic, organic vibe to your landscaping (and not to mention adding great curb appeal), but it can be difficult to work with it due to variations in shape and size. Because of their relatively uniform size and shape, edging stones generally fit together well and are much easier to work with than random stones. Installing stone garden edging is a DIY project that you can finish in a weekend — minding, of course, that you aren't bothered getting your hands dirty from digging and rearranging the stones to get the exact perfect fit.
Stone Landscape Edging Overview
Stone Landscape Edging Overview
Installing edging stones is easy, but there is a right way and a wrong way to do it. If you simply place the stones around your garden, the earth beneath them may make them uneven or unstable, allowing them to shift and move.
To prevent these problems, it's important that you stick your edging stones into the ground a bit so they don't wiggle. You'll use sand or gravel to help level your stones and landscape fabric to prevent weeds from growing up between them.
The job of installing your DIY landscape edging will prove much easier if you use edging stones. These stones are natural, but they're shaped in a uniform way, essentially making stone bricks you can easily fit together. If you want a more rustic, natural look, you can simply use some large stones as you would if building a stone retaining wall. It will take longer to place these stones since you'll have to fit them together through trial and error like a jigsaw puzzle.
As is true of most DIY projects, a little planning now can save you lots of headaches later. When marking out your project plan, start your edging at the corner of your house and work your way out toward an open space. If you notice that the end of your stone edging row will require only part of a stone, extend the garden bed or shorten it a bit. This allows you to shift your flower beds to accommodate your edging stones, and you won't need to cut any stone.
Remember to call 811 before you dig and ask them to identify underground gas and electrical lines on your property. Any underground structures should lie far below the few inches you'll be digging, but it's better to be safe than sorry.
Things Needed
-
Landscape fabric (optional)
-
Garden hose (optional)
-
Wet saw (optional)
How to Install Stone Garden and Landscape Edging
1. Plan Your Project
In this step, you'll create a mason line. Made simply from a piece of string, a mason line will mark where the top of your landscape edging will go. It serves as a guide as you lay your stones to help keep you on track. This gives you a chance to correct the placement of your stones as you go rather than realizing you have an issue at the end of the project.
- Hammer stakes into your lawn on either side of the area where you intend to install landscape edging.
- Tie a string to each stake and stretch it across your edge. Move the string up and down the stakes as needed to mark the desired height of your garden edging. The string may not be level since the slope of your lawn might shift, but your entire line should rest at about the same height above the ground. Measure it at a few random places to make sure it does and adjust it as needed.
- If your landscaping edging curves, mark it with landscape marking paint or a garden hose. In this case, install your mason line across the curve to help you maintain the proper stone height through the curvature.
2. Dig a Trench
A simple trench is all you need to keep your edging stones in place. It secures your stones and gives you room to build a solid base beneath them that isn't likely to settle or shift.
- Dig a trench where your stones will sit. Make the trench wide enough and deep enough to accommodate your stone. Most of the time, a trench depth of 4 to 5 inches will suffice. Take into account how tall your stones are and how far above the ground you wish for them to stick out. Remember too that you'll need an inch or two of sand under your stones.
- After digging the trench, tamp down the dirt at the bottom, making the surface as flat and level as you can. Again, it's a good idea to measure from the bottom of your trench to your mason line in a few places to make sure your trench depth is fairly uniform.
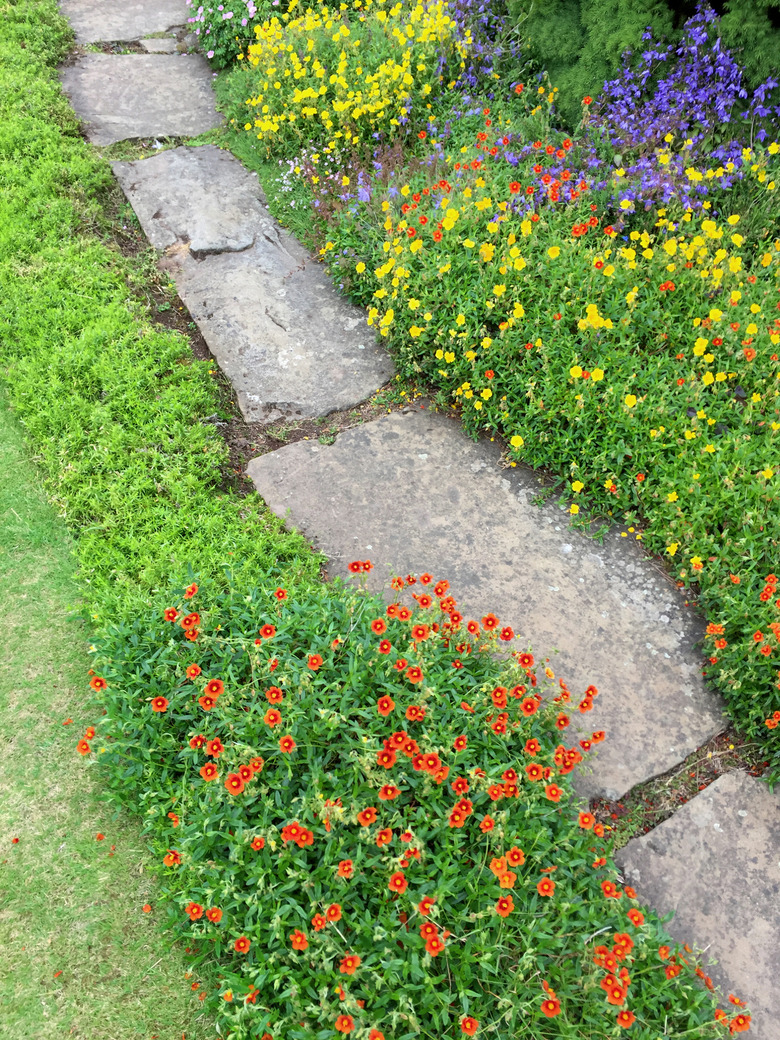 mtreasure/iStock/GettyImages
3. Prepare the Trench
Adding sand to your trench before laying the edging stones gives you a solid foundation. It also gives you some wiggle room. You can nestle misshapen rocks into sand much more easily than you can into packed earth.
-
If desired, cut landscaping fabric to fit in your trench and lay it on the bottom. This isn't strictly necessary, as the base material under your stones should prevent most weeds, but some homeowners prefer the extra layer of protection.
-
Line the bottom of your trench with at least 2 inches of sand. Use a hoe to smooth out the surface, again keeping everything as level as possible.
-
Firmly tamp down and compact the sand.
4. Place the Stones
This is one of the most important steps in this project. The place you lay the stone is where it will live for the next few years. Choose stones that look nice and fit together well. When using edging stones, avoid using those that are cracked or unattractive.
- Start at one end of the trench and work your way to the other, placing your garden edging stones in the trench as you go. You may need a mallet to tap stubborn stones in place and nestle them into the sand.
- Check each stone after you place it with a quick glance at your mason line and adjust it as necessary. If you're using stones rather than stone edging, you may need to dig into the sand a bit or add a little more to get the desired height depending on the shape of the stone.
5. Cut the Stones as Needed
Even with careful planning, you may run into a corner where you can't fit an entire stone. In this case, you'll need to cut the edging stone to size. This is especially true when your DIY landscaping edging needs to curve. You can't bend stone, so you may find that you need to use several small stones to make it around a corner.
- Score the stone with a hammer and chisel, making your line where the stone needs to be cut. Score each side of the stone.
- With a hammer and chisel, keep chiseling along the scored line you made. Repeat this process, moving the chisel along the score line and hammering it repeatedly until the stone breaks apart. If your cut isn't as straight or smooth as you would like, use the chisel to chip away the unwanted portions of the stone.
- If you have a large job or lots of cuts to make, consider renting a wet stone saw with a diamond blade. These saws allow you to cut through stone without the blade overheating and with minimal dust. Always wear safety glasses and exercise caution when working around saws.
6. Backfill the Edging
When backfilling your edge stones, use the dirt that you dug out of your trench. As long as this dirt is free of weeds and grubs, it's safe to deposit it right back into your flower beds.
-
Lay a strip of landscape fabric against the back of your stone landscape edging. Secure it with metal landscape staples if desired. This will stop dirt from seeping through your new stone garden edging.
-
Backfill the planting bed, covering the landscape fabric with soil or mulch.