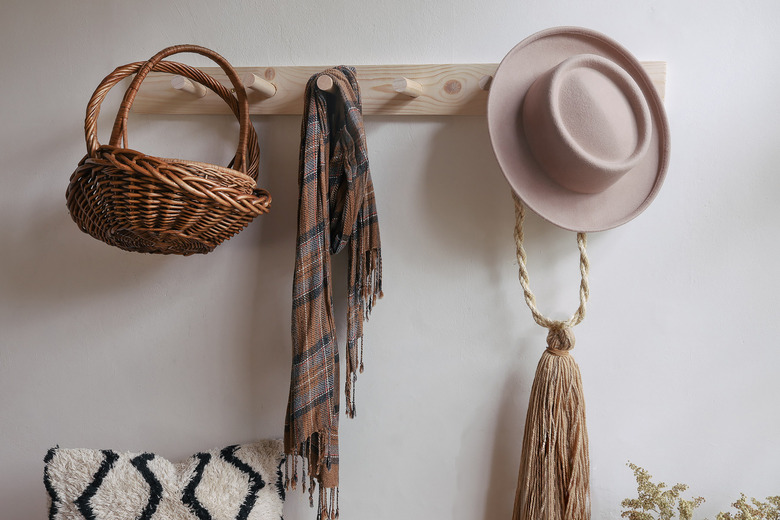
This DIY Peg Rail Is Perfect For Literally Every Home
We may receive a commission on purchases made from links.
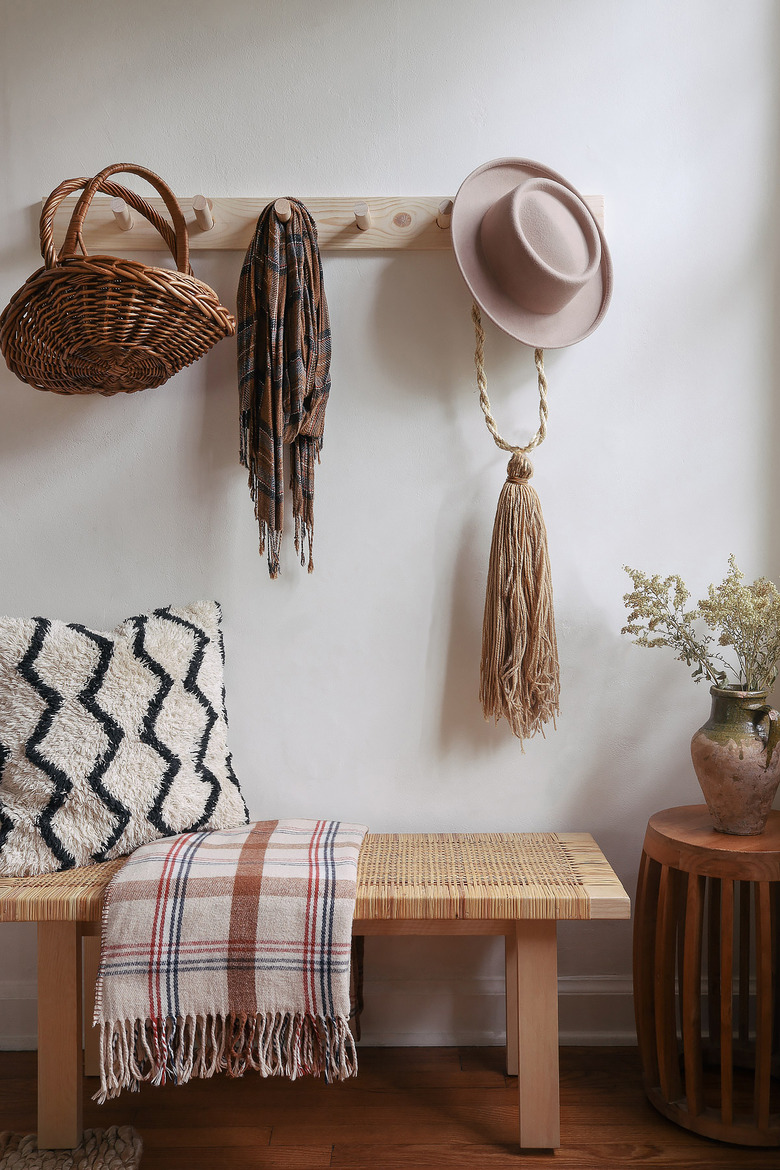
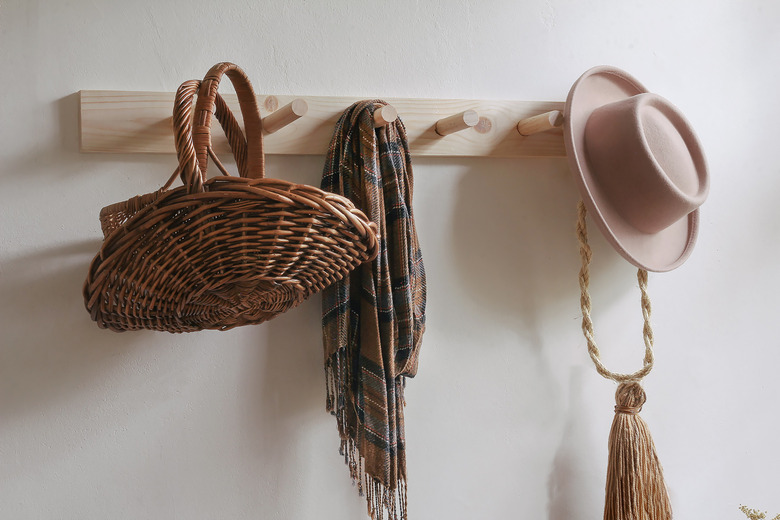
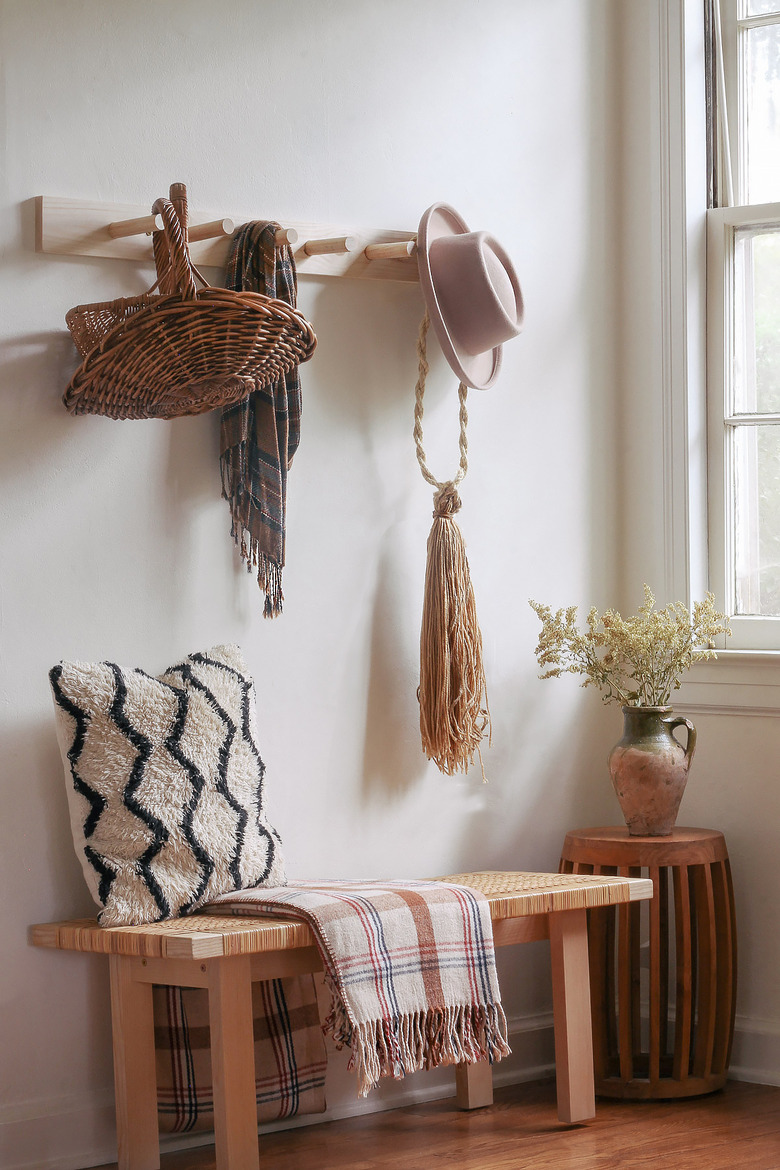
Whether it's hats and scarves or beach bags and market baskets you're in need of corralling, a peg rail organizer comes in handy no matter the season. While it's practical for keeping your most used or mundane items tidy in an entryway or hallway, we also love that you can use it to put some of your favorite stylish accents on display. We've given the traditional Shaker-style pegs a modern update here with straight pegs, and it couldn't have been easier. In fact, this DIY peg rail tutorial is so easy that once you have all the materials, you're only an hour away from winning at organization.
 Trisha Sprouse
Things Needed
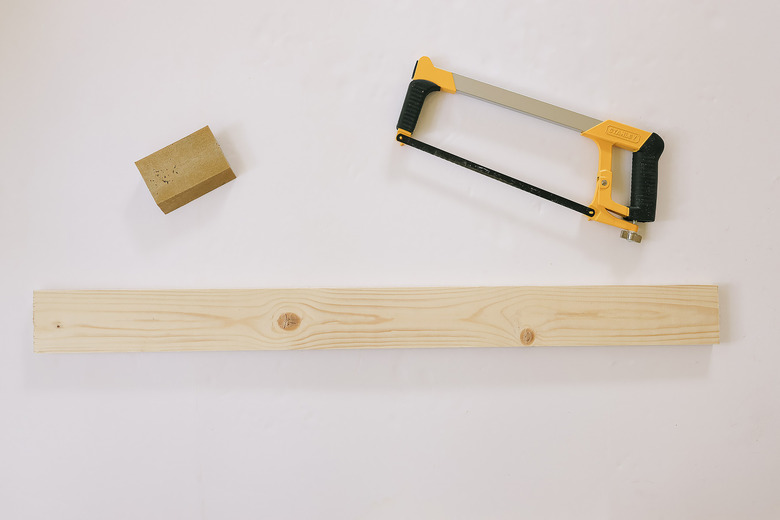
1. Cut the backing board.
Decide how long you want your peg rail to be, and use a hacksaw or circular saw to cut the 1-inch-by-4-inch wood board to your desired size (we cut ours to 39 inches). If you don't have a saw, most hardware stores will cut it for you. Sand any rough edges.
 Trisha Sprouse
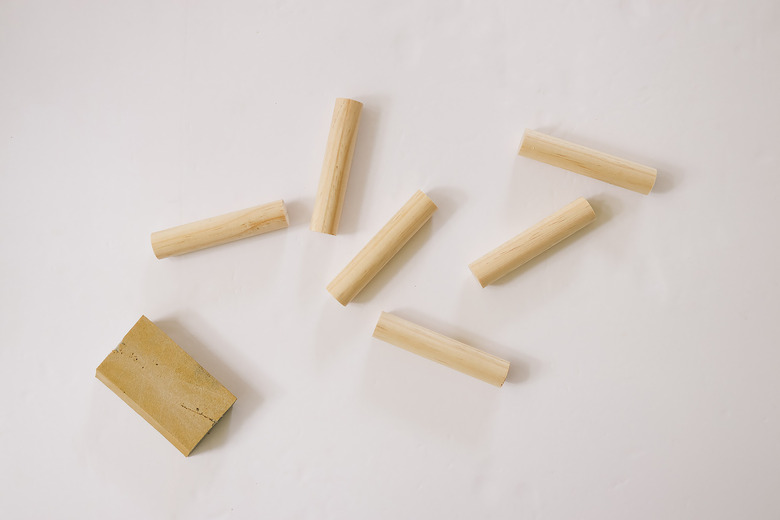
2. Cut the pegs.
Determine how many pegs you want your rail to have, and cut the wood dowel into that many 5-inch lengths. We cut six 5-inch pegs. Sand any rough edges.
 Trisha Sprouse
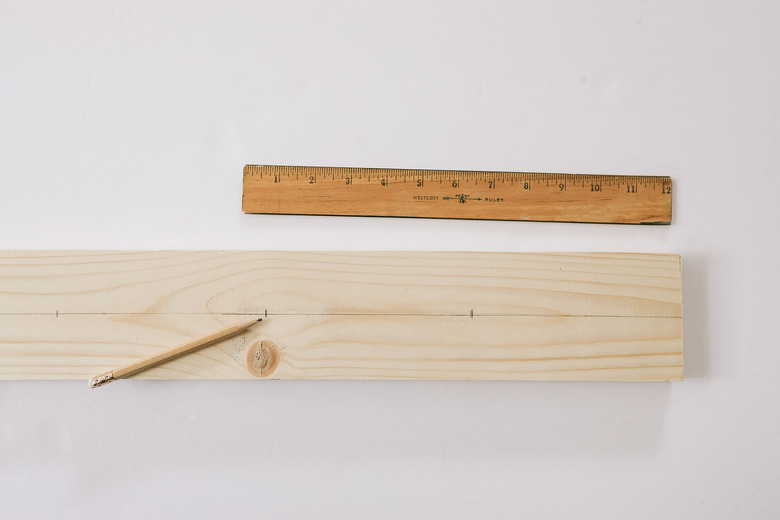
3. Mark the spacing.
Measure and mark the center of the board, and then draw a horizontal line down the entire center length. This will serve as a guide for drilling all of the peg holes evenly along the center. Now determine how far apart you want your pegs to be spaced, and mark the placements along the center line.
 Trisha Sprouse
4. Drill the peg holes.
Attach the spade bit to your power drill, and drill a hole on each spot you marked along the center line. Sand any rough areas smooth.
TIP: You can also use a hole saw or Forstner bit to drill the holes instead of a spade bit. Just make sure it's the same diameter as your wooden dowel.
 Trisha Sprouse
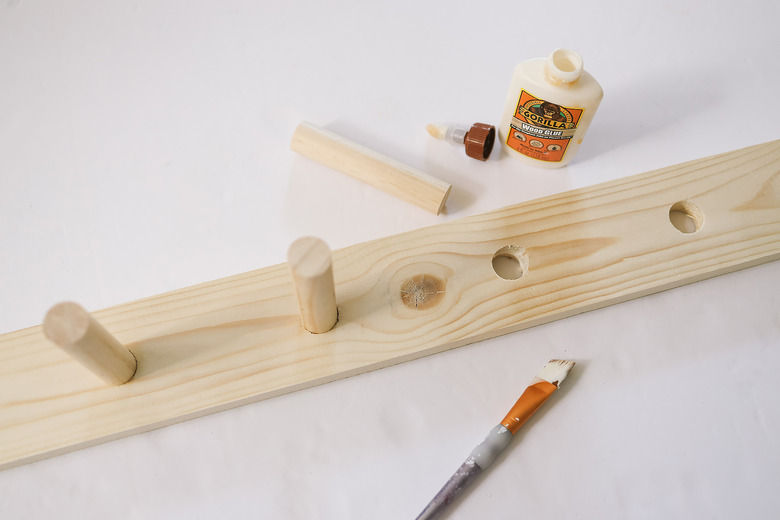
5. Attach the pegs.
Put wood glue inside each hole, and twist a peg into each hole until it's flush with the back of the board. (If needed, you can tap the pegs into the holes with a rubber mallet.) Wipe away any excess glue, and then allow the glue to dry. If desired, you can stain or paint the peg rail once it's dry.
 Trisha Sprouse
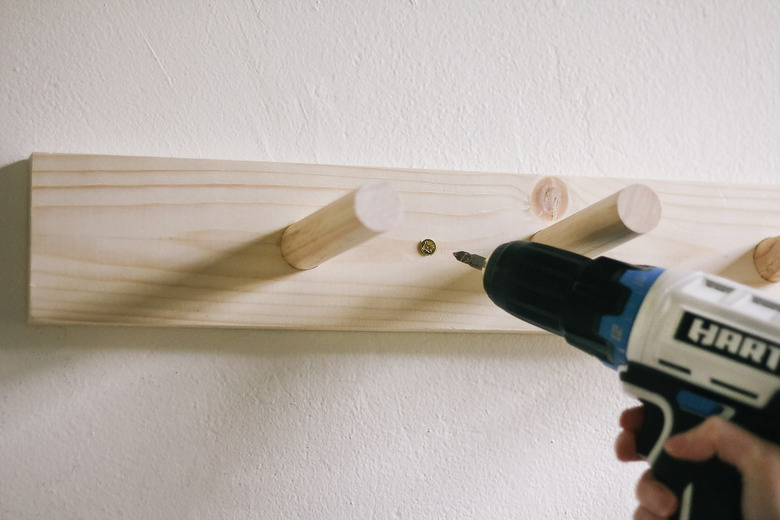
6. Mount on the wall.
Use either wood screws or drywall anchors to attach the peg rail to the desired spot on your wall (be sure to pre-drill pilot holes). If you want to hide the screws, you can put a bit of wood filler on top, and then paint or stain it to match the peg rail.
 Trisha Sprouse
And that's it — time to get organized and put your new peg rail to good use!
 Trisha Sprouse
 Trisha Sprouse