Easily Update An IKEA Console Table Using Removable Wallpaper
We may receive a commission on purchases made from links.
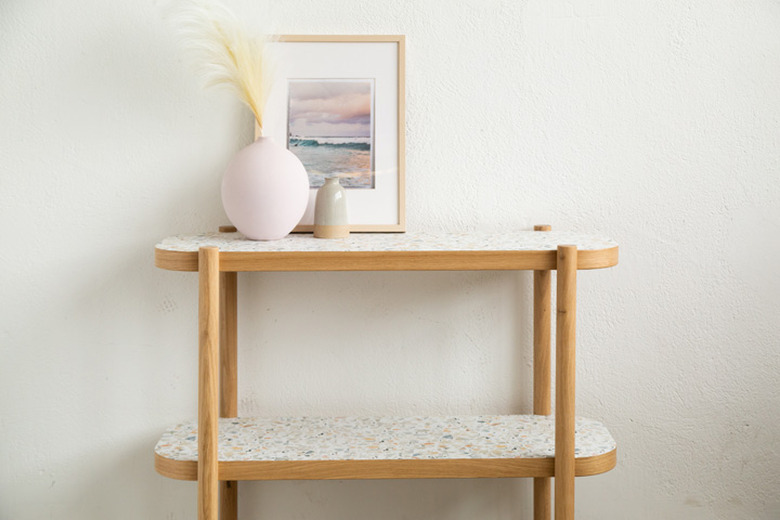
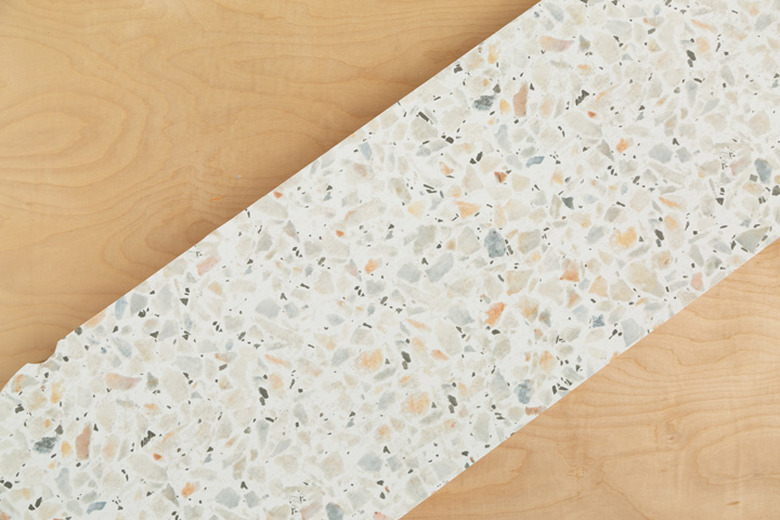
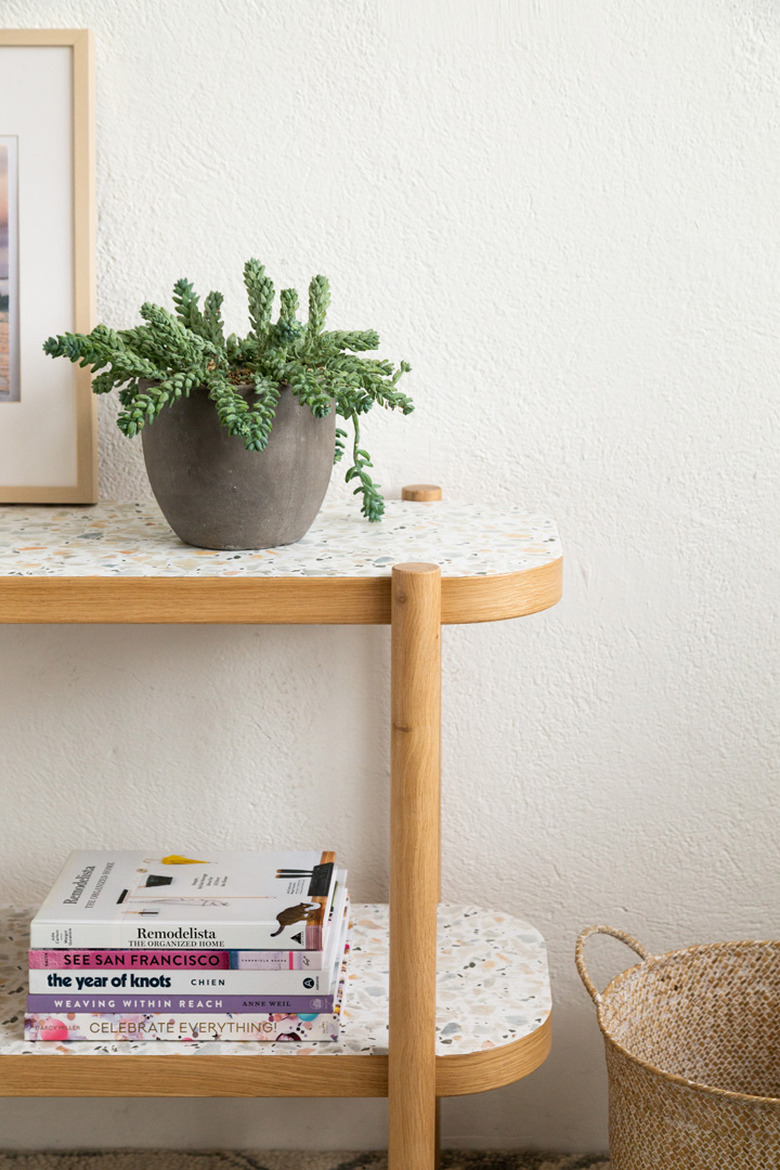
Ever wish you could change up a piece of furniture without the commitment of paint? This IKEA hack is the project that you have been looking for. Our secret tool? Terrazzo-inspired removable wallpaper.
We are in the design mindset of seasonally changing up some staple decor pieces in our homes. Think pillow covers, a throw blanket, and a few other things. But furniture has always been a bigger commitment. This project uses the IKEA Listerby rounded edge console table as the base of a simple upgrade.
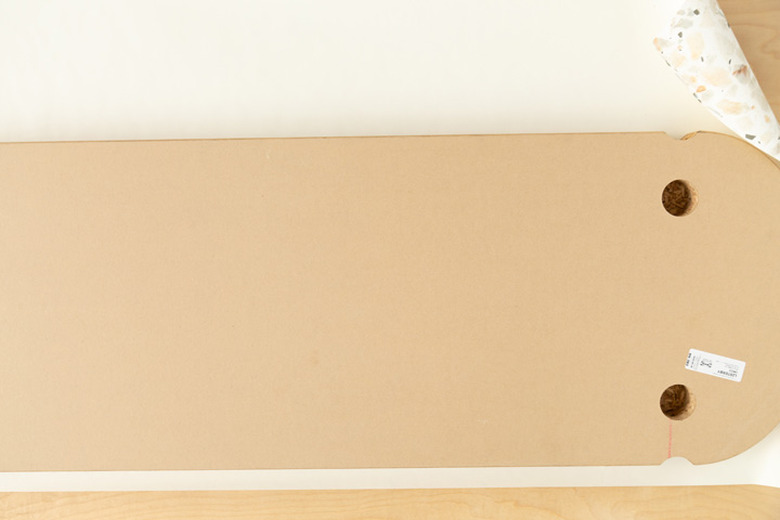
1. Unbox the IKEA Listerby Table
Note: You will add the wallpaper before you build the table.
Lay the top of the table face down onto the wallpaper. Cut a piece of wallpaper to fit the entire top, giving yourself at least a half inch on all sides.
 Sara Albers
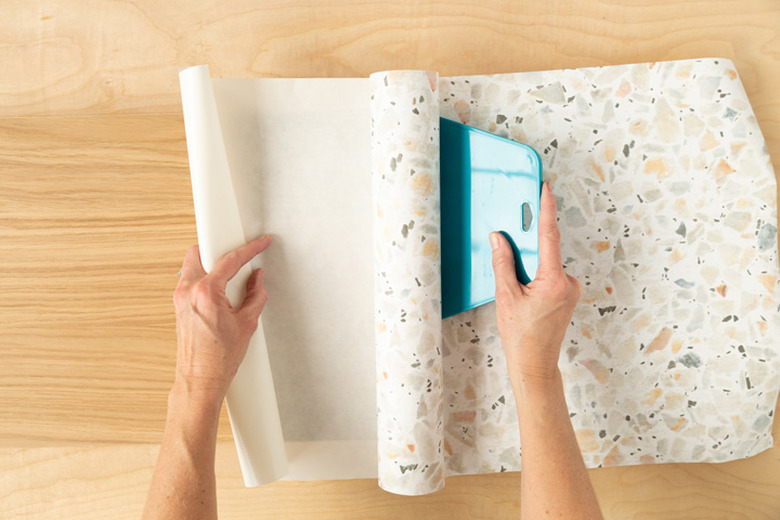
2. Flip the Table Over and Adhere Wallpaper
Pull the lining off of the first three inches of the wallpaper. Lay the sticky side down on the table top. You can re-stick the wallpaper onto the table to get it to fit just right. Use the scraping tool to push the wallpaper onto the table. Pull the lining gently as you smooth the wallpaper.
 Sara Albers
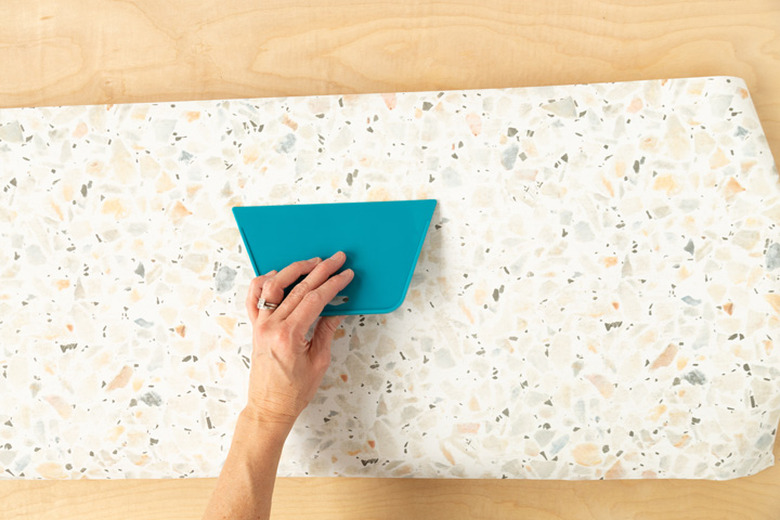
3. Continue to Smooth the Wallpaper With the Tool
Gently push any bubbles out of the wallpaper.
 Sara Albers
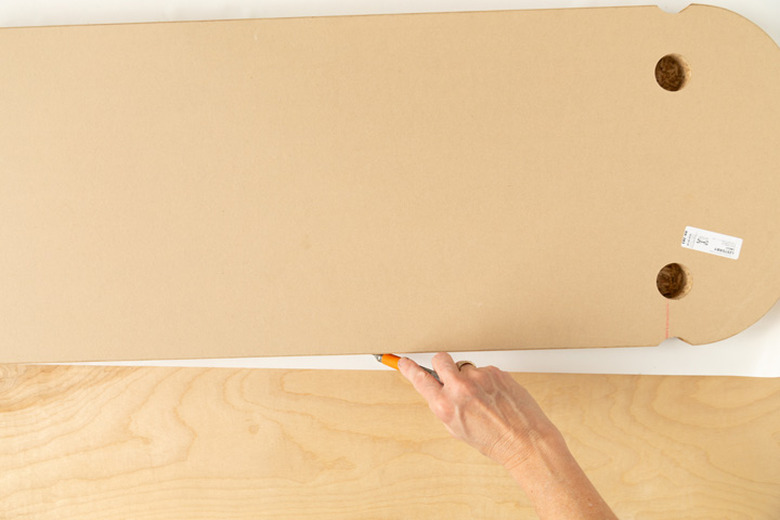
4. Trim the Wallpaper
Flip the table top over and lay on a protective surface. (We had our table laying on top of an old piece of plywood.) Using a craft knife, trim the wallpaper right against the edge of the tabletop. Be sure to cut around the rounded edges where the legs attach as well.
 Sara Albers
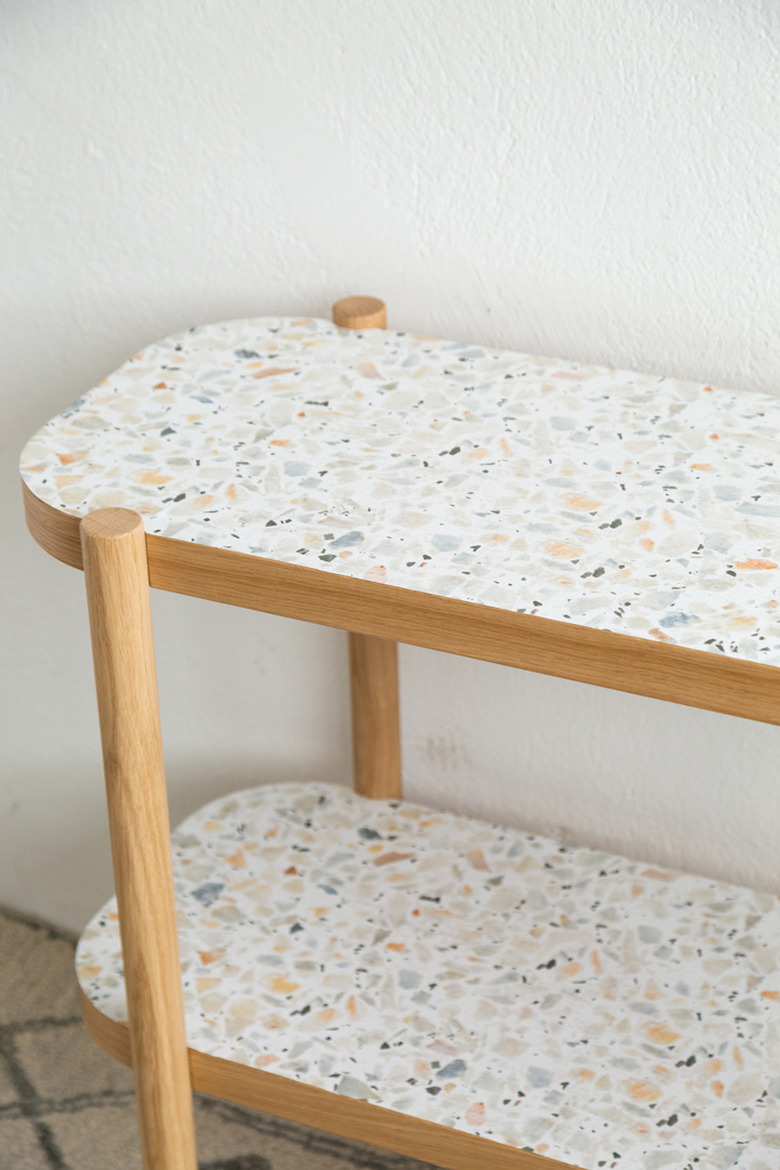
5. Repeat on the Bottom Portion of the Table
You will do this process on both the tabletop and the bottom shelf of the table.
 Sara Albers
Attach the legs and finish building the table according to the directions that came with the table.
 Sara Albers
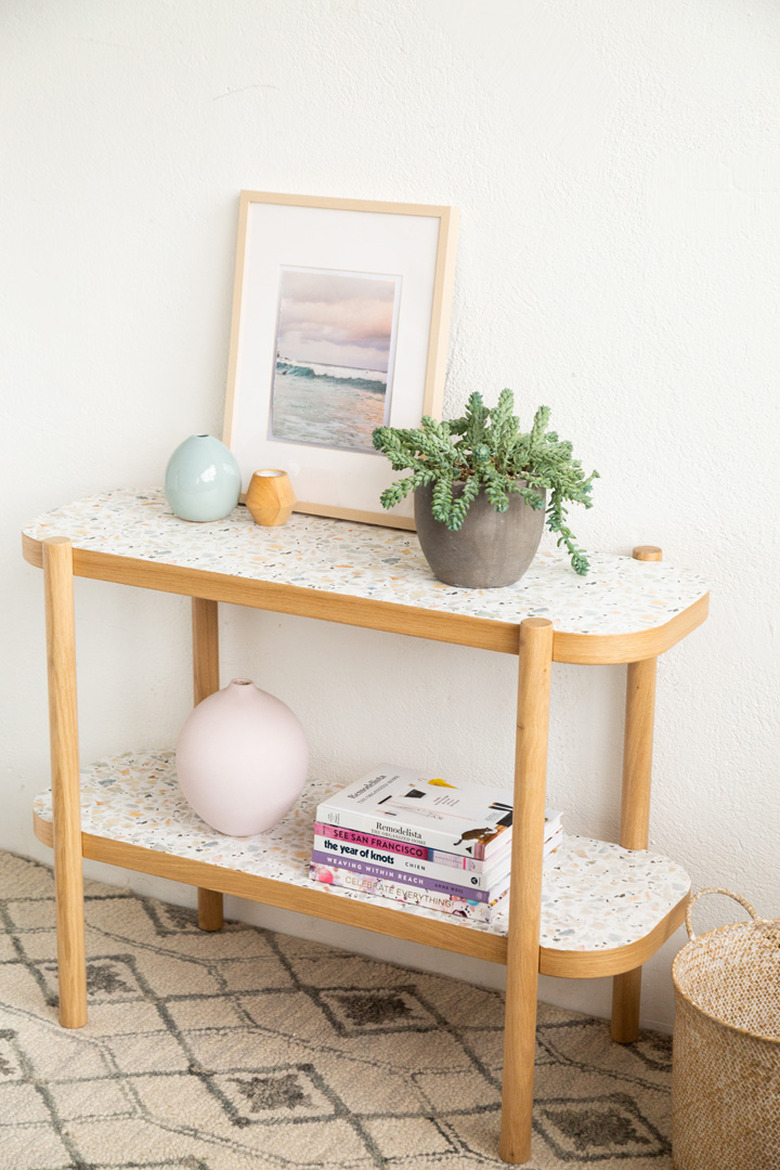
Not only do we love the look of this console table, but we love that you can change the look anytime you'd like. This removable wallpaper can simply be pulled up. Voila!
Transforming IKEA pieces into something looking more high end or chic is a favorite way to DIY!
 Sara Albers
 Sara Albers