IKEA Hack: From Plain Cabinet To A Brand New Beauty Using Cane
We may receive a commission on purchases made from links.
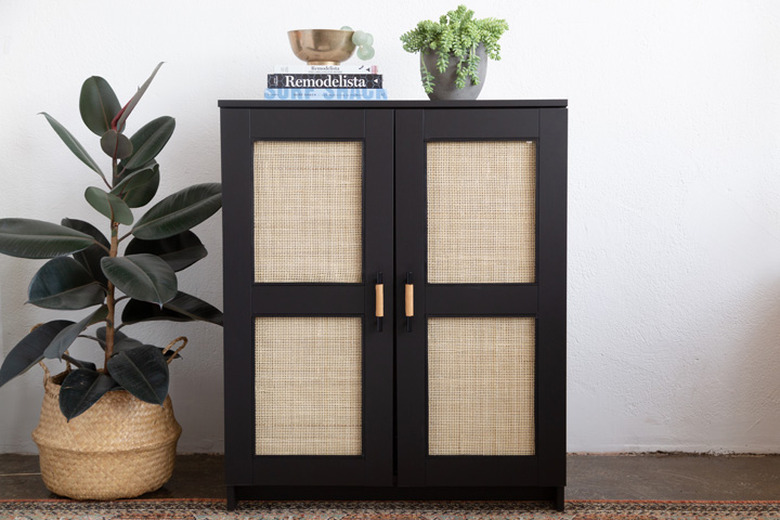
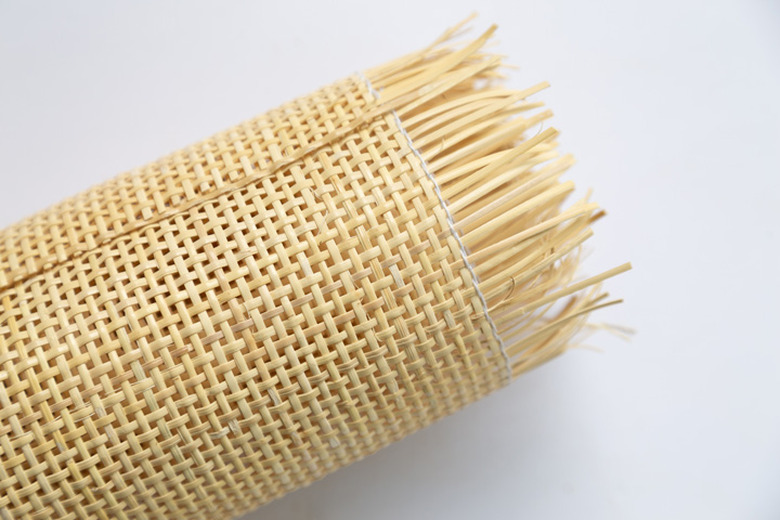
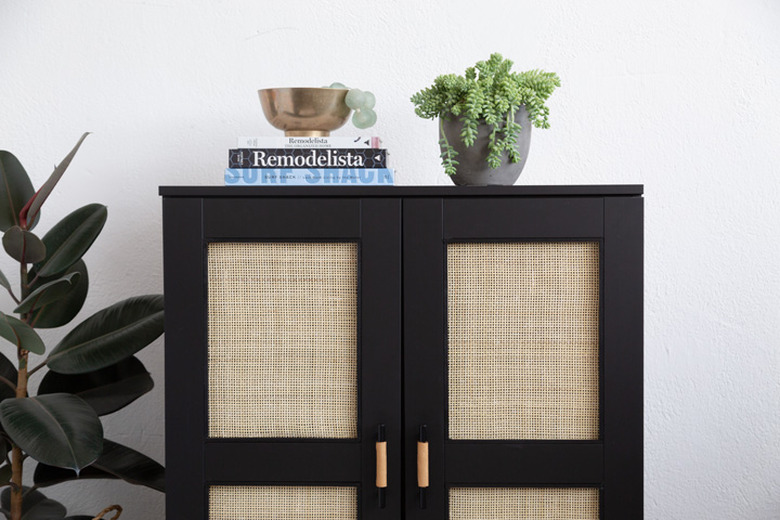
Adding cane webbing to a piece of furniture not only makes it on trend, but also makes it appear high-end. The black IKEA Brimnes cabinet is the perfect piece of furniture for a DIY upgrade. We've seen some great projects for natural wood or white furniture featuring cane, but the dark contrast seen here is a show stopper.
Plus, this DIY is very affordable: The cabinet is under $80 and the cane webbing is under $40. Cane webbing (or caning) comes in a variety of patterns. We love the look of the woven weave, or radio weave. You can always go with a more classic caning, like an open weave or a basket weave.
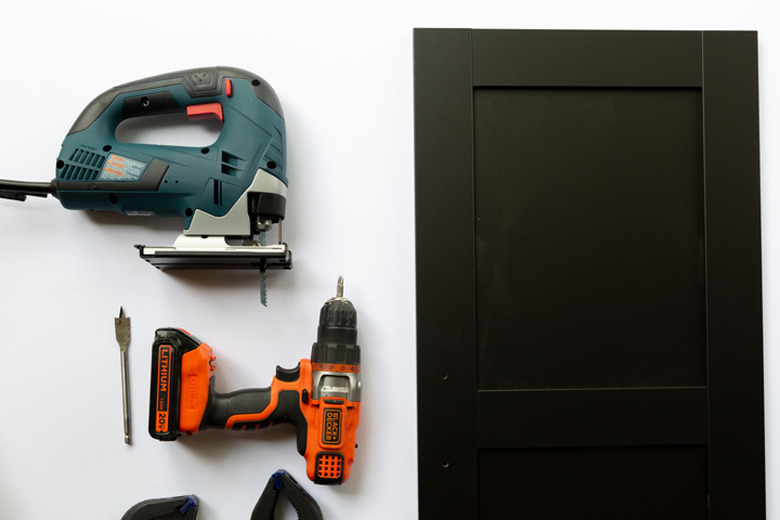
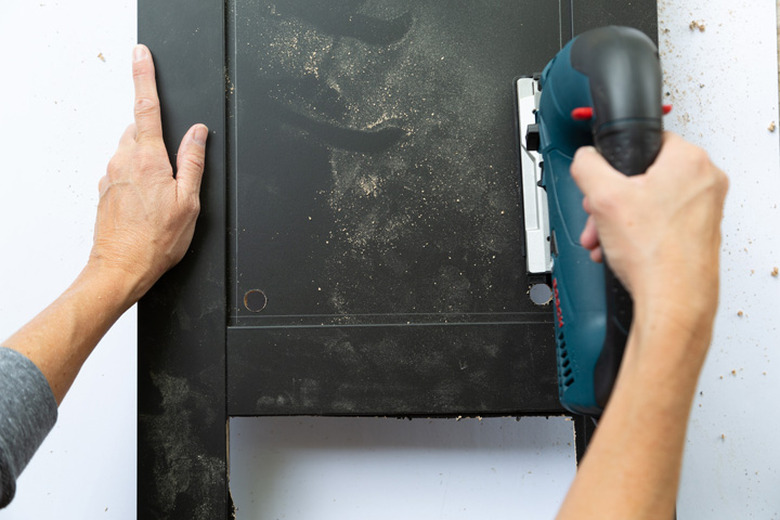
One thing to note is that this project uses some basic wood working skills. We used a jigsaw to cut the inside panels out of the cabinets. If power tools aren't your thing, you could always adhere the cane directly onto the cabinet panels, but you won't get the same effect of the light, airy look and feel of cane.
 Sara Albers
1. Determine measurements for cabinet doors and caning.
You will want to measure the inside of the cabinet doors to prep for caning. For the Brimnes cabinet, we used 12 inch by 14 1/2 inch pieces of caning for each opening. You will need four pieces with that measurement.
 Sara Albers
2. Prep cane webbing.
Soak the roll of cane in water for about 10 minutes. This will allow the cane to be more pliable when cutting.
 Sara Albers
3. Measure and drill holes.
Use the 1/4-inch trim to draw a line for where you will cut out the panel. Line up the trim, lengthwise, against the line of the door's current panel. Later, you will be adhering that trim to the edge of paneling. Drill a hole in each corner on the inside of the lines you just added with the trim. This is where you will be able to cut with the jigsaw to get the middle of the cabinet panel out.
 Sara Albers
4. Cut around your marked area on each cabinet with jigsaw.
Start at a corner and go all the way around perimeter, cutting along the line you added from the trim.
 Sara Albers
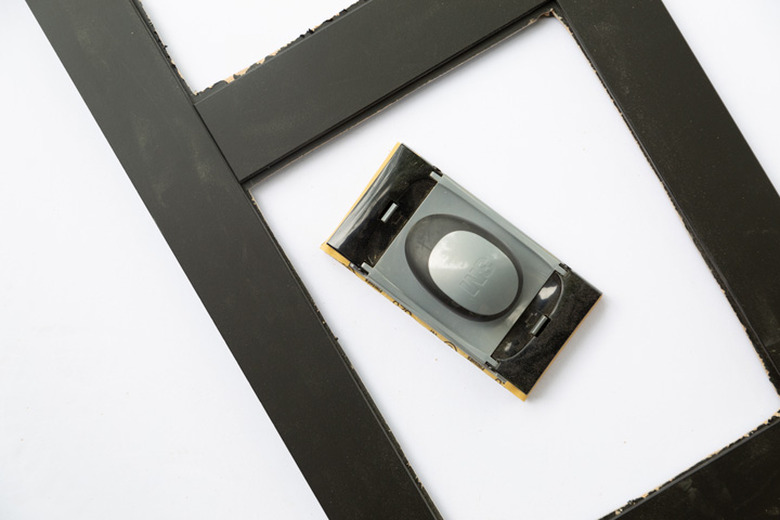
5. Lightly sand the edges of the inside of the cabinet panel.
6. Cut out caning to fit the open cabinet space.
Leave at least one inch on each side. Make a template with the 12-by-14 1/2-inch measurements to make it easier.
 Sara Albers
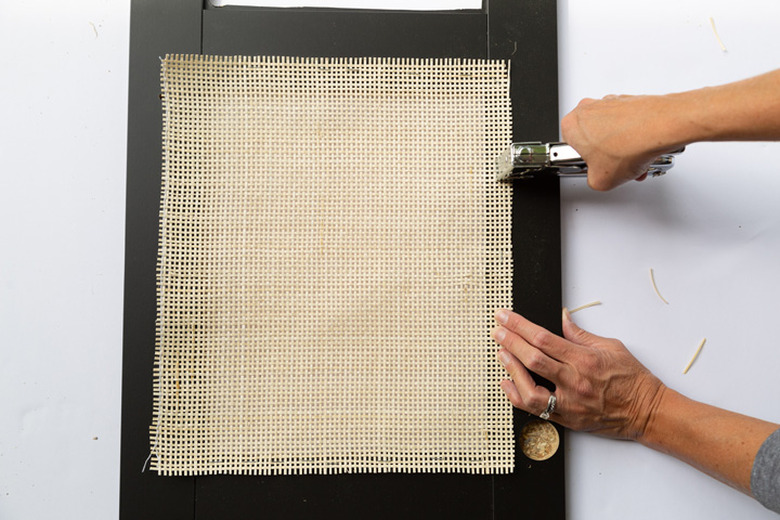
7. Attach the cane to the back side of cabinet doors using a staple gun.
Line up the cane webbing on the back of the open part of the cabinet. Pull the cane tight by stapling the center top edge and then the center bottom edge. Do the same on the left and right sides. Then staple every few inches all the way around. Use clamps, if needed.
 Sara Albers
8. Add trim to front of cabinets.
Paint the trim black and allow to dry. Next, cut the trim pieces to specific measurements of the inside of the cabinet doors. Attach using wood glue.
 Sara Albers
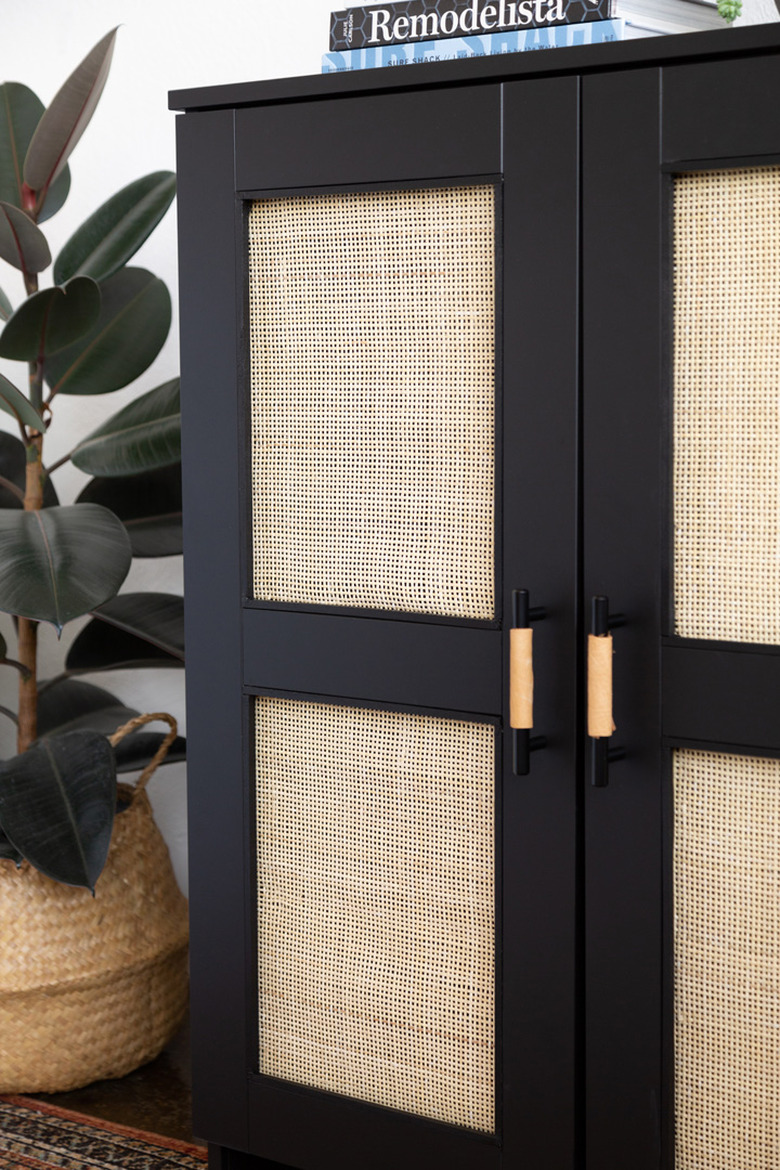
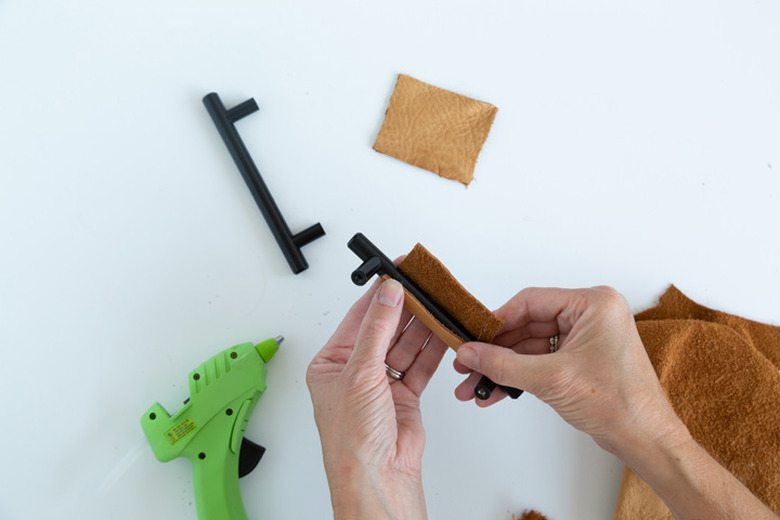
9. Add leather to cabinet handles.
Cut pieces of scrap leather to fit around the cabinet handles. Adhere with glue. We used a hot glue gun for a quick adhesion.
 Sara Albers
10. Attach cabinet handles.
After you attach the handles, your cabinet is complete.
 Sara Albers
 Sara Albers