How To Create A DIY Raised Garden Bed That Will Last You From Fall Into Spring
When Beau Ciolino and Matt Armato bought their (very charming) 19th century converted shotgun home in New Orleans this past July, they had more than a few renovation plans on their plate. But as the home and garden experts behind the blog Probably This, they decided to tackle the outdoor space as one of their very first projects.
The goal? Creating a DIY raised garden bed in time for fall planting. Call it a result of our current work/eat/play/everything at home lifestyles or just an urge to work more with our hands, but if you've glanced at Instagram lately, you've probably noticed that raised garden beds are having a serious moment — and Ciolino and Armato are here for it.
"We wanted to capitalize on our new backyard's square footage and create some big beautiful raised garden beds that will act as a place to grow food and flowers while enhancing the look of our yard," they share. "While we chose to make our raised garden beds large and in charge, this DIY can absolutely be done on a much smaller scale for anyone who needs to fit a smaller space or wants something that requires less maintenance."
No matter where you live, the key is planning ahead: "You can have a fantastic raised bed garden in pretty much any climate, but you have to make sure that you're planting what's right for your hardiness zone — which is a guide to growing based on your geographic location, and the amount of sunlight your space receives each day."
Before diving head-first into your project, the gardening pros suggest spending a few days to assess the amount of light your yard gets to ensure you choose plants that will prosper in this type of environment. "You can look up your hardiness zone online and find a calendar for when to plant different plants and how much sunlight they'll need," they add.
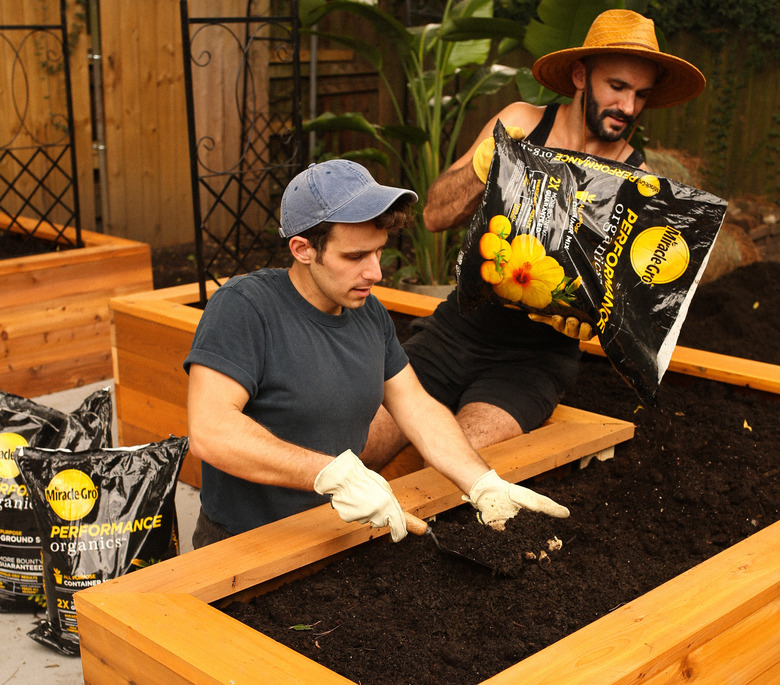
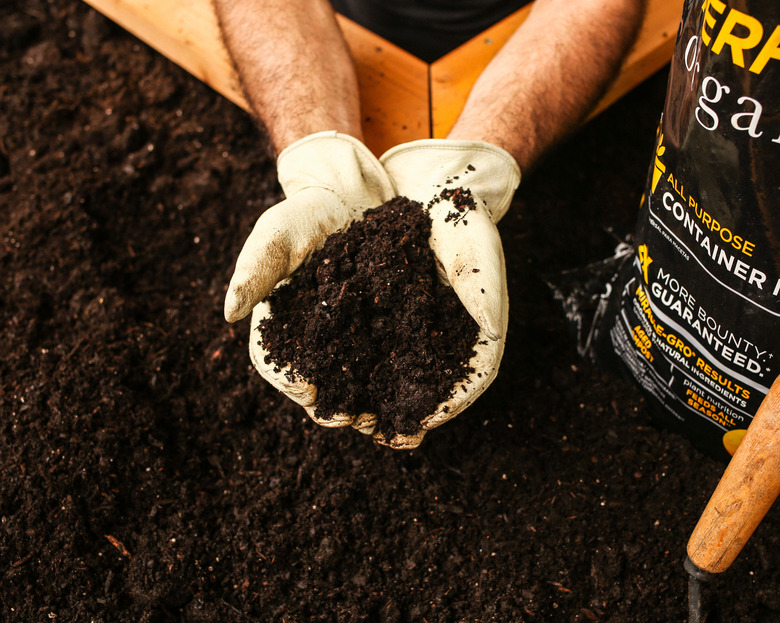
The other side of the equation for creating a blooming bed? Your soil and potting mix. Ciolino and Armato turned to Miracle-Gro® Performance Organics® Raised Bed Mix to round out their gardening project. "We love that their soil comes nutrient-fed and ready to be used, which makes for a smooth and streamlined gardening process," they say. "The soil looks and feels so healthy!"
Keep scrolling for step-by-step instructions on creating your own DIY raised garden bed.
Keep scrolling for step-by-step instructions on creating your own DIY raised garden bed.
Things Needed
-
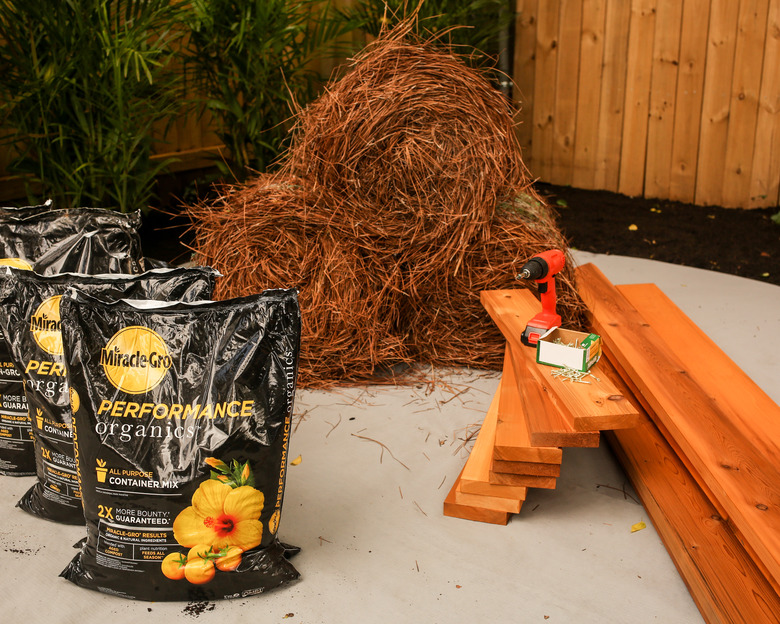
Lumber cut to desired dimensions and optionally stained (Ciolino and Armato used 5/4 x 6 cedar planks and stained them with a vegetable garden-friendly stain)
-
Corner posts or brackets for support
-
Deck screws
-
Power drill
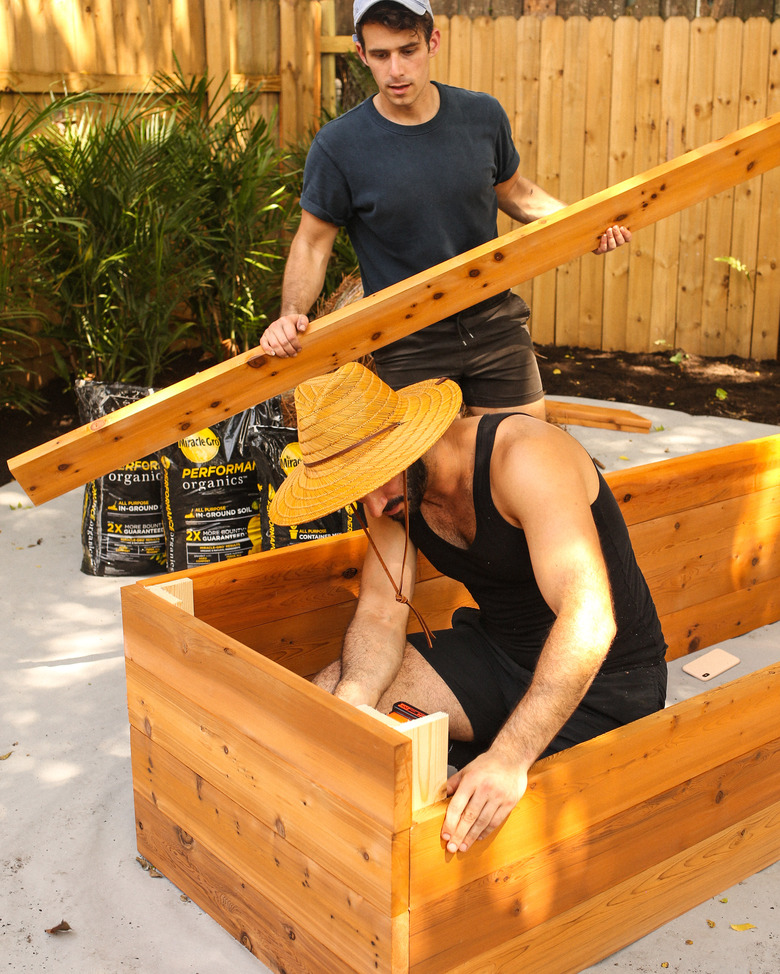
1. First, join the long side of one plank to the short side of the adjacent plank by drilling one plank to the other, or by drilling your post or corner bracket to both from the inside (this will avoid showing any screws on the exterior of your raised garden bed).
2. Work your way around the shape you've made until the bottom plank of every side is in place. If your raised garden bed will only be one plank high, you can skip to filling the bed up with soil.
 Beau Ciolino and Matt Armato
3. Continue adding planks by attaching them to the post, ensuring each piece is flush with the one below it, until you've reached your desired height.
4. If your garden bed is taller than 18 inches (the deepest that the roots of your plants would grow), pack the bottom with pine needles, mulch, leaves, twigs, or other organic matter. This is a cost effective way to fill up the beds that won't harm your plants.
 Beau Ciolino and Matt Armato
5. Fill the garden beds up to about a half to one inch beneath the top edge using Miracle-Gro® Performance Organics® Raised Bed Mix.
6. Allow your soil to mature for several days (and up to two weeks), and use a soil meter to make sure the conditions are great before planting.
The final-but-vital piece of info Beau and Matt want you to keep in mind? "Enjoy the process, y'all," Beau says. "We found building the raised garden beds to be incredibly rewarding and fun to do together, and the whole time we daydreamed about all of the great plants we'll be able to grow." Garden goals.