Shower Drain Requirements

We may receive a commission on purchases made from links.
The shower drain is an important part of a shower installation that requires some planning. While older homes were more likely to have only bathtubs, there are very few homes today that don't have at least one shower. If you live in a home with just a tub or a cheap shower conversion kit, you'll probably want to remodel to install a shower in your home.
If you know a little about plumbing and have basic DIY skills, you can probably do most of the work for a shower installation yourself. The most important part of installing a new shower or shower base is the drain. In order to properly install a shower drain, you'll need to be aware of the requirements for shower drains and drain piping as well as venting requirements.
Water piping for a shower can be installed in a number of ways because the water pressure will push it through the pipes to the faucet. Water flows by gravity through a shower drain, meaning it will need to have the right pitch. A shower drain must be installed according to specific requirements, including pipe materials and sizes and vent configuration. Before beginning a shower drain project, you should check with your local building department about plumbing code requirements and draw any necessary permits.
 Sanford Creative
Planning a Shower Drain Location
Planning a Shower Drain Location
You need a plan when you are installing a shower drain to determine where the pipe will be run, where to put the trap and how you will vent it. It's a good idea to start by taking some measurements and then make a drawing or sketch of how you plan to run your drain and vent pipes. You can sketch your plans for the water pipes while you do this as well. Having it down on paper will help you remember your plans, which will come in handy when you are buying pipe and other supplies.
Determining how to access the pipes is another important step. If you are installing a shower in a first-floor bathroom, you can run the pipes from below in the basement. This will require working overhead and using a stepladder if needed. If your house is built on a cement slab without a basement, installing a shower drain on the first floor is a big project that involves breaking or cutting one or more trenches in the cement. For a job like this, you'll want to call a plumber for help.
Installing a shower in a second-story bathroom will require cutting open either the bathroom floor or the ceiling below it to gain access to the area where you will run the pipes. It's usually easier to work on the pipe from above by opening the bathroom floor, and if you are planning to install new flooring, this is your best choice.
Drain Pipe and Trap for the Shower
Drain Pipe and Trap for the Shower
All bathroom drain installations are different, but there are standard plumbing code rules that must be observed for a shower drain. The minimum size for a shower trap drain is 2 inches if it is a new installation. If you are replacing an older shower or tub, you might find that the existing trap and pipe are 1 1/2 inches. Many municipalities will allow the use of the smaller-sized trap and pipe on a replacement but be sure to check with your code enforcement office before you do any work. Otherwise, you may find yourself having to rip it out and start all over again.
Another thing to remember is that you are not allowed to install a 2-inch trap and then reduce the pipe size to adapt to 1 1/2-inch pipe. If you do change the pipe, you will have to change it all to the larger size. You should plan how you are going to run your drain and vent lines before you get started. Having the floor open will help with this step. Lining up the P-trap so that it is directly under the drain hole will make the installation much easier.
A shower drain pipe should have a pitch, or slope, of 1/4 inch per foot. Mark and drill holes in the floor joists according to this slope. For 2-inch pipe, you'll want to drill holes that are a little over 2 inches to make it easier to install the pipe. You may need a few couplings if space is tight. Use PVC pipe and fittings, and if you need to adapt to copper or some other material, you can install a transition adapter. Check with your municipality to see what types of adapters are allowed inside the floors and walls per the building code.
 Stephen Paul for Hunker
Vent Pipe Requirements for Showers
Vent Pipe Requirements for Showers
One thing that amateurs often forget is the vent pipe. It's easy to forget, but it's a vital and required part of any plumbing fixture drain. The vent pipes remove sewer gases while allowing air into the system to help the water drain. Without a vent, your shower won't drain correctly. While a shower usually requires a 2-inch drain pipe, the vent pipe must be either 1 1/2 inches or 2 inches depending on local requirements. Be sure to double check this to see what the code is in your area.
There are a couple of ways to run a shower vent. You can tie it into the main stack in the bathroom by cutting a 3 x 1 1/2 tee into the stack. If you are replacing an existing shower, a tee may already be in place, in which case you can connect to the 1 1/2-inch pipe using a coupling. This method will require cutting open the wall up to the point where the tee is located or will be installed.
The maximum distance from a shower trap arm to a vent is usually 5 feet, though some municipalities may allow up to 8 feet. If the shower is located too far away from the main stack or if it is difficult to access, you can run a separate vent straight up inside the wall and through the roof or tie into the main vent in the attic. This can require a lot of work, including drilling extra holes and opening up more of the wall, so this method is only used if needed.
Installing the Shower Base
Installing the Shower Base
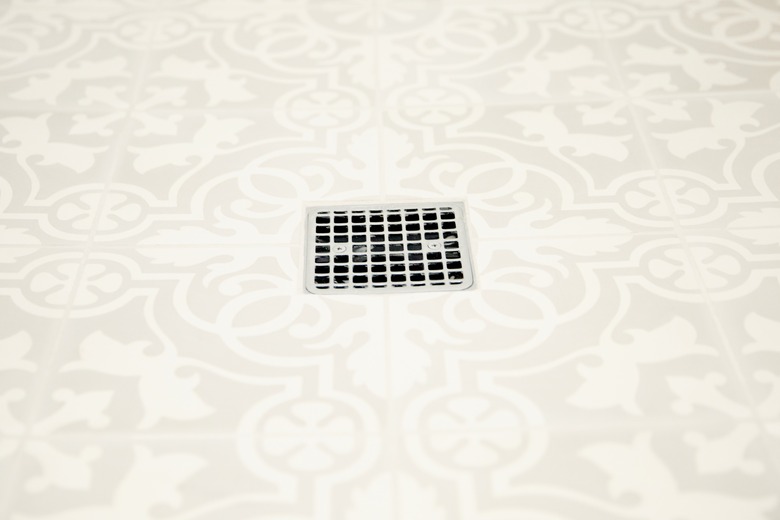
A shower base is required to be a minimum of 30 x 30 inches. It's very important to make sure the base is level to ensure proper drainage before securing it to the studs. Most shower bases are set directly on the floor, but adding a bed of mortar beneath it will provide extra support and keep the base from rocking or cracking. If you choose to do this, do not use concrete mix because the rocks in the mix will make it difficult to keep the base level. Set the base in the mortar mix, making sure it is level, and allow it to harden overnight.
The shower drain fitting will either be tightened onto the shower base and glued onto the drain tailpiece rising from the P-trap or it will connect to the drain using a thick rubber gasket that is slid over the tailpiece after the shower base is in place. The last step is to install the drain cover. Drain covers with a chrome finish are less likely to discolor or corrode than covers with other finishes.