How To Paint Cabinet Hardware To Feel Like New
We may receive a commission on purchases made from links.
While you always have the option of buying new hardware for your cabinets, it can add up fast. Luckily, painting existing hardware is an affordable alternative to getting a new look for less. Silver, gold, bronze, or brass — whatever finish you're aiming for, if you follow our method, you'll get results that last. We even have a hack that can give your hardware the look of highly coveted raw, unlacquered brass. OK, let's paint!
Things Needed
-
Screwdriver
-
Liquid dish soap or degreaser
-
Toothbrush or small scrub brush
-
Drop cloth
-
Spray paint (we used this metallic gold color)
-
Rub 'n Buff Wax Metallic Paste (optional)
-
Rubber gloves (optional)
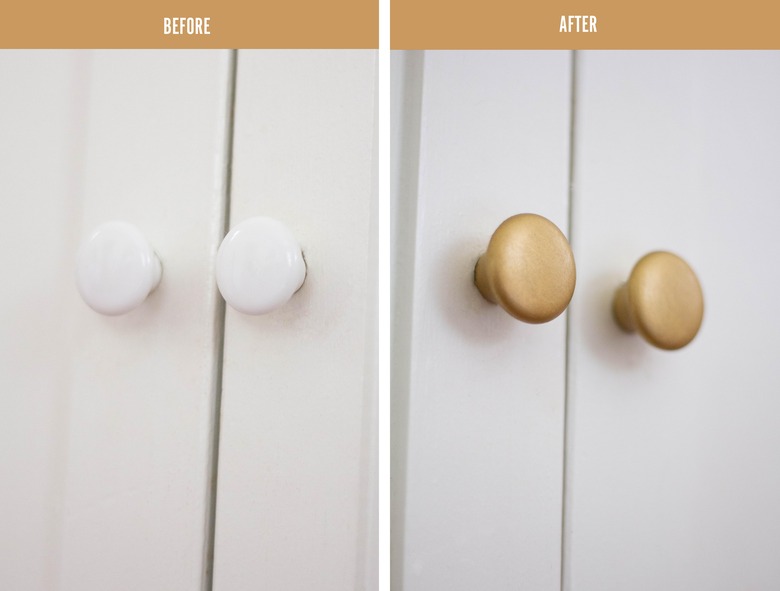
First things first, let's have a before and after look at our hardware, shall we?
 Trisha Sprouse
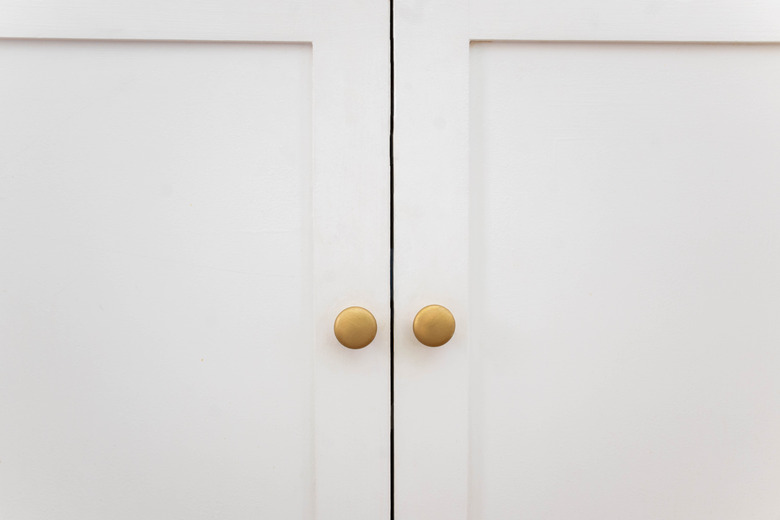
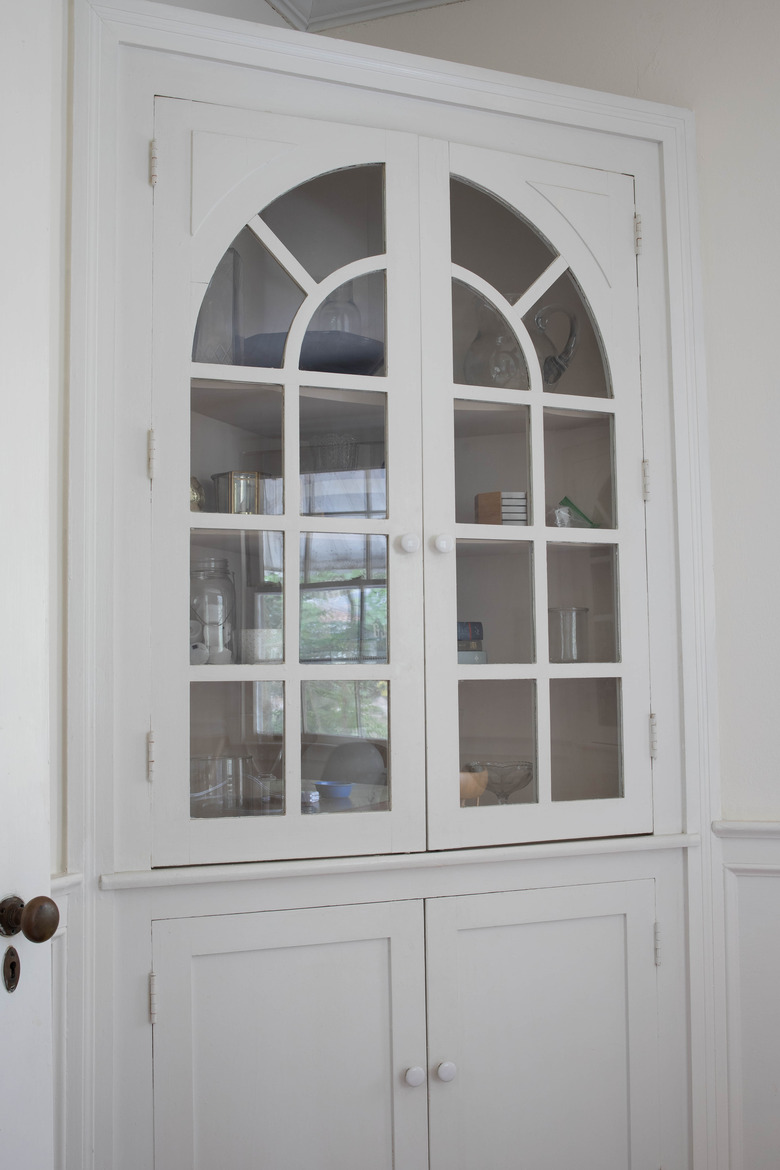
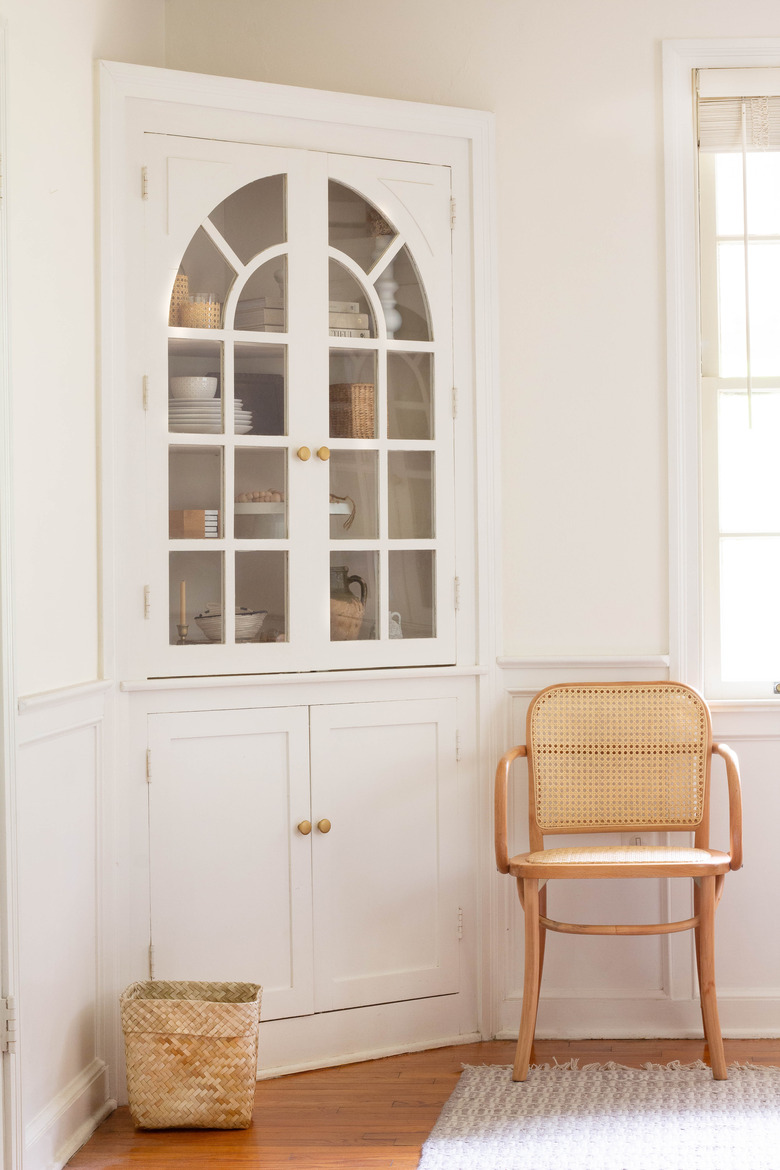
We started off with white ceramic knobs on white cabinetry. Nothing terrible. But definitely not statement-making either. It all just sort of blended together.
 Trisha Sprouse
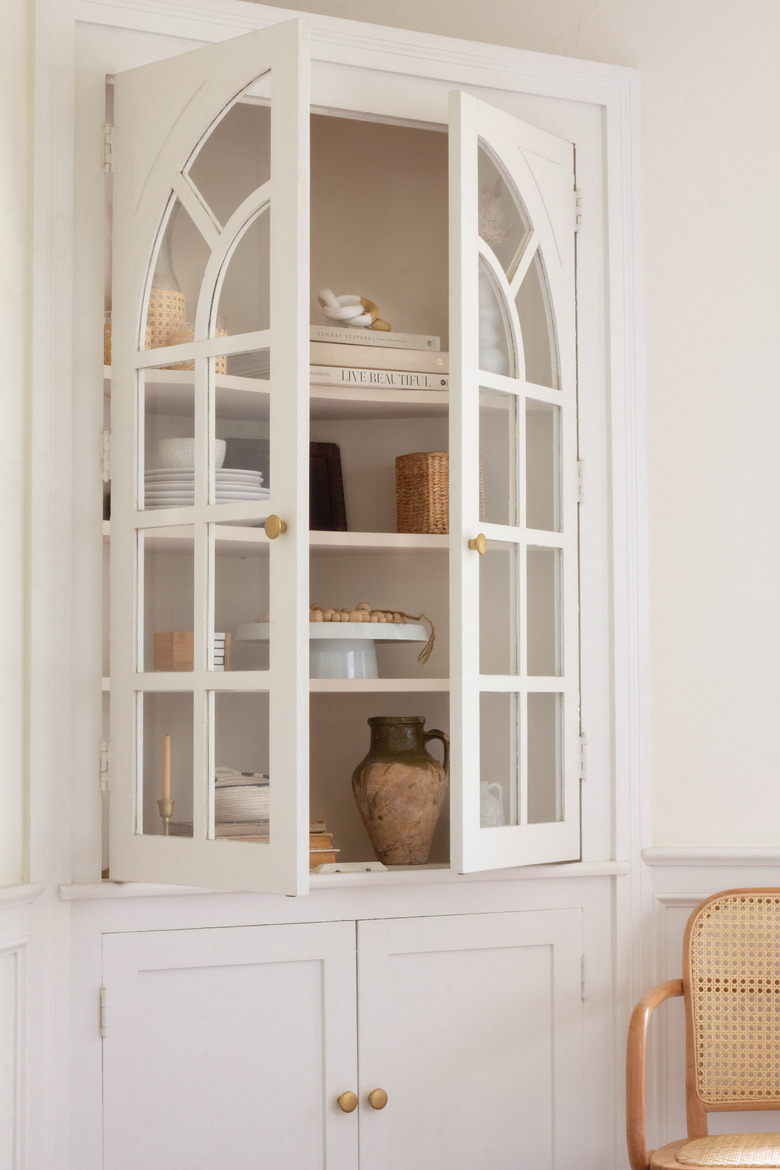
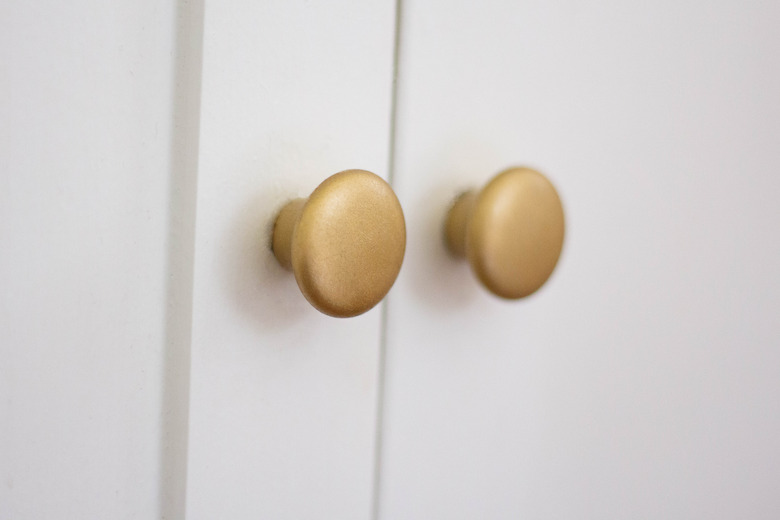
Painting the hardware to look like raw brass just warmed everything up, and elevated the entire look of the cabinets, don't you think?
 Trisha Sprouse
1. Clean
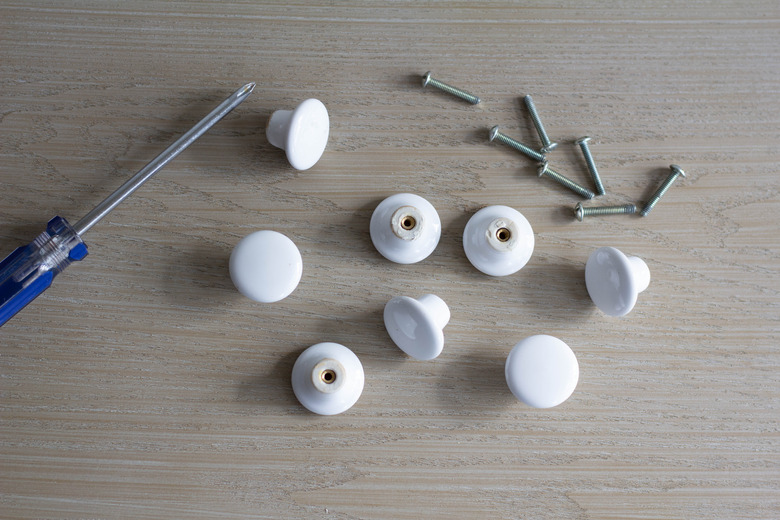
Start by removing all the hardware from your cabinet doors with a screw driver.
 Trisha Sprouse
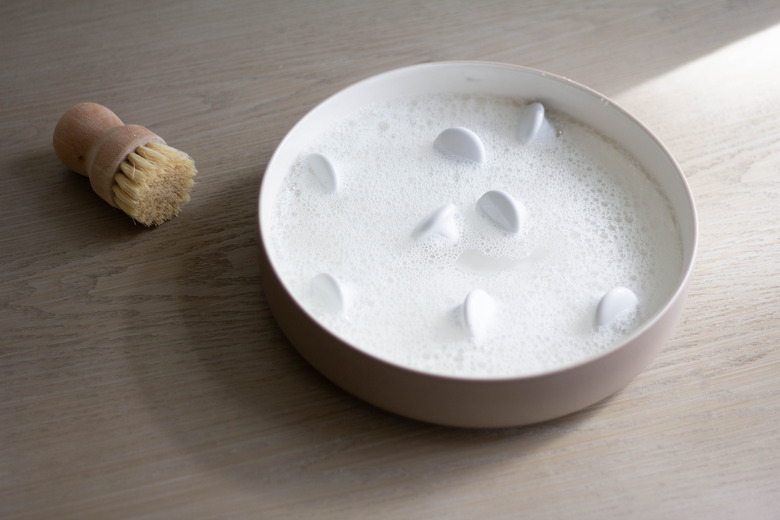
Soak the hardware in a soapy solution of warm water and dish soap (or other degreaser) for 20 minutes, and then scrub each piece with a soft brush. You want to make sure all of the oil and grime from years of use is completely removed, as that can negatively affect paint adhesion. Rinse and then dry the hardware fully with a towel.
 Trisha Sprouse
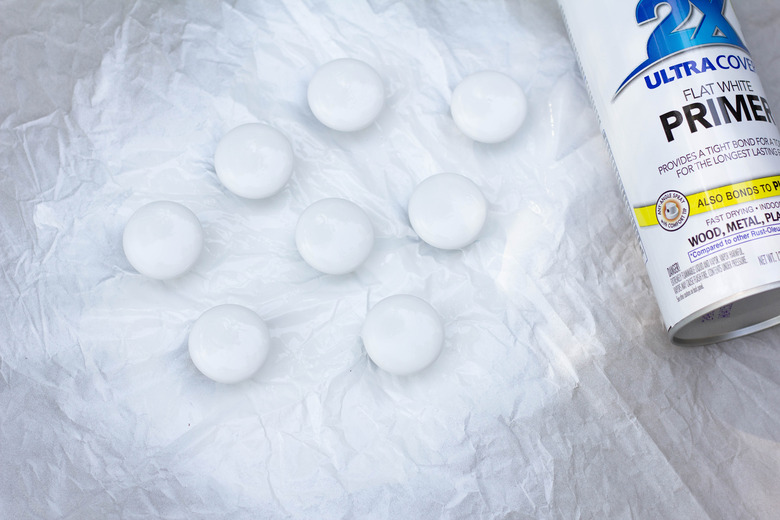
2. Prime
To ensure the best adhesion and avoid chipping later down the road, you'll need to prime the hardware with an oil-based primer — even if your paint has primer in it. Place your hardware face up on a drop cloth and spray several light coats, allowing a few minutes of drying time in between coats. Hold the can at least eight to ten inches away from the hardware to avoid drip marks, and make sure you spray from all angles to ensure the entire surface is covered. Let dry for an hour.
 Trisha Sprouse
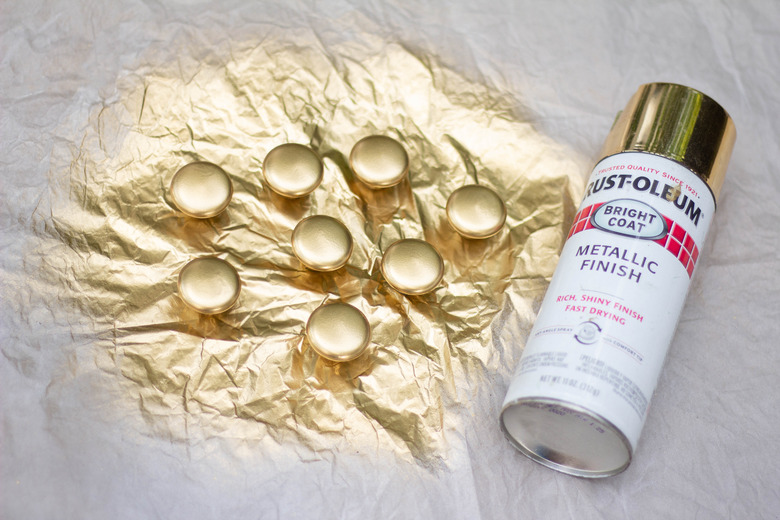
3. Paint
Once the primer has dried for an hour, spray paint your hardware with your paint color of choice (we used this gold color). Again, you'll need to spray several light coats from all angles to cover the entire surface. Once everything looks evenly coated, let the paint dry at least 24 hours.
 Trisha Sprouse
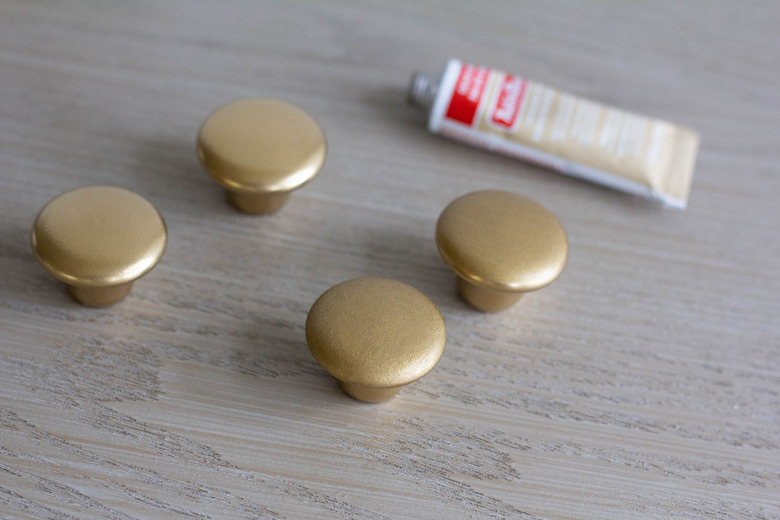
4. Gild (Optional)
This step is optional, but because our aim was to give our hardware the look of unlacquered brass, we added a thin layer of Rub 'n Buff on top of the spray paint. If you painted your hardware a different color, or you don't want a raw brass finish, skip to the next step.
We simply piped a small dot of Rub 'n Buff onto each knob, and rubbed it all over the surface (wearing rubber gloves) until it looked completely blended. You can see the effect it had on the knobs pictured below; the ones on the right have Rub n' Buff applied, and the ones on the left do not. It simply toned down the glossy "new" sheen of the gold spray paint and added a nice "aged" patina to the finish. (Pssst ... check out this thrift store mirror we also transformed with Rub 'n Buff. Love this stuff!)
 Trisha Sprouse
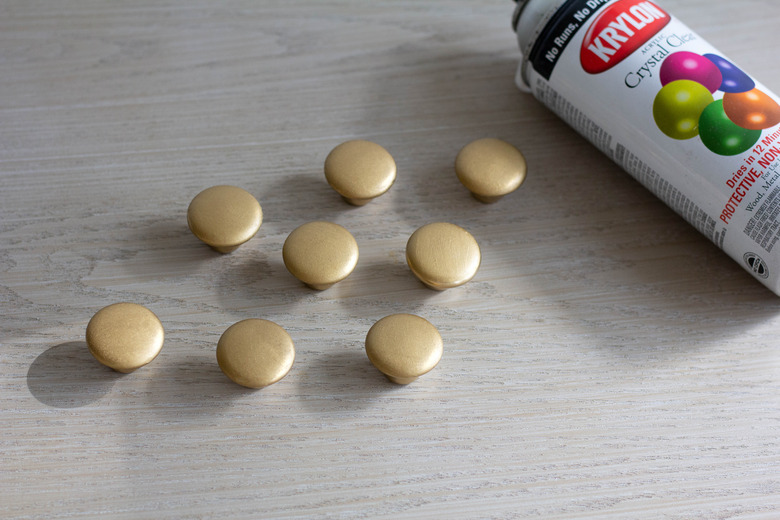
5. Seal
This last step is non-negotiable — you must seal your newly painted hardware with a clear topcoat. This will protect the hardware from wear and tear over time. You can choose any sheen you like from glossy to matte (we went with a satin finish), but be sure to seal in all the pretty work you just did. Spray several light coats from all angles to ensure full coverage.
 Trisha Sprouse
Let the hardware dry at least 24 hours before re-attaching it to your cabinets. Handle it with gentle care for the first week or two, as that's how long it can take for the paint to fully cure.
 Trisha Sprouse
That's all there is to painting your hardware with beautiful results that'll last. The only question is ... what to buy with all the money you saved by painting it?
 Trisha Sprouse