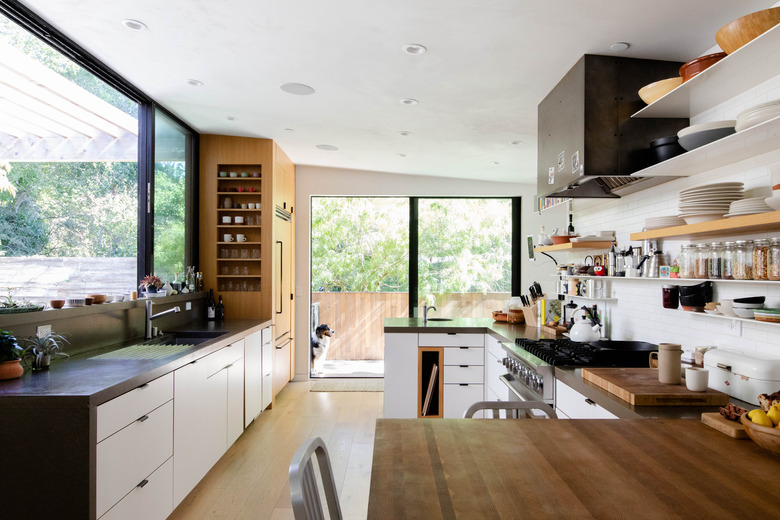
Repairing Kitchen Cabinets: 5 Common Repairs You Should Know
We may receive a commission on purchases made from links.
Kitchen cabinets can last for generations with a little care and maintenance from time to time. But even the highest-quality cabinets may need minor upkeep on occasion, such as repairing scratches and loose hinges or patching and re-drilling screw holes. In many cases, cabinet repairs are simple enough to handle yourself, but for sagging shelves or problematic hinges, it may be time to call a cabinet repair professional.
Tools and Materials Required
Tools and Materials Required
If you're planning on repairing your kitchen cabinets, you'll need a few tools and materials to make the process go smoothly.
1. Nicks, Scratches and Small Holes
1. Nicks, Scratches and Small Holes
Minor scrapes and scratches on kitchen cabinets and countertops usually don't need paint or stain and are simple enough to be a DIY home improvement project with very little out-of-pocket expense. If you still have the original literature that came with your cabinets, look for the manufacturer and any information about the cabinet finish. Check with the original retailer or on the manufacturer's website for a touch-up kit or scratch-repair marker that matches your type of finish. Some cabinet retailers even include these with the cabinets since minor dings are bound to happen during the installation process.
A fill stick, available at most hardware stores, comes in handy for filling tiny holes, such as old screw holes or gouge marks on a door or drawer front. Rub the stick over the hole and then wipe away excess waxy matter with a soft cloth or with a plastic putty knife if a cloth doesn't do the trick. To cover minor scratches that mar the finish, use a marker that matches the wood finish and gently color the scratched area. Wipe away excess marker ink with a soft cloth if necessary before it dries.
If you don't know the name of your cabinets' finish, pick up a set of wood-repair markers from a home improvement store. These usually include markers in common natural-wood finishes. Some can be blended to get a close color match if no single color quite matches the cabinet surface. Start with a color slightly lighter than the cabinet's finish and then layer darker markers until the scratch is no longer obvious. Test markers in an inconspicuous area first to ensure a close color match.
 Colleen Michaels/iStock/GettyImages
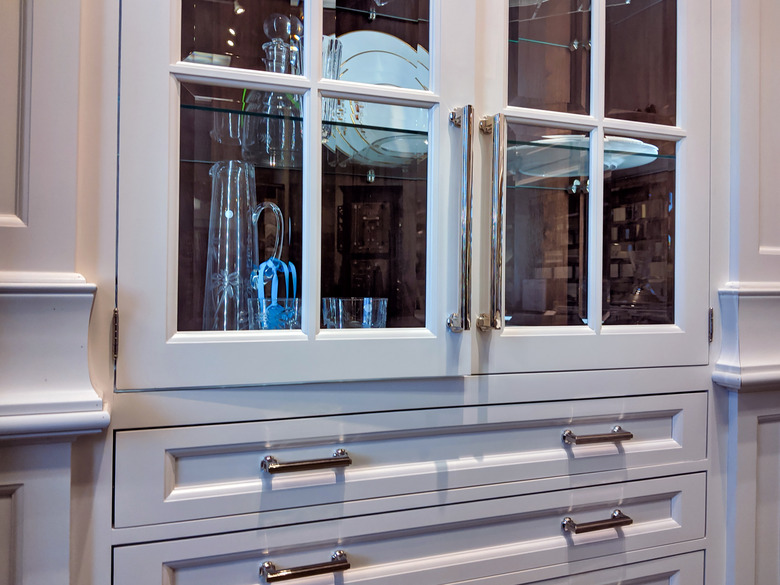
2. Cabinet Door Doesn't Stay Closed
2. Cabinet Door Doesn't Stay Closed
A cabinet door that doesn't close or that doesn't stay closed is often caused by a problem with one of the hinges. Check the hinges to see if any of them are loose or no longer flat against the cabinet or cabinet door. If a hinge is loose, the most common cause is a loose screw or two.
Hold the door so it lines up to close properly and tighten the screws with a regular Phillips screwdriver, not a cordless drill driver, as hand-tightening allows a lot more finesse and "feel" for when the screw is tight enough. It also helps prevent overtightening or stripping of the screw threads or screw head.
If the doors and hinges seem fine but the doors automatically open after you close them, the problem is likely due to a warped door or cabinet box rather than a hinge-adjustment issue. In this case, you may need to add a magnetic catch to keep the door closed. This is an inexpensive device that include a magnet mount, screws and a strike plate.
Mount the catch under a shelf or under the cabinet so the magnet is flush with the front of the cabinet and would almost touch the closed cabinet door near its top or bottom corner. The strike plate, which is a flat piece of metal, attaches to the cabinet door so it touches the magnet when the cabinet is closed.
Magnetic catches vary in shape and size, so installation varies slightly from one brand to the next. Read the package label or consult the manufacturer's website for specifics.
3. Damaged Screw Holes
3. Damaged Screw Holes
If the hinge screws spin in place when you try to tighten them, your cabinet repair project is simply a matter of filling and possibly re-drilling the screw holes. Particleboard and fiberboard cabinets are particularly prone to this problem because any force that yanks screws from their holes can pull some of the wood material out with it.
- Remove the screws, hinges and cabinet door, marking on each hinge whether it belongs on the top, middle or bottom position. Some complex hinges may be adjusted differently than the other hinges that fit the same door, so it's important to put them back in their proper positions. (This doesn't apply to old-fashioned hinges visible on the outside of cabinets.) After removing the hinge, be sure to mark the holes that are too large for their screws if the damage to the hole isn't obvious.
- Squirt a pool of wood glue onto a paper plate. Dip a toothpick into the glue so at least 1/3 of the toothpick is covered in glue. The coverage area should be about the length of a screw that belongs in the damaged screw hole. Insert the glue-covered end of the toothpick into the damaged screw hole.
- Repeat the process with more toothpicks if the hole is large. Let the glue dry for several hours.
- Break off each toothpick so it is flush with the cabinet surface. A craft knife comes in handy for cutting them if they don't break cleanly.
- Replace the hinges, screws and cabinet door, driving the screw in the repaired hole last. If you cannot easily insert and tighten the screws with a screwdriver, drill narrow pilot holes first to help get the screws started.
4. Misaligned Cabinet Doors
4. Misaligned Cabinet Doors
Cabinets with modern European hinges that attach inside the cabinet usually have screws that can be tightened or loosened to change the door alignment. If your cabinet doors no longer line up like they used to and all the hinge screws seem tight, the hinges may need adjustment.
Check the hinges for a brand stamp and look up your hinges on the manufacturer's website for adjustment information. If you still have your original cabinet literature, it may include details on adjusting the hinges. If not, adjustment is easy to figure out on your own.
The adjustment process varies from one brand and style to the next, as do the number of screws per hinge, but you can figure out the basic adjustments by tightening and loosening screws and noting the effect on the door's alignment. Look for indentations near screw heads as an indication of what that screw adjusts. For instance, if the indentation is to the left or right of the screw, adjusting that screw moves the door left and right.
A groove or indentation above or below the screw head means the screw controls the height of the door. In some cases, you'll have to loosen two screws and slide the door farther up or down and then tighten them once the door is in an ideal alignment. A screw in an area without an indentation usually controls how far in or out the door sits when the door is closed.
 shark_749/iStock/GettyImages
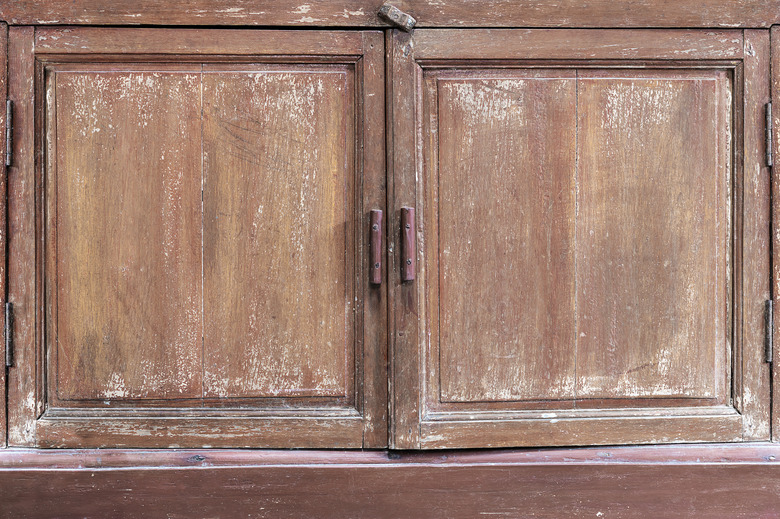
5. Repairing Peeling Kitchen Cabinets
5. Repairing Peeling Kitchen Cabinets
Solid wood cabinets are a luxury. Most modern kitchen cabinets are made from laminated plywood or particleboard, and the lamination has a nasty habit of peeling away when it gets wet or sometimes even when it's dry. You can usually fix lifting laminate yourself, but if moisture was the cause of the peeling, you have to make sure everything dries out before you attempt the repair, and you have to do something about the source of the moisture. Another thing to remember is that particleboard that has suffered water damage often remains flaky and unstable, so the repair might not work.
If the humidity in your kitchen is unusually high, consider opening windows or using fans to keep air circulating and to prevent condensation from settling. Once things have dried out, use a flat bar to gently pry back the lifting laminate far enough to get a paintbrush under it and then use the brush to spread contact cement on the back of the laminate and on the surface of the plywood or laminate. Give the glue a good 10 to 15 minutes to become tacky and then press down the laminate, running your hand or a J-roller over the surface to make sure the laminate flattens down and bonds securely.
Refinishing shouldn't be necessary unless there is water damage, which you can usually fix with light sanding with fine sandpaper and a touch-up coat of paint or stain followed by an application of clear finish.
When to Seek Out a Handyman
When to Seek Out a Handyman
For some damaged cabinets, it's better to call a cabinet repair company or cabinetmaker to handle the repairs. For instance, if a cabinet shelf, drawer box or any of the doors and drawers have warped, you usually need a cabinetmaker or carpenter.
If your cabinets or shelves are made of fiberboard or particleboard and have swelled due to water damage, a professional can assess whether they can be repaired or if they need to be replaced. If a cabinet door or box is beyond a simple repair, it's usually easiest and cheapest to simply replace it with a manufacturer part, but if the cabinets were custom built, you may need to have a skilled carpenter or cabinetmaker craft an identical replacement part.
If the hinges are damaged and replacements are no longer available, contact the manufacturer or the person who installed the hinges if they've been installed in the past few years. Either party may know of a suitable replacement hinge that works well with your cabinets. Otherwise, you should be able to find suitable replacements by searching hardware suppliers online.