Create A Chic Cane Memo Board Using An IKEA Frame

We may receive a commission on purchases made from links.
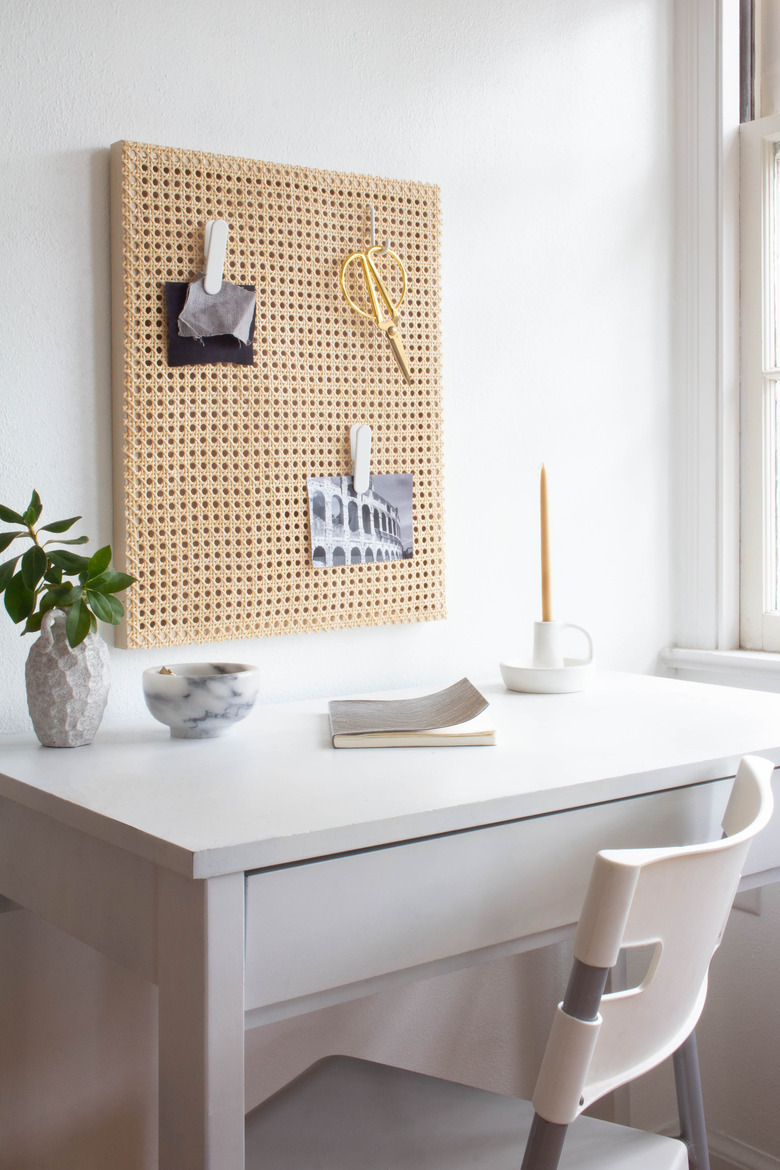
We've got a fever for cane, and the only prescription is more cane. Seriously, though, with all of our DIYs featuring cane webbing, we had some of the material left over, which got us thinking what else we could make. And that, dear readers, led us to another amazing and totally easy IKEA hack: a picture frame turned cane memo board. It has all of the function of a bulletin board or pegboard but looks so much more chic. From task lists to inspo photos to office supplies, you'll stay organized and look good doing it.
 Trisha Sprouse
Things Needed
-
HOVSTA picture frame, 16 1/4 by 20 inches
-
Heavy books
 Trisha Sprouse
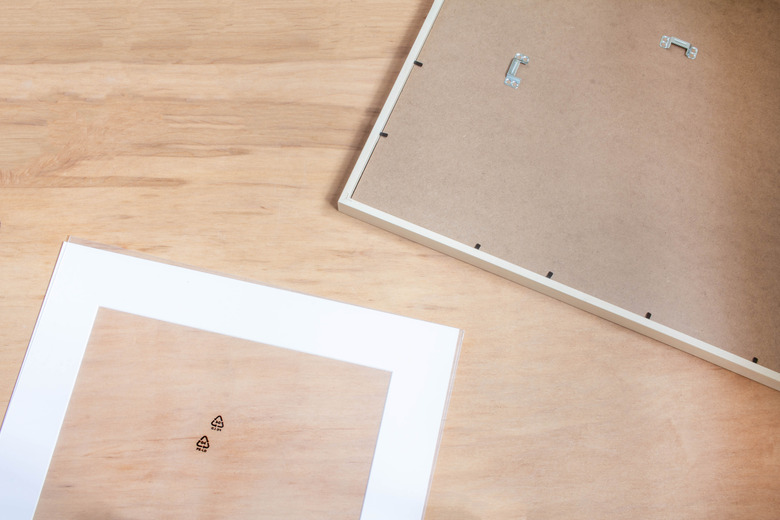
Step 1
Remove the clear acrylic front and white border mat from the frame, and then put the backing with the hanging hardware back into the frame.
 Trisha Sprouse
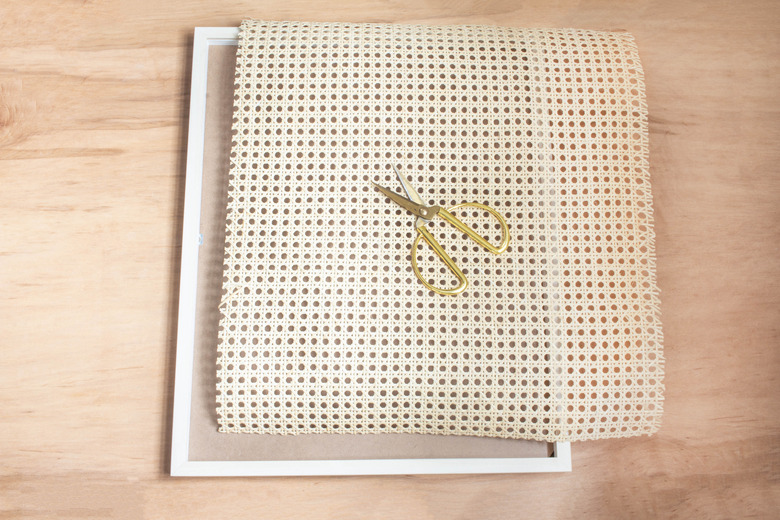
Step 2
Cut a piece of cane webbing slightly larger than the size of the frame. We found it was easier to pull it taut across the frame if it was larger.
Tip
If your cane webbing keeps rolling up and is hard to work with, you can soak it in warm water for 20 to 30 minutes to make it more pliable.
 Trisha Sprouse
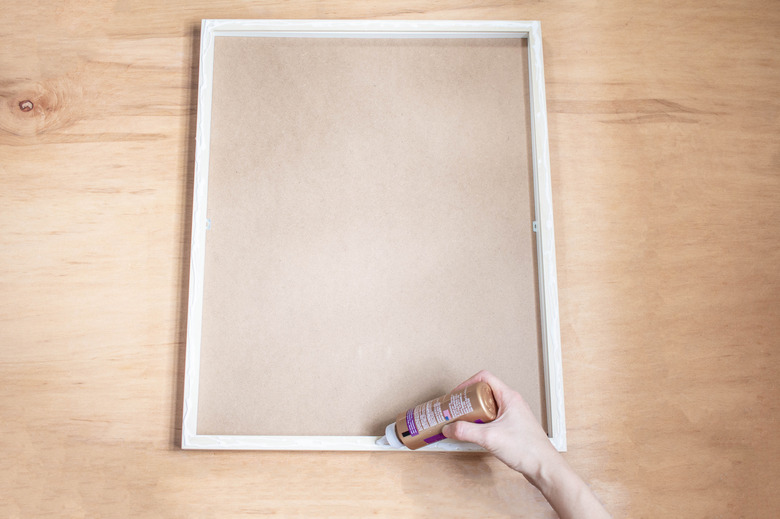
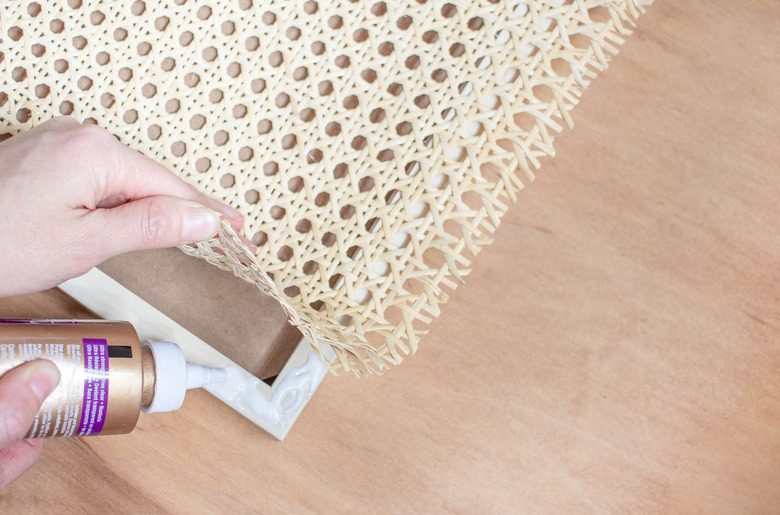
Step 3
Pipe a generous amount of glue around the top perimeter of the frame.
 Trisha Sprouse
Then quickly press the cane webbing into the glue, pulling it as taut as possible across the frame. If any glue oozes through, you can wipe it away with a paper towel, but it'll dry clear, so it's not a problem if some glue is visible on the cane.
 Trisha Sprouse
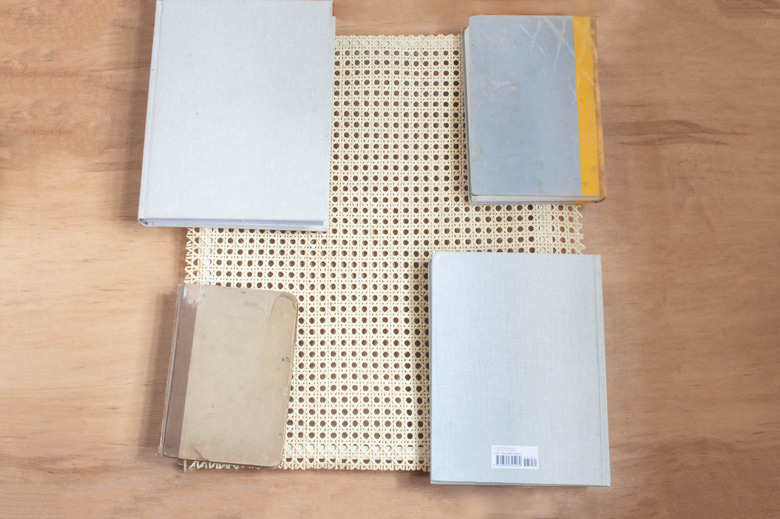
Step 4
Place heavy books around the edges of the frame to keep the cane webbing in place while the glue dries for a few hours or overnight. Don't use any fancy books, as glue is likely to get on them. You could place a piece of parchment paper underneath each book to protect them from glue.
 Trisha Sprouse
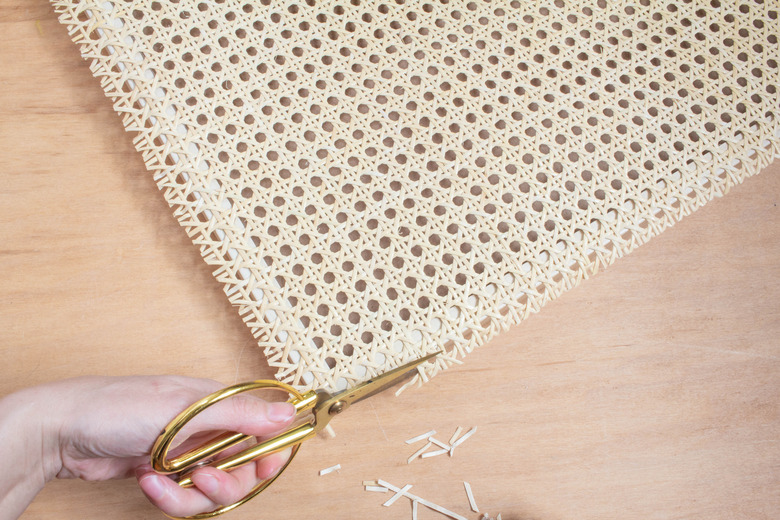
Step 5
Once the glue is dry, trim away the overhang around the sides of the frame. Be advised this is a messy step, so keeping a broom or vacuum nearby is highly recommended.
 Trisha Sprouse
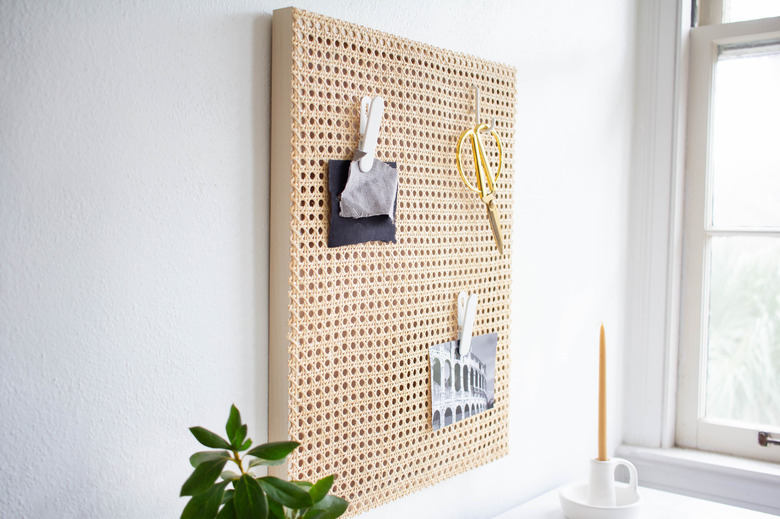
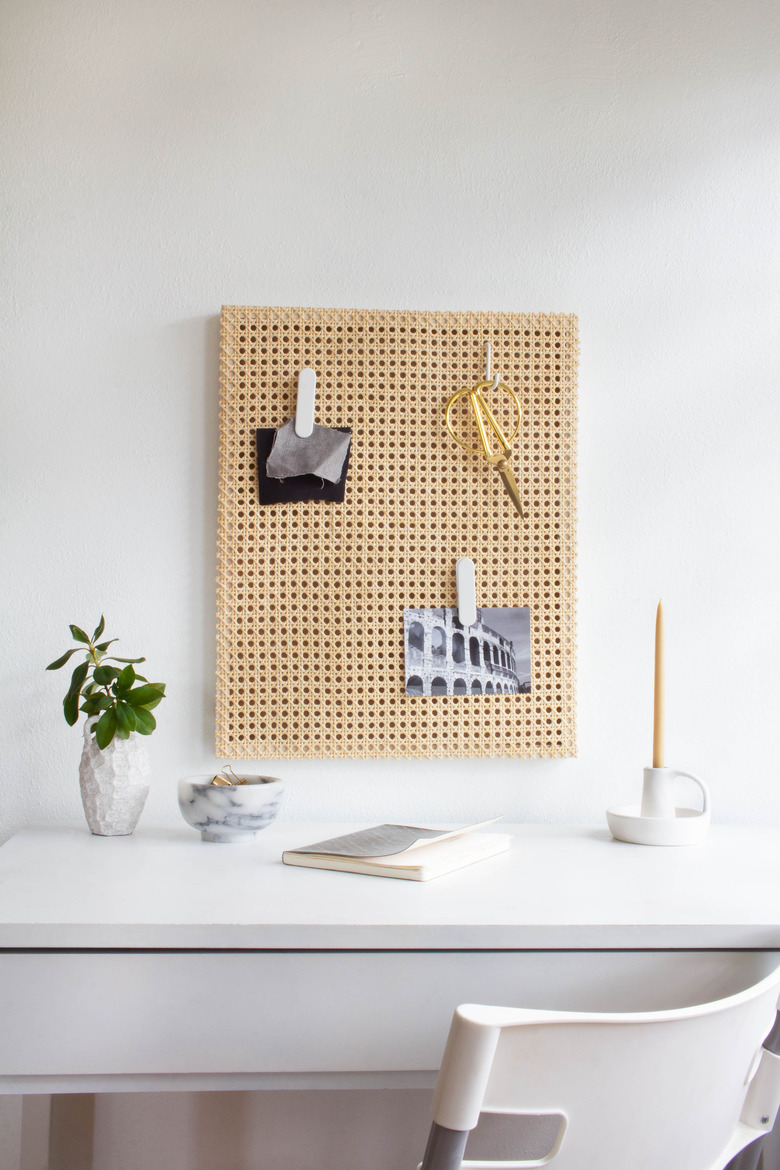
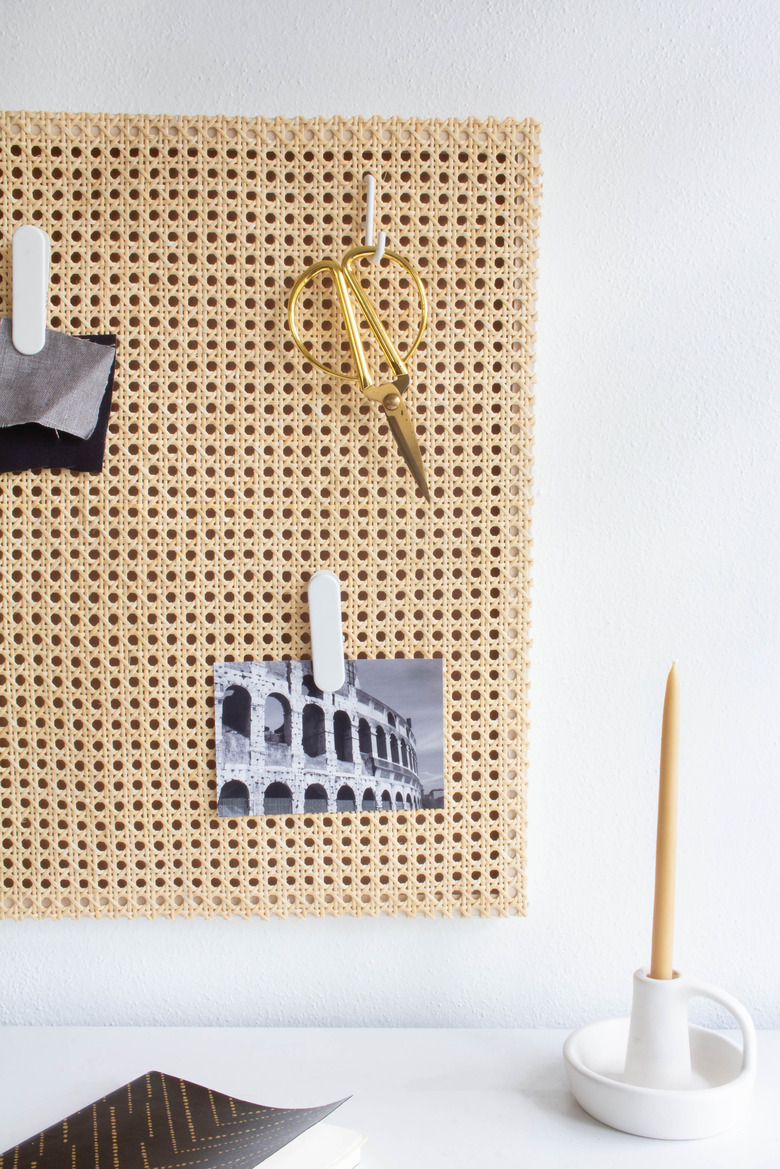
Now hang your beautiful cane memo board up on the wall and slide a few SKADIS hooks and clips into the holes.
 Trisha Sprouse
You're all set to get and stay organized in style!
 Trisha Sprouse
 Trisha Sprouse