Installing Carpet Tiles: A How-To Guide

We may receive a commission on purchases made from links.
No longer just a staple of business centers, airport terminals and the occasional basement, carpet tiles are an increasingly popular option for those looking for an alternative to traditional wall-to-wall carpeting. Their tile-like properties allow users to create their own customized carpet designs, combining a variety of shapes, textures, materials, gradients, sizes, colors and patterns, ranging from the size of area rugs all the way to full rooms. As an added bonus, this modular carpet option allows for an incredibly easy DIY installation process.
How to Pick a Carpet Tile Design
How to Pick a Carpet Tile Design
Whereas a rug or traditional carpet can only feature one set pattern, color, shape and texture, you can choose to lay out carpet tiles any way you please. Because there is so much variety in carpet tiles, you can really get creative and pick multiple types of carpet and mix and match patterns, colors and more.
You can lay out carpet squares with linear patterns so all of the lines run in the same direction, or they can alternate horizontal to vertical with every tile, and you can break up the entire pattern with a row of tiles in a contrasting color. On top of all that, you can lay out a half-dozen squares to serve in place of an area rug, or you can cover your entire floor.
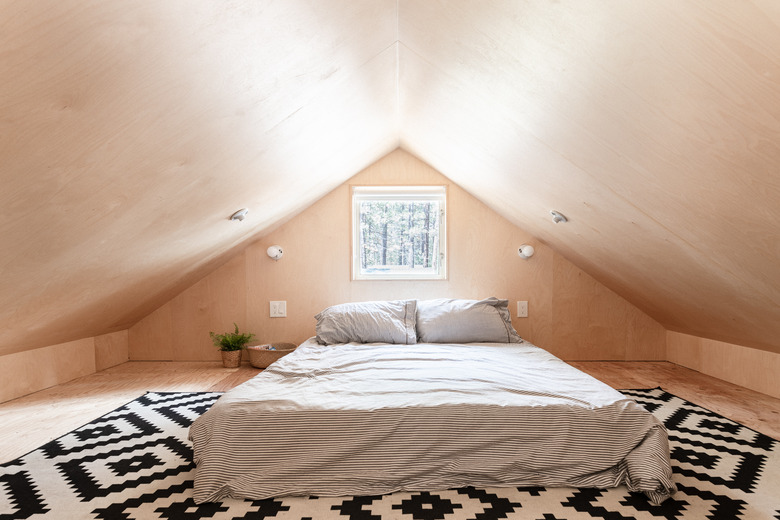 Stephen Paul
The choices are endless, so it pays to look online at photos of already installed carpet tiles to get some inspiration before deciding what kind to bring into your home. Once you get your tiles, be sure to experiment with a few layouts before committing to one. Carpet tile manufacturer Milliken says that a few of the most popular layouts include:
- Monolithic: In this most-popular carpet tile design, all tiles are set in neat rows and columns facing
the same direction. This is the best option for distinctive geometric patterns. - Brick: The first
row is laid out in a monolithic pattern, but the second is offset by a half a
tile, resulting in a slightly varied pattern. - Quarter turn:
This pattern has the tiles laid out in neat rows and columns, but each tile is
rotated 90 degrees from the tile laid before it. This can give some variety to
solid-color carpet squares by changing the pile direction from square to
square. - Accent tiles: You
may want to install the majority of your tiles according to one of these
layouts but use an accent color or pattern
at specific
points in the layout or to form unique shapes.
How to Install Standard Carpet Tiles
How to Install Standard Carpet Tiles
Most carpet tiles are sold with straight edges and must be glued to the floor using the peel-and-stick adhesive on the back of the tile or with a manufacturer-recommended adhesive applied to the subfloor with concrete trowels. FLOR offers an alternative method where tiles are connected to one another with "dot" stickers. While you should always review the installation instructions provided by the manufacturer, the basics are as follows:
- Order your materials. Figure out how many tiles you'll need
by multiplying the length and width of your room and then dividing by the
surface area of a single carpet tile. Always order a box or more of extra tiles
in each color/pattern so you can replace tiles that get damaged or stained in the future. - Ensure your floor is appropriate for carpet tiles. You can
install carpet tiles on any existing hard floor (including wood, linoleum or vinyl and
tile), a sealed concrete subfloor or a plywood subfloor. However, the floor must be flat.
If your existing flooring is damaged, you may need to go down to the subfloor. Uneven
subfloors can be made flat with a self-leveling compound. - Clean the installation surface by vacuuming and mopping
(plywood subfloors do not need to be mopped). Ensure the surface has fully
dried before moving on. - Measure each wall in the room, find its center point and make a mark on the floor. Use a chalk line to create a straight line between
the center marks on opposing walls, forming two crossing lines that meet in the center of the room. You can buy a chalk line tool at most home
improvement and hardware stores. - Lay out your carpet tiles, starting by setting a single piece in the very center of the room (over all four intersecting lines) or by placing four pieces at the center so their four corners meet at the center point.
- Add tiles along the center
row and column to reach the wall. Cut the tiles to ensure they
fit, ensuring no tile is cut less than 50 percent of its original size. If you have to adjust the position of the center tile to ensure each tile remains wide enough, you will need to adjust and redraw your chalk line so it centers on the new location of the center tile. - Cut tiles with a utility knife or carpet knife and a
straightedge, measuring, marking and cutting on the back of the tile. Cutting — at least for the two center lines — should happen before any tiles are glued down so you can adjust your chalk lines as needed. - Attach your first tile. If you are using a peel-and-stick tile,
pull off the adhesive covering and stick the tile in place. For glue-down
tiles, use a U-notch trowel to spread a thin, even layer of adhesive on the floor
and then set the tile in place. For FLOR dots, peel a sticker from the adhesive
backing, place one quarter of it under the corner of the first tile and then place
another quarter of the sticker under the next tile's corner. Repeat this
process for all four of the tile's corners, securing wall edges by applying half of the dot sticker on each tile's corner. - Continue gluing down tiles, working first with the tiles you
already laid out across the center of the room and then going quadrant by quadrant,
incorporating your pattern along the whole floor. - For peel-and-stick and glue-down tiles, roll the completed
floor with a 75-pound floor roller to ensure proper adhesion. This can be rented from most home improvement stores.
How to Install Interlocking Carpet Tiles
How to Install Interlocking Carpet Tiles
Interlocking carpet tiles differ from most straight-sided tiles in that, much like FLOR tiles, they do not need to be glued down. Instead, they lock securely to one another. However, whereas FLOR tiles connect using an adhesive, interlocking tiles are built to click into place next to one another using interlocking puzzle edges or a loop-and-snap system.
 Trisha Sprouse
The first three steps of installing straight-sided carpet tile are the same as when working with interlocking carpet tiles, but from there, they are drastically different. These tiles are best installed from the corner out and generally must be installed in a monolithic pattern in order to properly connect.
There are three basic types of installation for interlocking carpet tiles. No matter which type of interlocking tile you are installing, start with a corner and lay out a full row and column of edge tiles stretching to the next wall. This will let you see how the tiles at the other end will fit. If either end tile is too small, then measure the gap at the end and divide this measurement by two. Then, trim half off all tiles along both edges so all tiles along both sides will end up roughly the same size.
There are some things to keep in mind when working with the three interlocking carpet-tile styles:
- For puzzle carpet tiles, look for the mark indicating which
direction to lay the tile. Start with a corner piece and then ensure all pieces
connecting to that one have arrows pointing in the same direction. To cut
tiles, use a utility knife and straightedge along the back of the tile. - For puzzle tiles with no arrow, look for a corner piece and install
from that point out using edge pieces along the first row and then filling in the
middle areas before installing the remaining edges and finally the last corner
piece. Keep the pile direction facing the same way when arranging the tiles. To
cut tiles, use a utility knife and straightedge to cut along the back side. - For tab-and-loop carpet tiles, always ensure they are laid
out in the right direction — they will not connect together otherwise.
Start in a corner, setting the flat sides of the first tile against the walls.
Then, lay each tile in the first row over the loop edge and step on the seam to
snap the new tile in place. Continue this process, working row by row until all
tiles are laid out, cutting edges and corners as necessary. These tiles are
much more difficult to cut since they have plastic bases, and it is best to use
a power saw to slice through them, always cutting from the back of the tile to
the front.