Rubber Flooring Installation: A How-To Guide

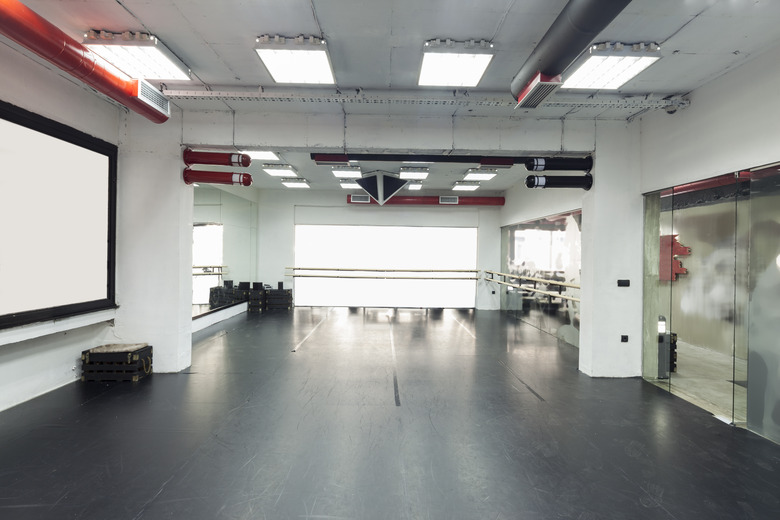
Rubber flooring has long been a popular option in commercial settings like gyms and hospitals, and it is becoming increasingly popular in homes. Its sound-dampening, anti-microbial, water-resistant, and slip-resistant properties make it a popular option for kids' playrooms, garages, basements, workshops, home gyms, bathrooms, and more. As if all those benefits weren't enough, the rubber floor installation process is simple even for most DIY novices.
Rubber Flooring Types
Rubber Flooring Types
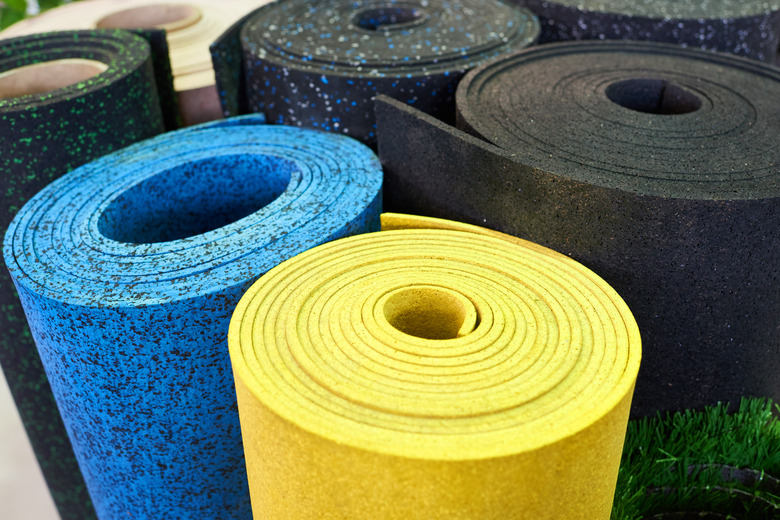
There are three main types of rubber flooring you may choose to install:
- Rubber rolls: As the name implies, these are sold in long rubber rolls that will need to be unrolled and cut to fit in your room. If using rubber rolls, you'll need to decide whether to use glue or double-sided tape to adhere your flooring. Glue is more permanent and allows for an additional moisture barrier, which is why manufacturers recommend its use, but if you are installing it on a dry subfloor, many homeowners prefer to use double-sided tape because it is easier to work with and the floor can be removed more easily.
- Interlocking rubber tiles: These tiles are also called puzzle tiles because they feature puzzle-like protrusions that can fit together for a quick and simple installation process. Interlocking rubber tiles are sometimes sold in modular, no-cut kits that feature edge and corner pieces that have protrusions only on three and two sides, respectively. Tiles not sold in no-cut kits need to have the protrusions cut off on the sides for edge and corner pieces.
- Straight rubber tiles: These tiles are sold with pins that fit in holes drilled in the sides of the tiles, locking one tile to the next.
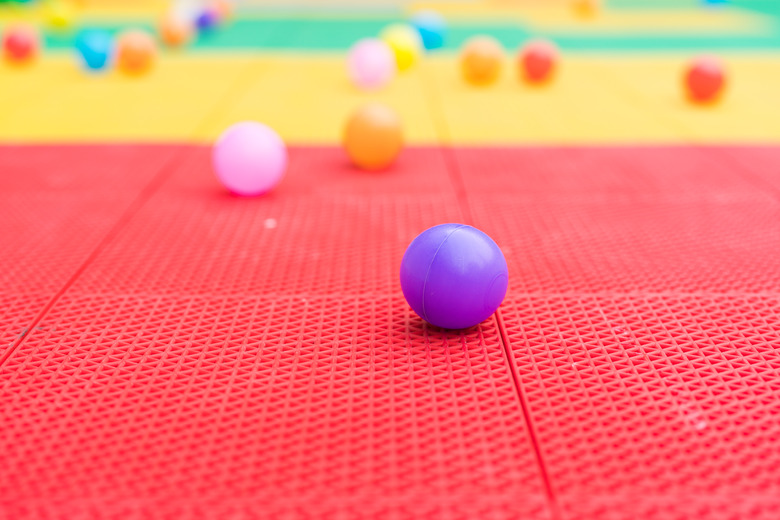
 Petardj/iStock/GettyImages
How to Prepare For Rubber Flooring
How to Prepare For Rubber Flooring
No matter what method of rubber flooring installation you use, you need to prep the installation area first. You can choose to install the flooring over your existing hard floor — not carpet or padding — but only if it is in good condition and if your rubber flooring is not so thick as to cause significant height differences between rooms with other flooring materials.
- It's important that the installation area be flat. If you
notice there are any low spots, you'll need to strip off old flooring and adhesives until you get down to the subfloor and then
raise up the uneven areas with the appropriate leveling compound. - Once you have ensured the existing floor or subfloor is
level, clean it well. Hard surfaces should be vacuumed and mopped, whereas
wood subfloors should be vacuumed. - When ordering new rubber flooring for indoor purposes, as CalRecycle
points out, it's important to only use rubber flooring made for interior-only purposes. This is because rubber flooring
products made for exterior use tend to have drastically higher levels of volatile
organic compounds, which could contain potentially dangerous chemicals. - When you receive your rubber flooring, remove it from the
packaging and lay it on the subfloor for at least one night before installing
so it can acclimate to the temperature of the surrounding room and, in the case
of rubber rolls, flatten out.
How to Install Rubber Rolls
How to Install Rubber Rolls
The most challenging part of installing rubber flooring rolls is cutting the sheets so they fit properly without noticeable gaps. Be particularly careful while cutting and always use a T square or straightedge and a utility knife with a fresh blade.
- Lay out the rubber rolls on your floor the way you want them to
be installed. - Cut the rubber sheets so they fit in the room, leaving a few
inches of excess on the end of each section of roll that will touch the last wall. Use a hammer and wood block to get the
sheets in tightly against the walls and one another. Line up the roll against the wall to see how much excess you need to remove and then pull the roll back and cut the excess on the end of each section of roll with a straightedge
and utility knife. Cut a little at a time to ensure you do not cut too much. - For the last row, measure the size you will need and then
leave a few extra inches on each side. Measure the exact width of the floor area on the last row, being sure to measure at each end and the center of each roll in the row. Next, measure out this distance on the bottom of the rolls and use chalk to draw a line between the three points. Then, cut the excess rubber along the line with a T square and the
utility knife. Just like before, leave a few extra inches along one end to ensure it can be cut as flush as possible with the wall. - If you are using double-sided tape, lift up the first roll and then stick double-sided tape along the perimeter of where it will lay on the ground before laying
the mat back down. Then, lift up the rubber a little at a time and peel up the
other side of the double-sided tape, gently placing the mat back into place to
avoid trapping air bubbles. Press down on the mat to help it stick. Repeat
this process section by section until all mats are secured. - If you are using glue, lift up all the rolls, marking where each should
sit if necessary, and lay a light layer of adhesive over a 10-foot-long stretch
of the floor using a trowel. Then, carefully unroll 10 feet of the flooring over
the adhesive. Repeat this process until all of the rolls have been completely
glued down using a mallet and wood block to ensure a tight fit between mats. - After waiting 60 minutes for the adhesive to stick,
roll the mats with a 50- or 100-pound carpet roller to help the rubber stick to
the adhesive. Do this again after another 30 minutes.
 PORNCHAI SODA/iStock/GettyImages
How to Install Interlocking Rubber Flooring Tiles
How to Install Interlocking Rubber Flooring Tiles
Installing rubber tiles is similar to installing other rolled rubber flooring products, with the main difference being how the flooring tiles connect to one another. In fact, installing interlocking rubber tiles (also called puzzle tiles) is perhaps the easiest method of all because the tiles simply snap together and do not even require adhesive, although you can choose to add it if you worry about the floor shifting due to heavy foot traffic. Even those terrified of DIY work can usually put together a great-looking floor made from interlocking rubber tiles without hiring a professional installer.
- First, if you bought tiles to make a patterned floor, loosely lay out the mats where you want to install
them to get an idea of how they will look, rearranging the pattern by rotating or moving tiles until you're satisfied. If you bought a no-cut
kit, you can start laying down the rubber flooring tiles immediately using
corners, borders and center pieces according to the layout of the room. - For tiles that are not sold in a no-cut kit, you'll want to
secure the first row on the most visible side of the room first. Start by
cutting off the puzzle protrusions on one side of these tiles using
a straightedge and a utility knife. Do not cut the main tile area, only the
excess protrusions so the tile will sit flush with the wall. Cut the
protrusions from two sides for the first block since it will sit in a corner. - Place the corner piece and then line up the protrusions
of this tile with the next one using a rubber mallet to connect the tiles if
required. Trying to keep the tiles flush with the wall, keep adding tiles from
the first row until you get to the other corner. - Cut the corner piece to fit using your utility knife and
T square and then connect it with the last piece of that row. - On the next row, skip the edge piece and lay out all the middle pieces. Then, move to the next row and the next, leaving the edge pieces until every row but the last has been installed.
- Finally, cut the protrusions and excess length from the
edges and the last row of rubber tiles, connecting the edge pieces and middle pieces of the final row first and the corners last.
 sergeyryzhov/iStock/GettyImages
How to Install Straight-Sided Rubber Tiles
How to Install Straight-Sided Rubber Tiles
Straight-sided rubber tiles are connected through the use of plastic connector pins. Specific directions may vary by manufacturer, so always read the provided installation guide. Generally speaking, the process works like this:
- Loosely lay down the tiles to get a good idea of how the
tiles will fit. - Insert connector pins into the slots on two adjacent sides of
all but one of the tiles in the first row (this will be the second corner piece) using your hands or a rubber mallet to
push the pin until it is halfway in the tile. - Place one of the tiles in the corner of the
installation area with the sides missing pins touching the walls and the sides with pins facing out from the corner. Then, line up the second
tile with its pins facing the same way. Push
the pins from the first tile into the second until you meet resistance and then
gently tap the mat with a rubber mallet until the pins are completely inserted
into the tile. - Continue connecting tiles this way until you get to the end
tile. - If you need to trim the end tile, use a measuring tape and
chalk to measure and mark the bottom of the tile and cut it with a straightedge
and utility knife. - Connect the end piece with the remaining pins pointing
toward the next row you plan to install. - Repeat this process until you get to the final row, at which
point you will only need to insert pins on one side of the tiles, leaving the
last tile entirely free from pins.
References
- Rubber Flooring Experts: How to Install Interlocking Rubber Tile Flooring in 12 Easy Steps!
- CalRecycle: Tire-Derived Flooring Chemical Emissions Study and Indoor Reference Exposure Levels (iRELs)
- Rubber Flooring Inc: Install Rubber Roll
- Home Flooring Pros: Rubber Flooring Installation Guide
- Rubber Flooring Experts: How to Install Interlocking Rubber Flooring Tiles in a Few Simple Steps
- Rubber Flooring Experts: A Quick Guide On How to Install Rubber Flooring Rolls By Yourself!
- Rubber Flooring Inc: How to Install Tiles
- Kodiak Sports: Should You Glue Down Your Rolled Rubber Flooring?