Charming Scandinavian Geometric Tree Ornaments To DIY This Holiday Season

We may receive a commission on purchases made from links.
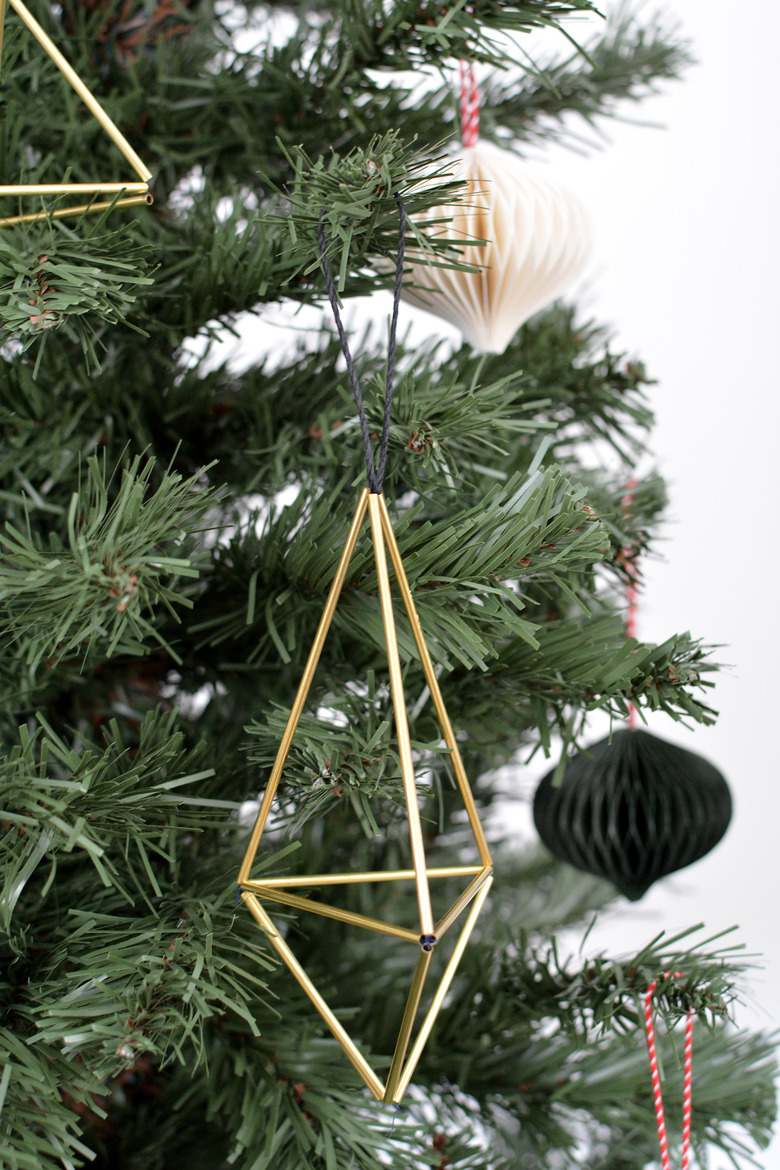
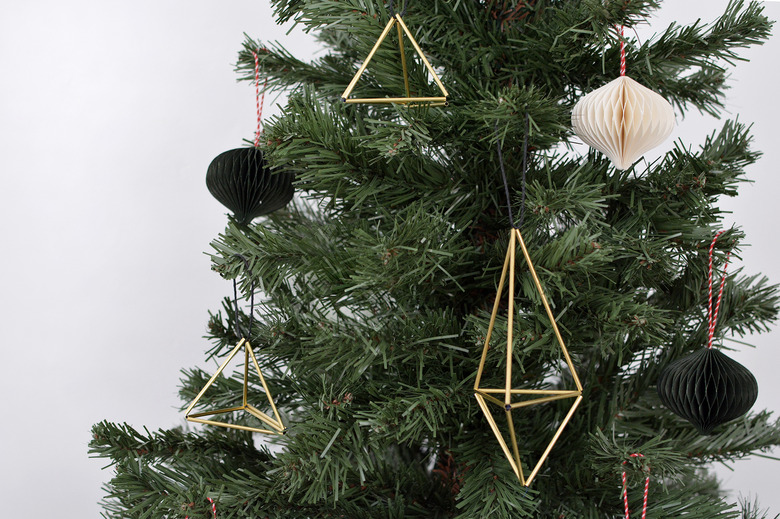
If you've not heard of himmeli, chances are you've probably seen it. This geometric Scandi decor has been taking over Pinterest in the form of mobiles and plant holders, but classically it was a straw decoration hung above tables during the holidays in Finland. These small decorative ornaments are a perfect holiday craft — hang them from your tree or around your home for a touch of modern charm.
As a DIY project, himmeli can look a little intimidating, but these geo sculptures are really simple to make with our step-by-step guide.
 Caroline Burke
Things Needed
-
Brass pipe (for amounts see Step 1)
-
Pipe cutter (optional)
Step 1
For the amount of brass pipes you need, it all depends on how many ornaments you want to make. We sourced pre-cut pipe in two different lengths, 2 inches and 3 1/2 inches.
To make a small pyramid (as seen in our photos), you'll need seven pieces of 2-inch pipe. For a larger ornament, you'll need seven pieces of 2-inch pipe, plus three pieces of 3 1/2-inch pipe.
Note: You can buy long lengths of himmeli pipe and cut them yourself. You'll just need a small hacksaw or pipe cutter to do this.
 Caroline Burke
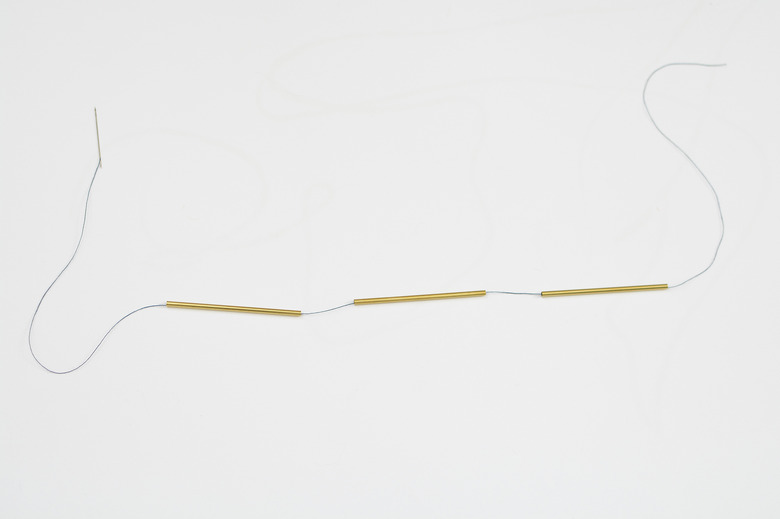
Step 2
Thread three pieces of 2-inch brass pipe onto your thread. If you struggle to push the thread through the pipe, thread a needle onto one end, which will help.
 Caroline Burke
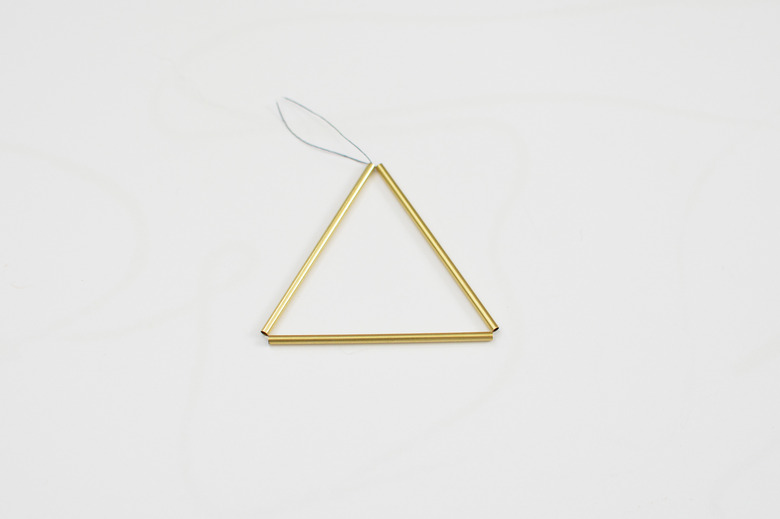
Step 3
Pull the pipes into a triangle shape and knot the thread to secure.
 Caroline Burke
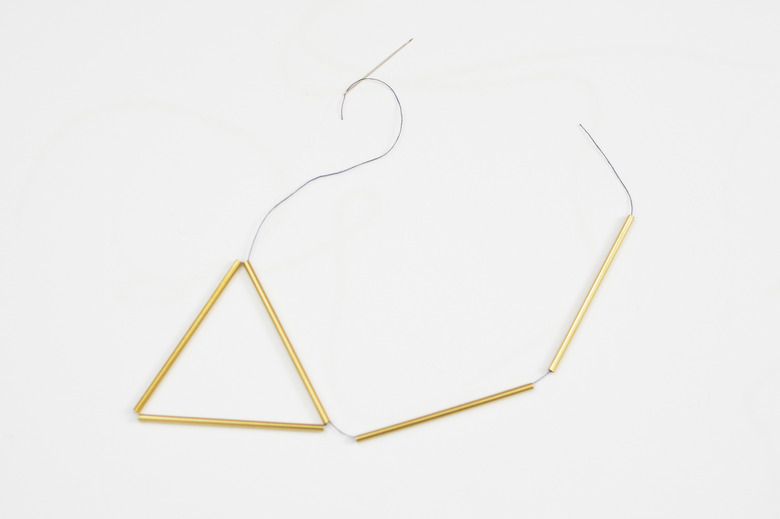
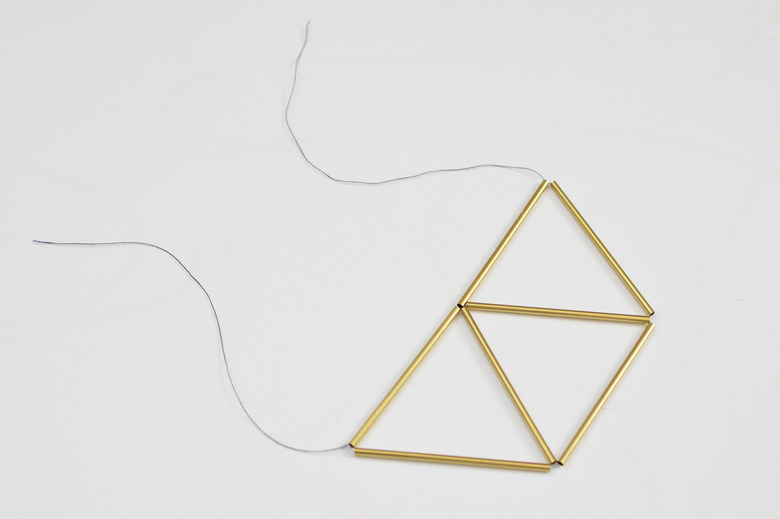
Step 4
Rethread your needle, and thread two more sections of pipe onto one side of the existing triangle.
 Caroline Burke
Pull the thread tight and secure with a knot to form a second triangle.
 Caroline Burke
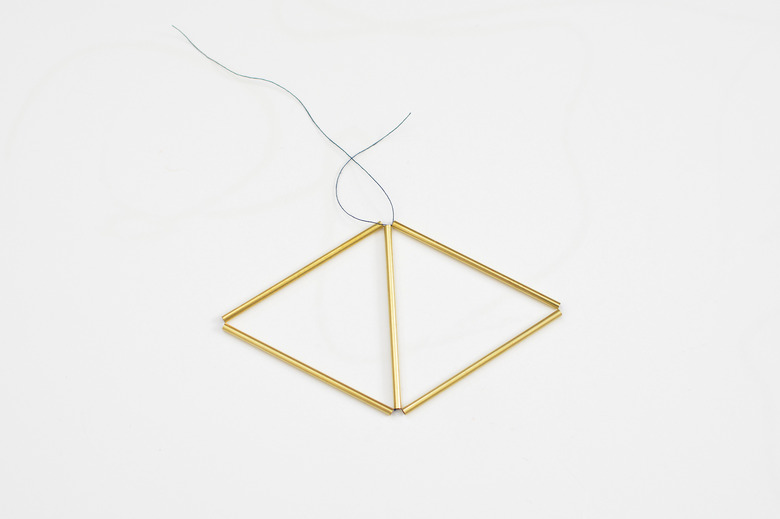
Step 5
Repeat Step 4 to create a third triangle shape. Then, thread through the longest side as shown in the image below.
 Caroline Burke
Pull the thread together to create a pyramid shape and then knot to secure.
You can hang this ornament as it is or you can add more pipes to make a larger design!
 Caroline Burke
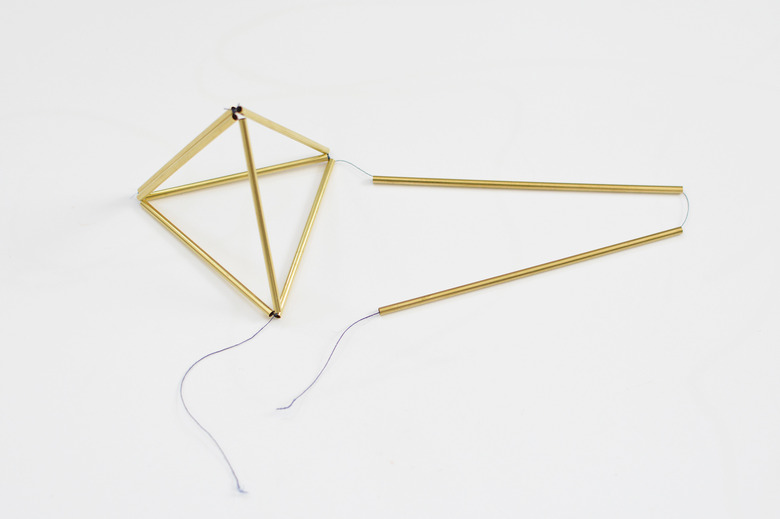
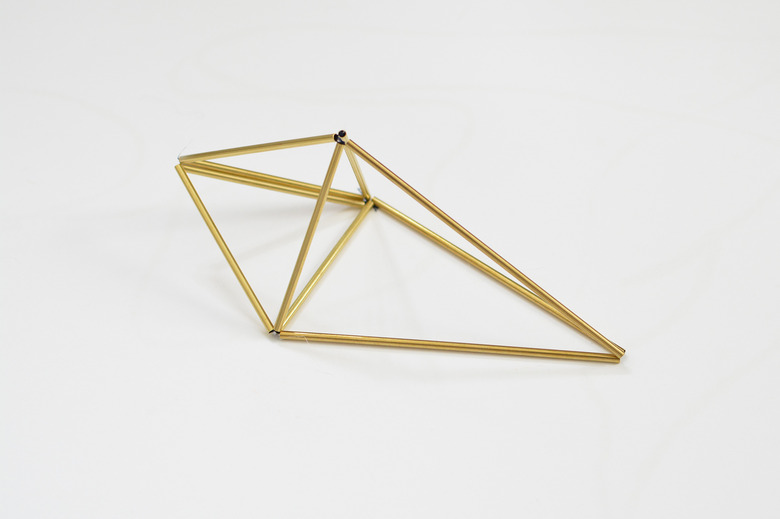
Step 6
To make the ornament bigger, thread two longer pieces of brass pipe onto one existing piece of the smaller pipe.
 Caroline Burke
Pull the thread together to create a long triangle shape and then knot to secure.
 Caroline Burke
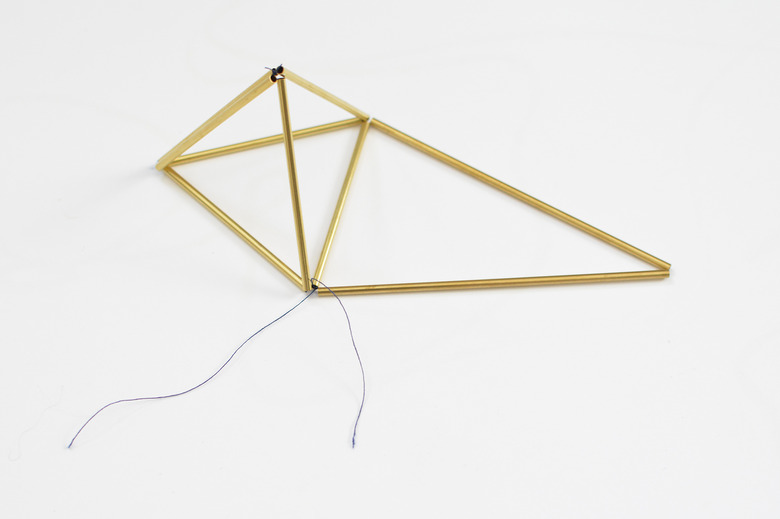
Step 7
Thread one longer piece of pipe onto one existing longer and shorter piece along the same side.
 Caroline Burke
Pull the thread together and tie to finish the ornament.
 Caroline Burke
 Caroline Burke
Simply tie some string through one end to hang the ornaments from your tree.
TIP: You don't have to use brass to make himmeli ornaments — you can make this same project using paper drinking straws, which can be a super fun project for kids.
 Caroline Burke