How To Paint A Radiator
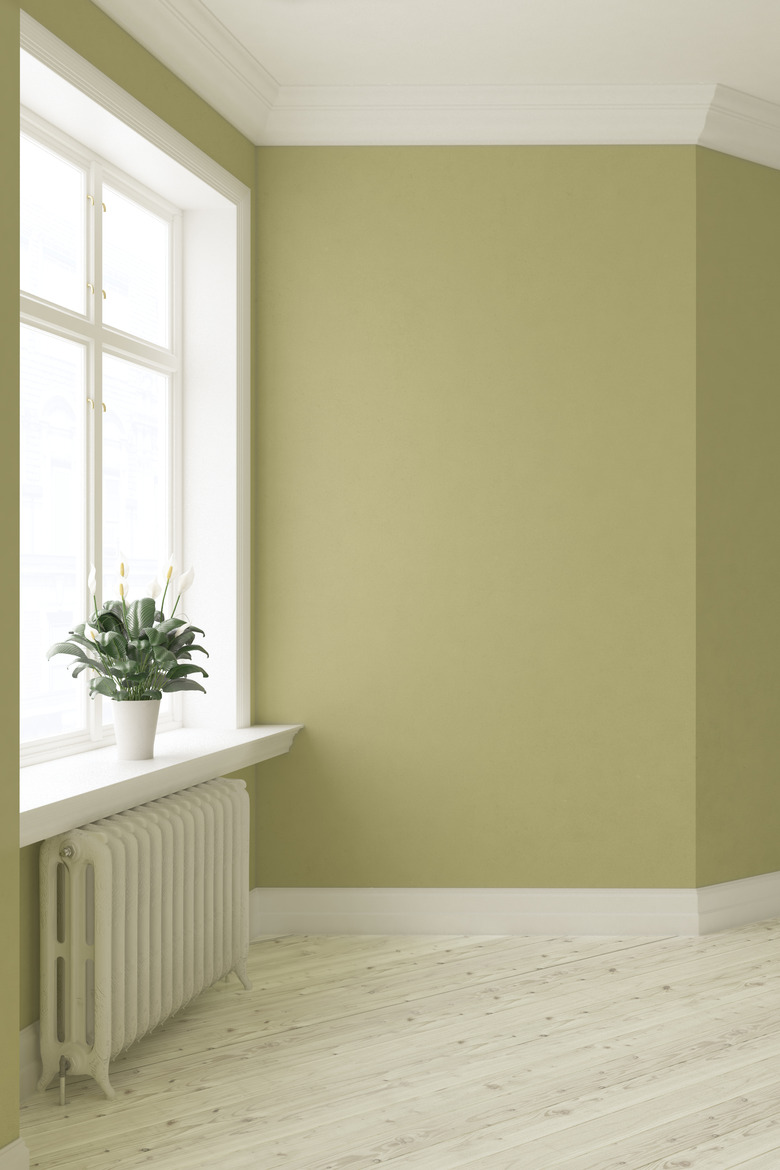
Painting the radiators in your home is one way to update the look of the space without spending a lot of cash. It's also a nice way to ensure the radiators look their best and ensure that they fit in with the room's color scheme after a remodel. The best time to paint a radiator with either a spray or brush-on paint is during a warm month when the heat is off and the windows can be opened. If this isn't possible, make sure you turn the heat off and allow the radiators to cool before painting. This will help ensure that the the paint adheres.
Pre-Painting Preparation
Pre-Painting Preparation
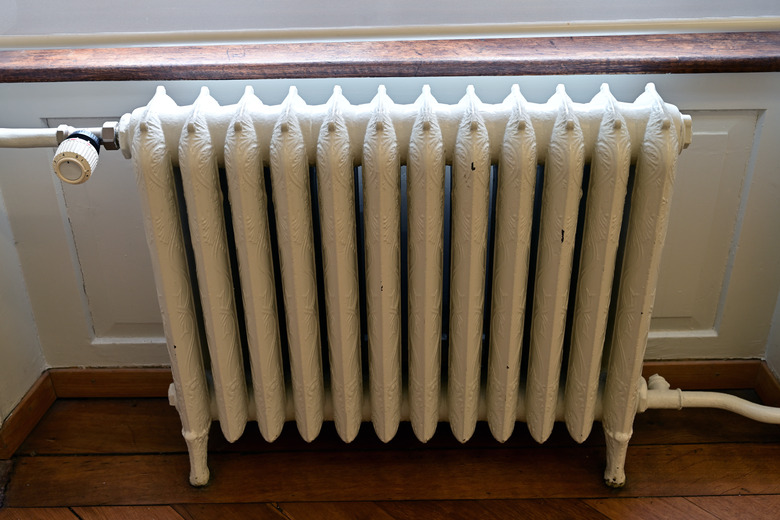
Whether you prefer to spray the paint or use a brush, the radiator must be clean, and relatively free of rust and chipping paint. Wipe the cool radiator down with a damp rag or damp paper towels to remove as much dust as possible. Place a drop cloth beneath and around the area, and over any nearby cold-air returns on the floor, if your home has these.
If the radiator has chipping lead-free paint or rusting spots, go over these with steel wool or a wire-bristled brush while wearing a dust mask, then wipe the radiator down with a tack cloth or slightly damp paper towel. Shake the dropcloth outdoors to remove debris, then place it back down on the floor beneath and around the radiator.
Warning
If you suspect the old paint on your radiator dates to 1977 or earlier, it may contain lead, which poses a serious health hazard, especially to children. Test the paint with a lead test kit from a hardware store. If the paint tests positive for lead, do not sand or scrape it. If the radiator is nonfunctional, a lead-encapsulating primer may be used to cover the lead. If the radiator heats to above 240 degrees Fahrenheit, most encapsulants will not work on it. Instead, contact a local lead-encapsulating company or a heating and cooling firm that handles radiators to determine if they have a means of sealing off the lead.
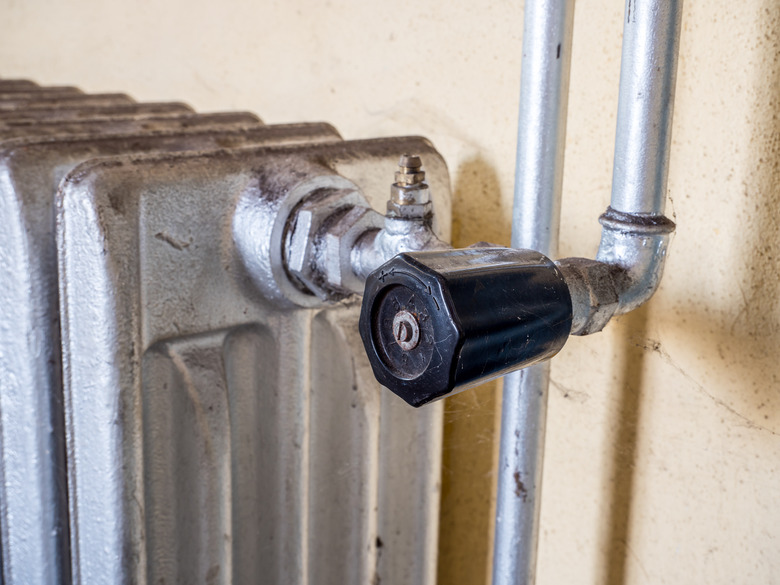
Once the radiator is ready to paint, mask off any areas you don't wish to paint using sheets of newspaper and paper towels. Also cover the radiator valves with tape. Make sure the area immediately beneath the radiator is fully covered, as paint tends to drip here. If you plan to spray paint, cover the walls and baseboards behind and alongside the radiator, using a sheet of cardboard or newspaper.
How to Spray-Paint a Radiator
How to Spray-Paint a Radiator
The proper spray paint and primer for a radiator depends upon the radiator itself. If the radiator is still used as a heat source, choose a high-heat enamel primer and high-heat enamel paint. If the radiator is no longer functional, any rust-blocking, durable primer and paint designed for metal will suffice.
Things Needed
-
Window fan (optional)
-
High-heat enamel spray primer for metal
-
Dust mask
-
Disposable gloves
-
High-heat enamel spray paint in desired color
-
Bright work light (optional)
Step 1
Open the windows in the room to ventilate the space. If desired, place a window fan in a nearby window to drawing air out. The fan isn't necessary, but will help keep paint and primer odors to a minimum.
Step 2
Shake the can of spray primer for a minute or so, as recommended on the can label. Put on your dust mask and disposable gloves, then remove the primer can lid.
Step 3
Spray the radiator in gentle sweeping horizontal motions, holding the can 10 to 14 inches from the radiator. To ensure full coverage, start each sweep just before one end of the radiator and end it just after the opposite end. Make sure the walls are protected against overspray.
Step 4
Continue priming until the radiator has been completely covered. Check the radiator from the sides and the top-down view, spraying any potentially visible areas along the back and both sides, as well. Use care not to spray outwards into the room or onto yourself for a radiator in a difficult-to-reach corner, as many are.
Step 5
Allow the primer ample time to dry before painting. Check the can label for drying time, which varies by product, room temperature and humidity level. It could take a full 24 hours.
Step 6
Once the primer is completely dry, the radiator is ready to paint. Shake the can as recommended on the label, put on your dust mask and gloves, then spray the radiator in the same manner used to apply primer. Work in slightly overlapping, thin layers rather than one thick coat, which would likely drip.
Step 7
Apply a second and even third coat of spray paint, allowing 5 to 10 minutes' drying time per coat, or as recommended on the can label. Allow the final coat to cure completely, according to label recommendations, before turning the heat on.
How to Paint a Radiator with a Brush
How to Paint a Radiator with a Brush
Painting a radiator with a brush allows a little more control, since there's no chance of overspray, but it may be a bit more difficult to reach the innermost exposed areas between parts of the radiator. As with spray painting, a radiator that is still used requires a high-heat primer and enamel paint. Other durable interior primers and paints—or even an all-in-one primer and paint designed for metal—are fine for non-functioning radiators.
Things Needed
-
High-heat brush-on primer
-
Paint stir stick
-
Paint tray or disposable bowl
-
Disposable gloves (if desired)
-
Paint brushes from 1 to 2 inches wide
-
High-heat brush-on paint
Step 1
Open the can of primer and stir it with a stir stick until the liquid has a uniform consistency and color.
Step 2
Set the paint tray or bowl atop the drop cloth near the radiator. Pour some of the primer into the tray or bowl, then place the lid back on the primer container.
Step 3
Brush the primer over the radiator, starting from the top down, working your way from the hardest-to-reach corner towards the center, then the other edge of the radiator face. Use the 2-inch brush to cover large areas, and a smaller brush such as a 1-inch size to reach between pipes and over recessed areas or grooves.
Step 4
Apply a second coat, if necessary, after allowing the first to dry. Drying time varies by product, so check the label for specifics. Once the radiator has been thoroughly covered, allow the paint to cure, as detailed on the label, before turning on the heat.
Tip
A painter's mitt comes in handy for reaching deeply recessed areas, common on many old radiators. To use, put the mitt on your painting hand, dip the front of the "fingers" portion of the mitt in paint, then rub the paint onto the recessed areas of the radiator.