Organize Like Marie Kondo With These DIY "Hikidashi" Boxes
We may receive a commission on purchases made from links.
If your spring-cleaning plans include a major drawer declutter, nothing will allow you to experience the magic of tidying up better than these Marie Kondo-style "Hikidashi" boxes. Named after the Japanese word for "drawer," Kondo developed her own line of organizational boxes to help people streamline their spaces using her trademark KonMari Method. The only problem is, thanks to the enormous popularity of her Netflix series Tidying Up, her highly coveted boxes have been sold out since they were released.
So we took to the DIY solution, as we are wont to do, and upcycled an assortment of empty boxes from around the house into beautiful "Hikidashi" organizers. Trust us, they work just as well as the original, leaving you giddy anytime you open a drawer and are greeted with an aesthetically pleasing arrangement of your personal possessions. Seriously, who knew boxes could spark such joy?
 Trisha Sprouse
 Trisha Sprouse
Things Needed
-
Assorted empty boxes (shoe, snack, cereal, Amazon, etc.)
-
Ruler
-
Scissors
-
Utility knife
-
Wrapping paper, scrapbooking paper, or card stock
-
Tape or glue stick
Shop our supplies: Nude/ivory wrapping paper | Gray card stock | White marble paper | Gray and white crosses paper
 Trisha Sprouse
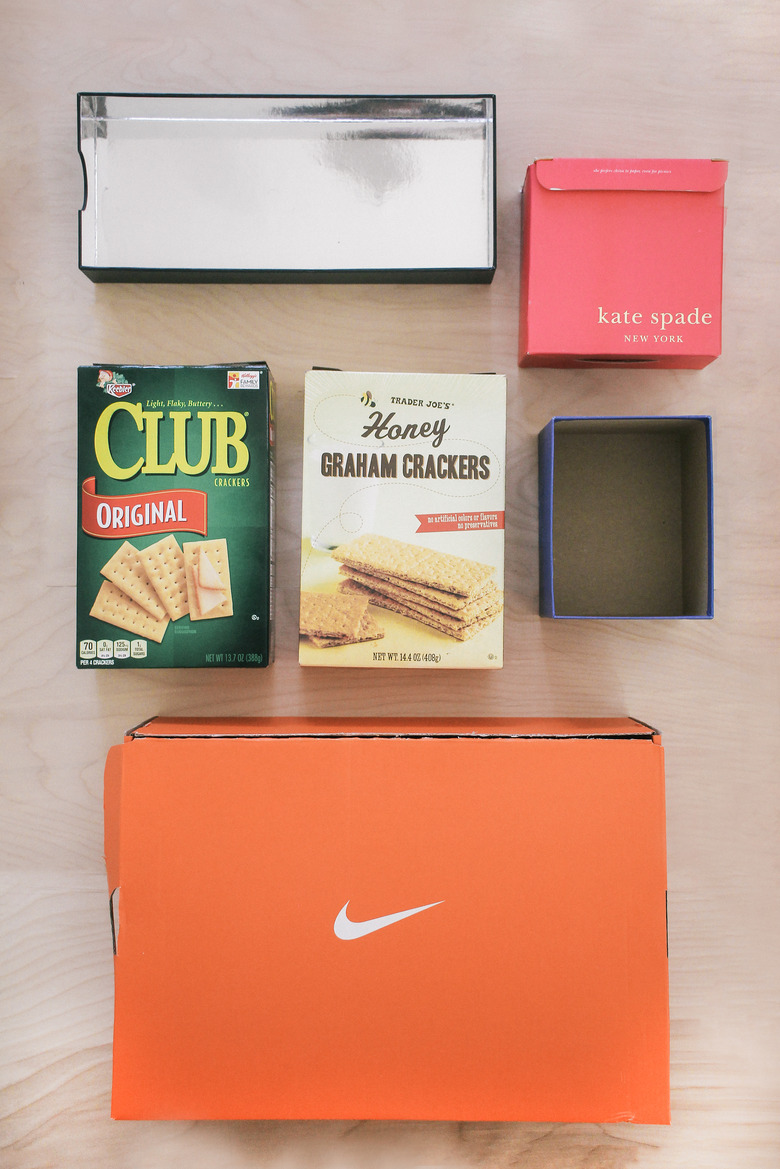
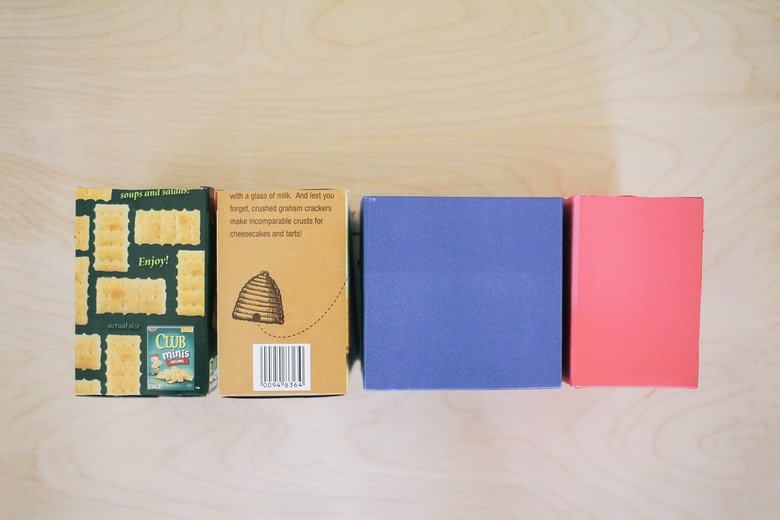
Step 1
Gather a variety of empty boxes in different sizes from around your home. Shoeboxes are great because they're sturdy, but cereal, snack, or pasta boxes also work well, as do jewelry or gift boxes, and Amazon boxes.
 Trisha Sprouse
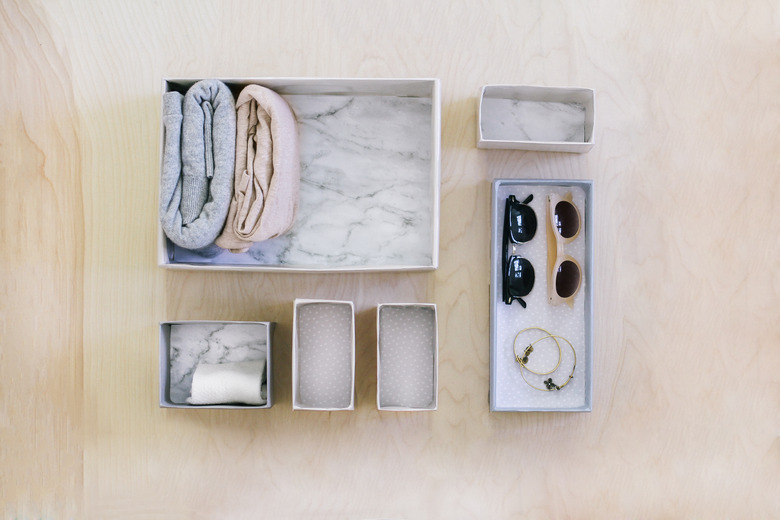
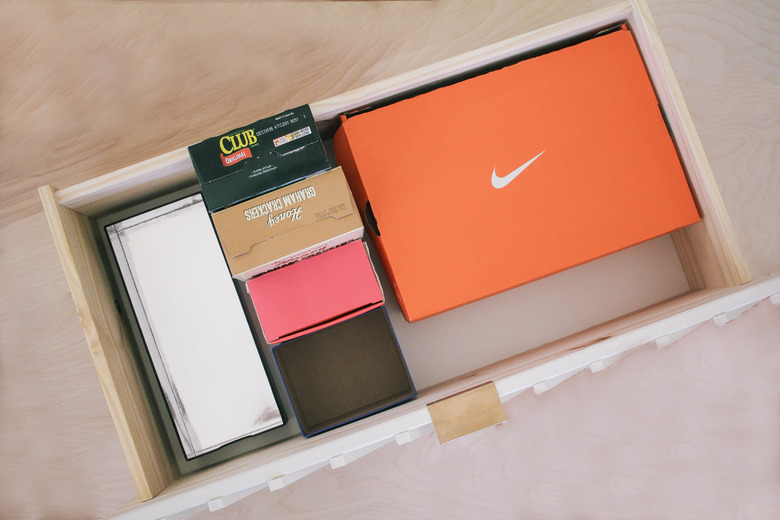
Step 2
Empty out the drawer you intend to organize, and place the boxes inside. Play around with the arrangement to see how they will best fit to serve your organizational purposes. They don't have to fit perfectly, and you can actually use any negative space where boxes don't fit as a compartment itself.
 Trisha Sprouse
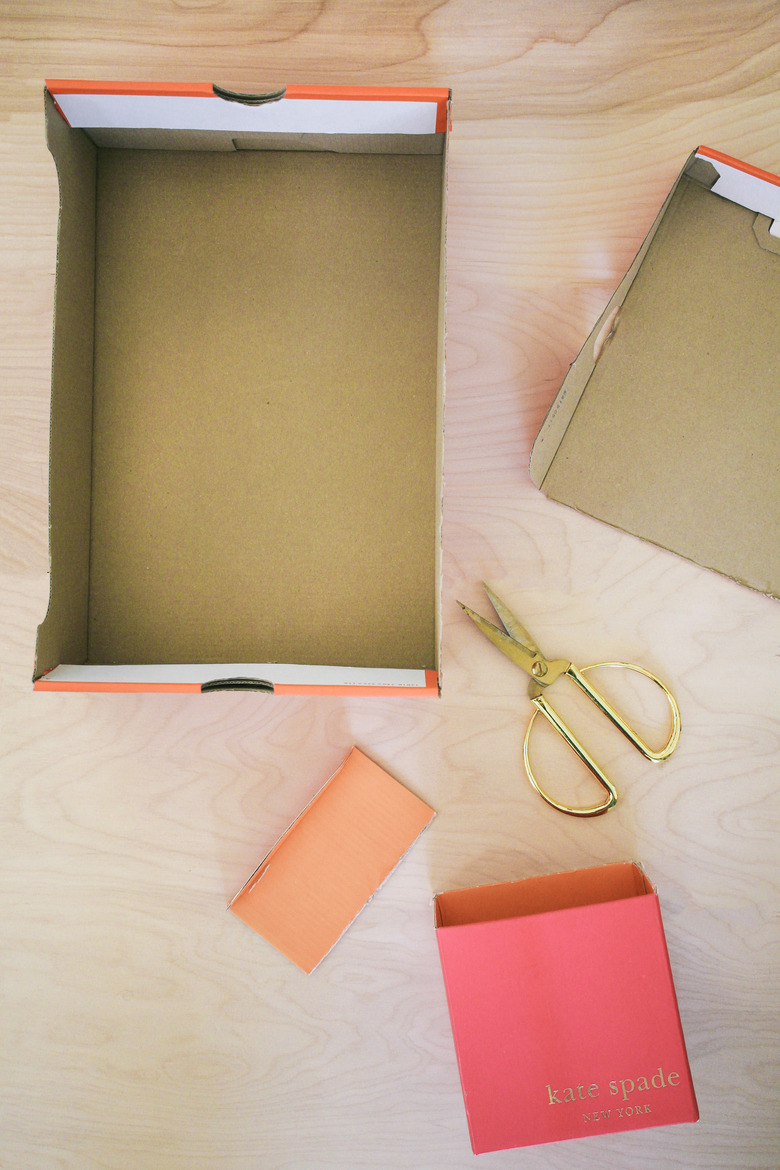
Step 3
If any of the boxes have lids attached, use scissors to cut them off.
 Trisha Sprouse
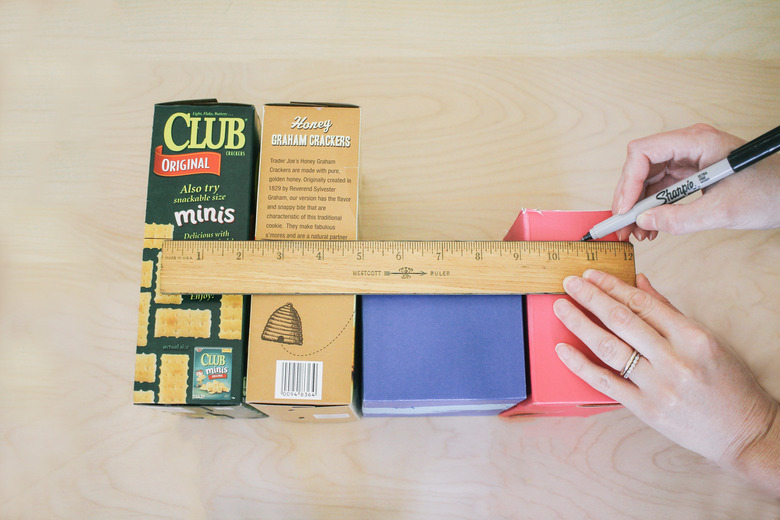
Step 4
Line your boxes up on their sides and use a ruler to draw a straight line across them. Repeat this on all sides of the boxes, creating a guideline so you can cut them all to the same height. Make sure to cut them short enough so they'll fit inside the drawer.
 Trisha Sprouse
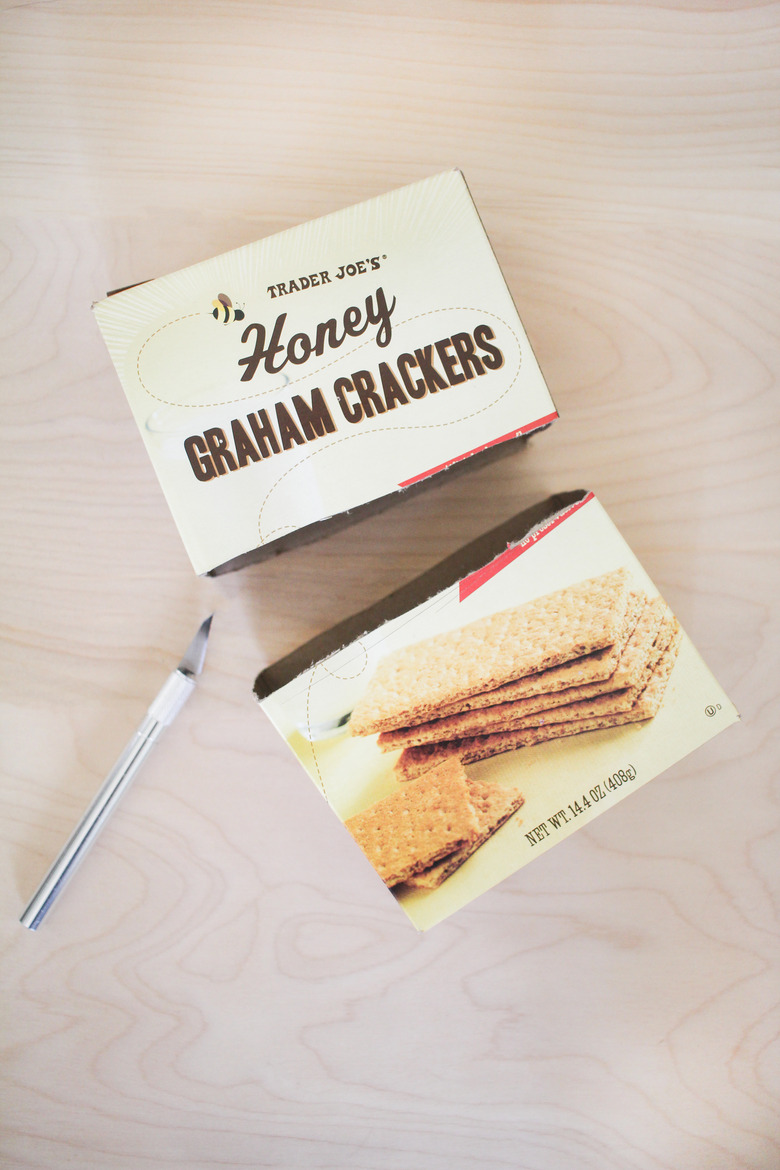
Use a utility knife to cut the boxes around the line you drew.
 Trisha Sprouse
Don't worry if they're not perfect, as you'll be covering them with pretty paper.
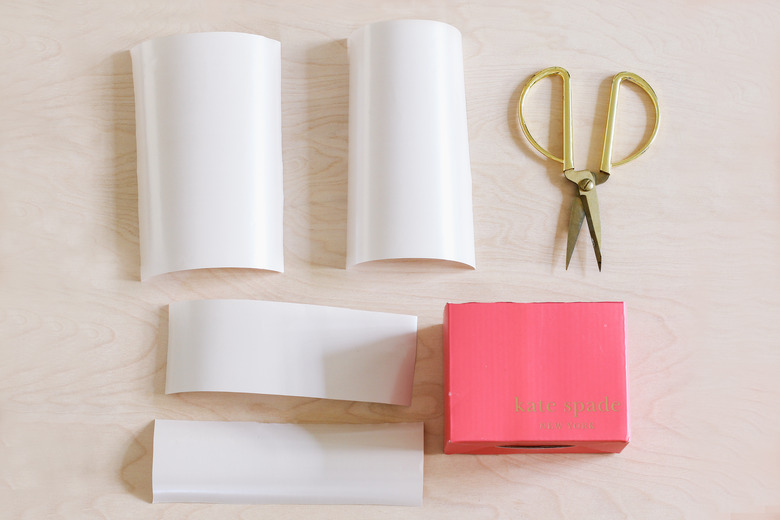
Step 5
Cut out four strips of paper that are the same width as each side of your box, and double the height of each side. For example, if your box has two sides that are 3 inches by 5 inches and two sides that are 5 inches by 5 inches, you'd cut two strips of paper that are 3 inches by 10 inches and two strips that are 5 inches by 10 inches.
 Trisha Sprouse
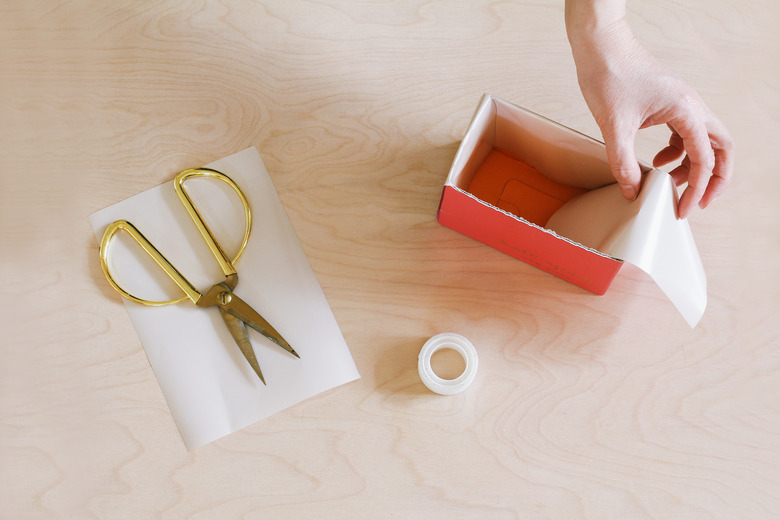
Step 6
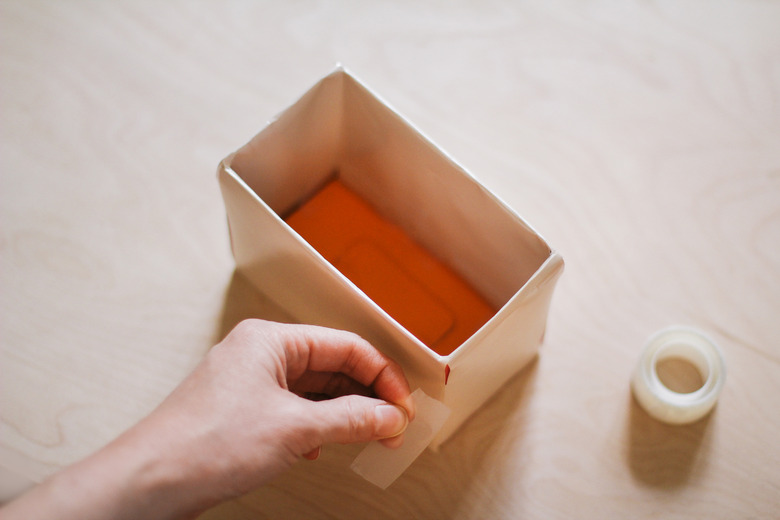
Fold each strip over the side of the box. Crease the fold at the top with your fingernail to create a crisp line.
 Trisha Sprouse
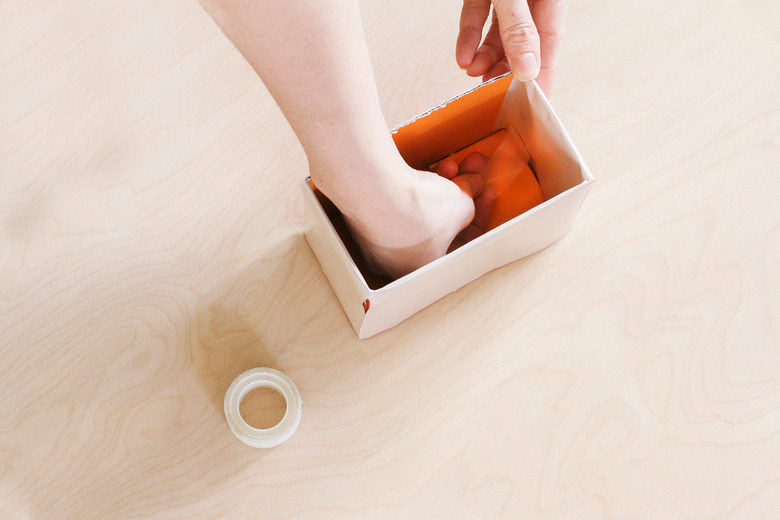
Use either tape or glue to secure the paper in place both outside the box as well as inside the box.
 Trisha Sprouse
If there are any portions of paper that are sticking out along the corners or seams of the box, simply tape them down, or trim with scissors.
 Trisha Sprouse
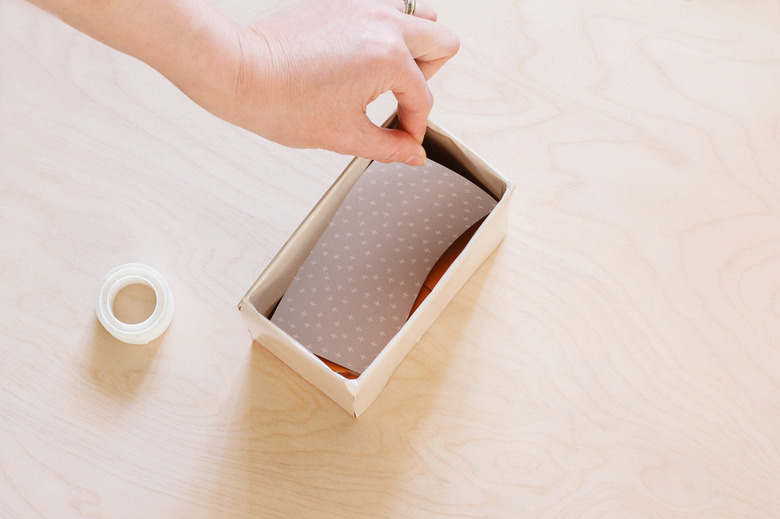
Step 7
Cut a piece of paper that is the same size as the bottom of the box and tape or glue it inside the box.
 Trisha Sprouse
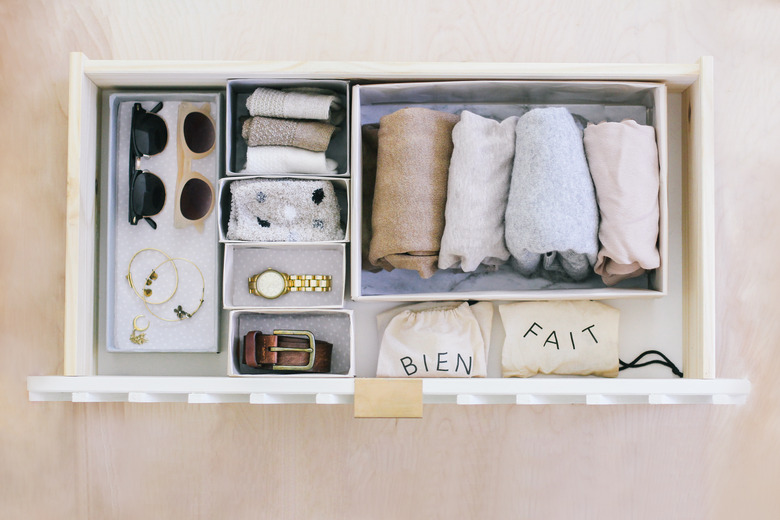
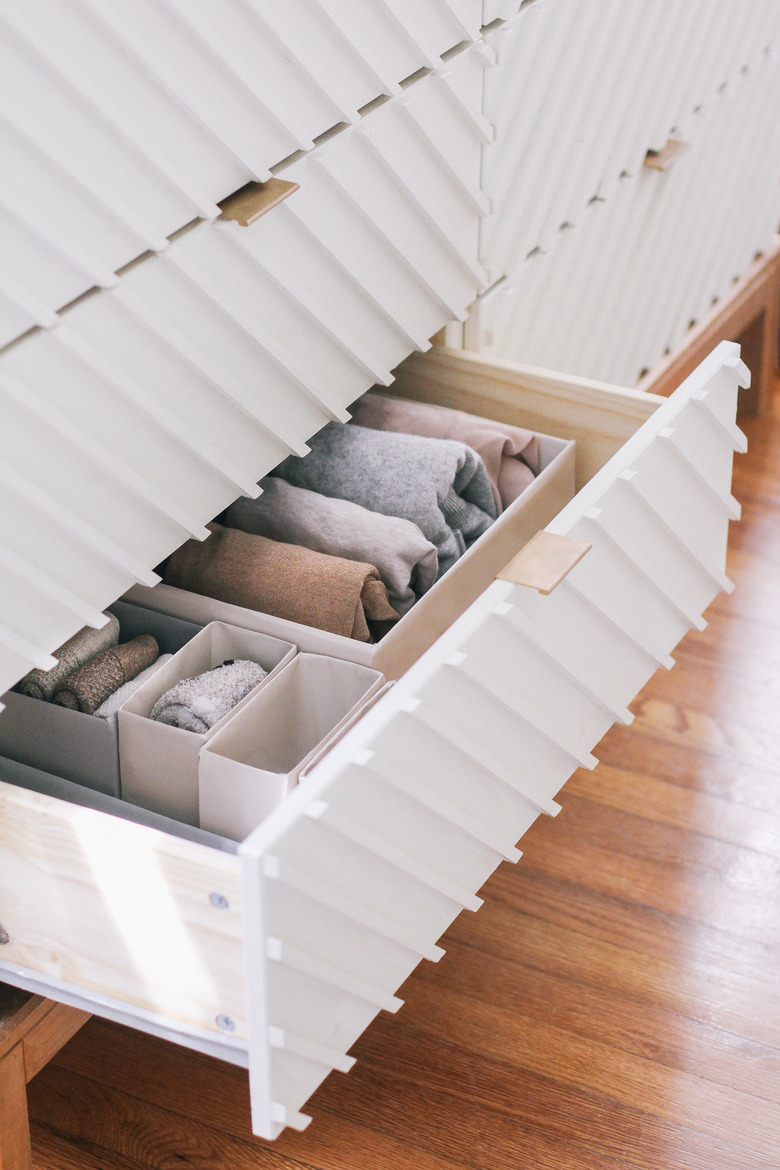
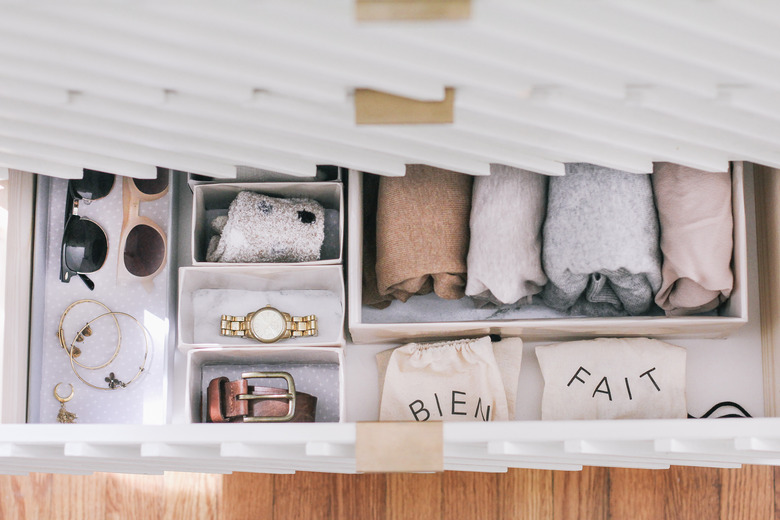
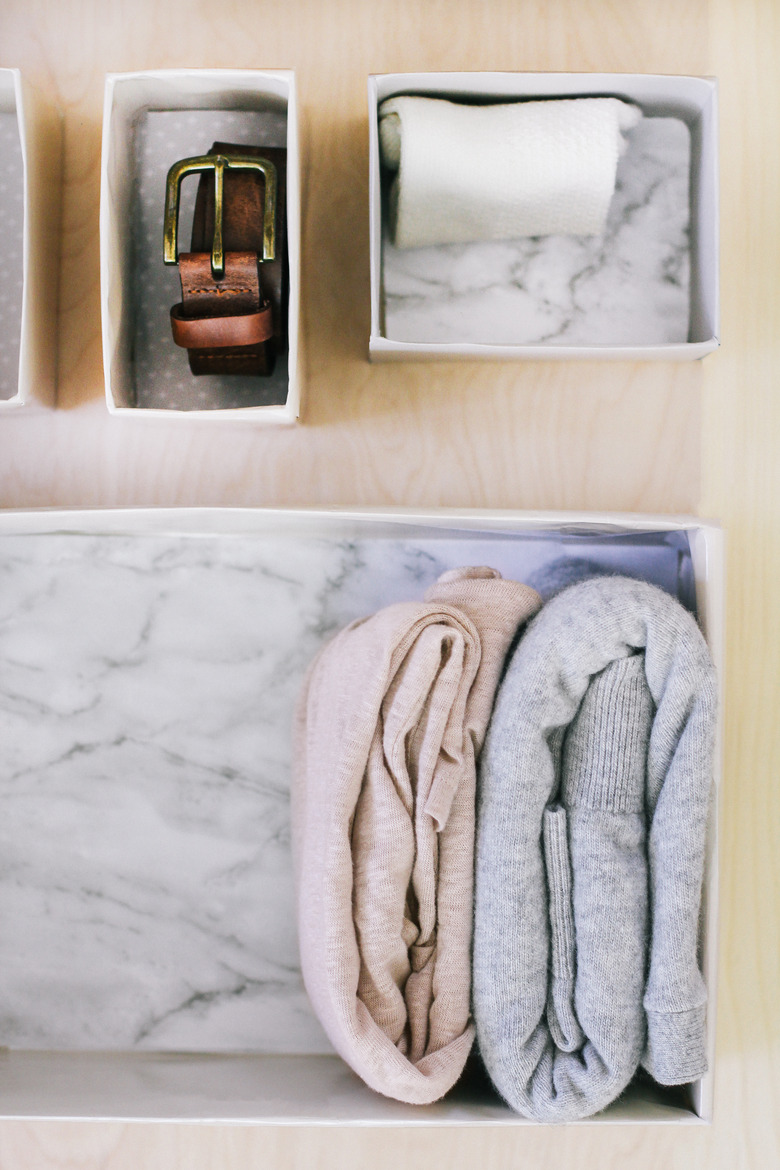
Now place your beautiful new boxes in your drawer and get ready for some serious joy to spark as you tidy up your belongings.
 Trisha Sprouse
 Trisha Sprouse
(Love that dresser? Get the IKEA dresser hack DIY here!)
 Trisha Sprouse