What Is A Storm Door?
In the building trades, the term storm door refers to a secondary outer door that creates a buffer between the main entry door and the exterior. As the name implies, one of its principal functions is to protect the expensive entry system from harsh weather, such as rain, snow, wind, and UV rays. Storm doors can be made of perimeter frames containing a solid pane of safety glass to maximize their protective quality while allowing the main entry door to remain visible; or they can be combination doors in which moveable glass panes can be opened to expose insect screens. Combination types can help ventilate the home by allowing fresh air to pass through while still keeping the door locked against intruders.
Why Install a Storm Door?
Why Install a Storm Door?
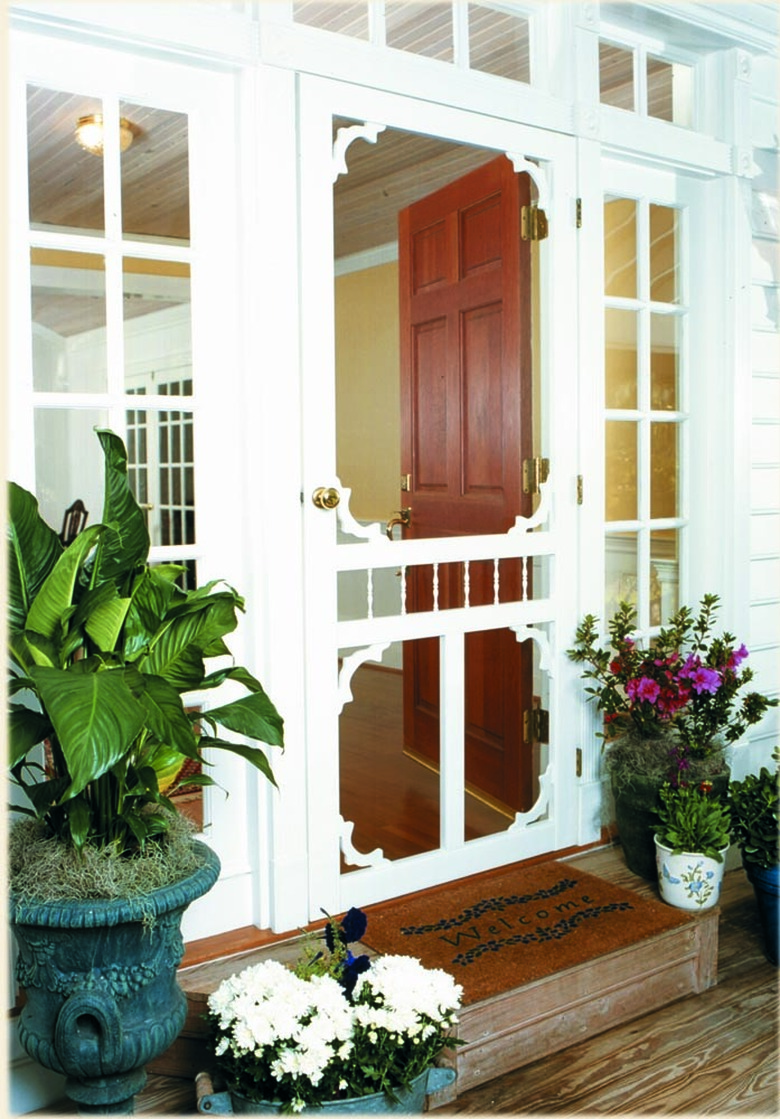
A storm door is by no means a mandatory feature. In earlier times, the framed screen door was a more popular precursor to the modern combination storm door. These fully ventilated add-ons to your entry system featured insect screening captured in a door framework, often with Victorian fretwork and embellishments to create visual appeal. The sound of a screen door slamming shut was an iconic summer memory for a certain generation.
 Screen Tight
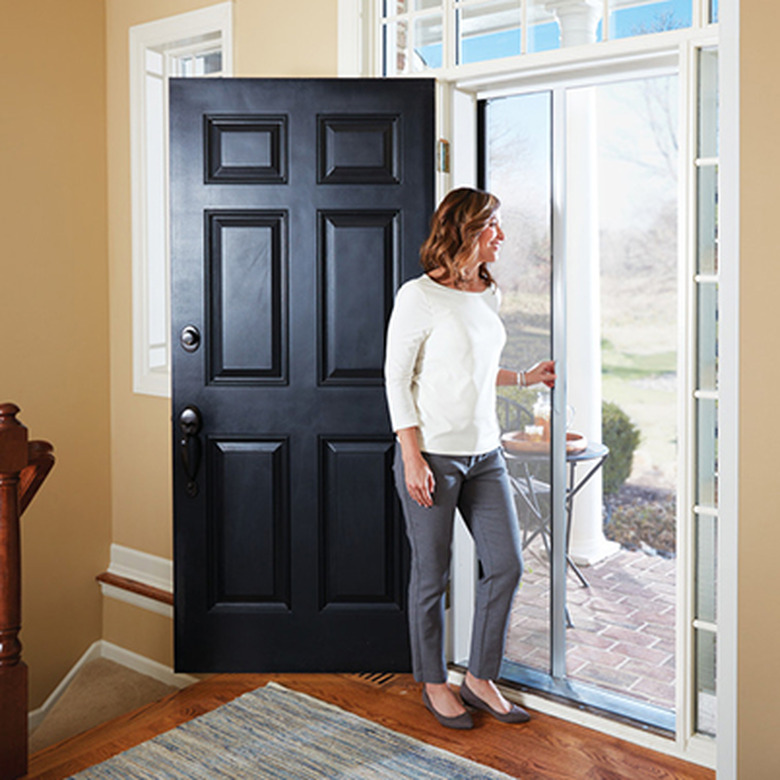
You can still find full-screen doors today, but for the most part, the modern storm doors being installed are combination doors with movable window panes that can be opened or closed according to your wishes. The screen door has waned in popularity because it offers virtually zero insulation or sound abatement, and it does not add any security to your entry system or even block exposure to moisture or UV rays that can compromise your primary door. Modern reinterpretations of the screen door may have insect screens that slide horizontally and can be stored in a retractable mechanism.
 Pella Corporation
A true storm door has glazing—either a permanent full-view light panel or a storable, combination pane. The full-view storm doors are primarily to protect your entry system. They are visually unobtrusive, and in many cases, you may not even notice them until you get up close. Most do not have a ventilation option, although some have large screen panels that can be seasonally swapped out for the glass panel. The only potential drawback is that you should not install a full-view glass storm door if your door gets a lot of direct sunlight. The glass can trap the heat from the sun between the doors, which can cause warpage and other damage to your primary door.
 Pella Corporation
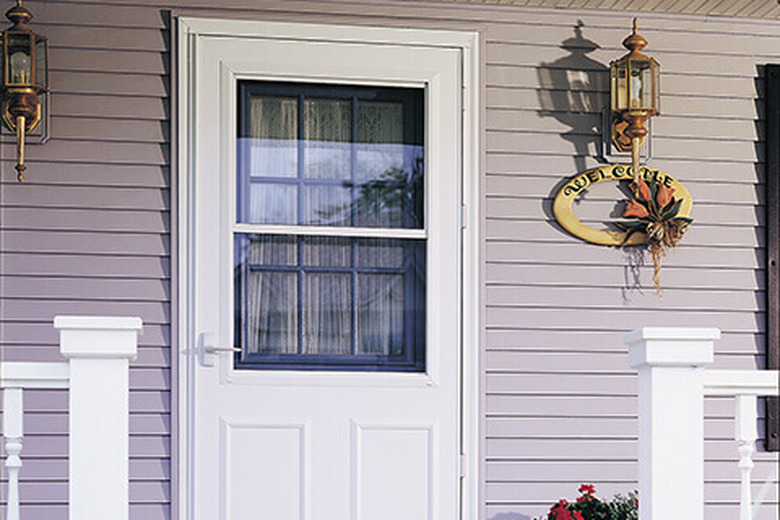
The most commonly installed storm doors are partial-view combination doors where the glazing can be retracted and stored to allow ventilation on demand. You will find them on main front entry doors, but they also are very common on back doors and even as tshe primary entry door to a screened porch. It is not uncommon to use the back-door storm door as a primary entryway during the spring, summer, and fall. This type of storm door tends to cost between $150 and $500 and are easy for most DIYers to install.
Installing a Storm Door
Installing a Storm Door
Most storm doors that DIYers install themselves are partial-view, combination storm doors. Typically, they have full-height "piano-style" hinges that are screwed to your exterior door case molding (also called brick molding). They are pre-hung so you do not have to play around with a lot of shimming and adjusting. The catch and latch systems are contained in the pre-hung framework, so as long as you do a careful job of screwing the hinge-side framework to your door molding, lining the door up with the closing mechanism is practically automatic. These doors come with pneumatic closers that may be installed midway up the door, or in some cases at the top or the bottom—or both.
Provided you measure carefully and buy a storm door designed for the size of your door opening, installation of a storm door is a relatively easy job that takes only a couple of hours.
 Pella Windows
Things Needed
-
Storm door
-
Utility knife
-
Hacksaw
-
Screwdrivers
-
Shims
- Most storm doors come packed in cardboard. Begin by removing the packaging and test-fitting the door in the opening.
- If the frame is too tall, mark the flanges on the hinge and the latch side for trimming.
- Trim the door flanges, where necessary. The side flanges of the door are usually made of aluminum and can be trimmed down with a hacksaw. Smooth any burrs with sandpaper or emery cloth.
- Fasten the drip-edge molding. This is the head molding included with your door; it attaches to the door case molding running over the top of the door opening.
- Set the door into the opening, then shim beneath it (and on the side, if necessary), so the fit is plumb and centered in the opening. Make sure there is ample swing space below the door.
- Drive the fasteners to attach the side flanges to the door case molding. Do not overdrive the fasteners, or they may tear free of the wood.
- Test the closing and latching mechanisms, and adjust them, as needed. Most door closers can be set to close at a slower or faster rate by turning an adjusting screw on the closer.