How To Hang A Dartboard
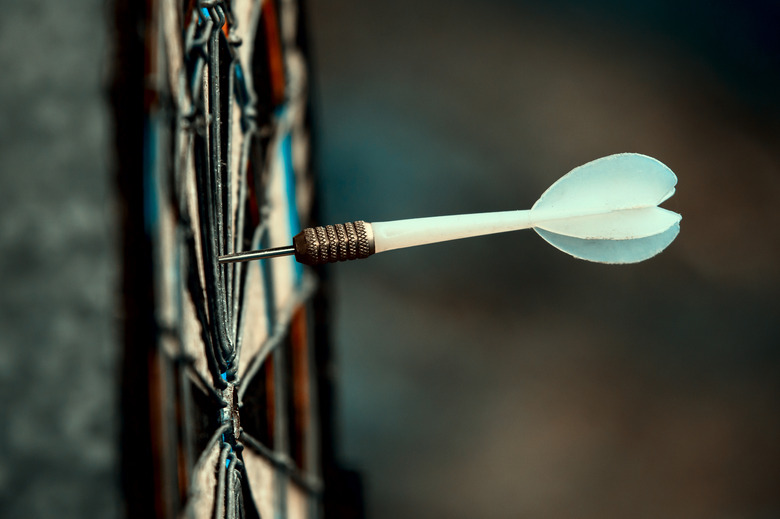
As with hanging framed photos and artwork, the best way to hang a dartboard depends upon the wall surface and the hardware already attached to the back of the dartboard. Some dartboards come with a special hanging disc-and-bracket system that makes the process easier.
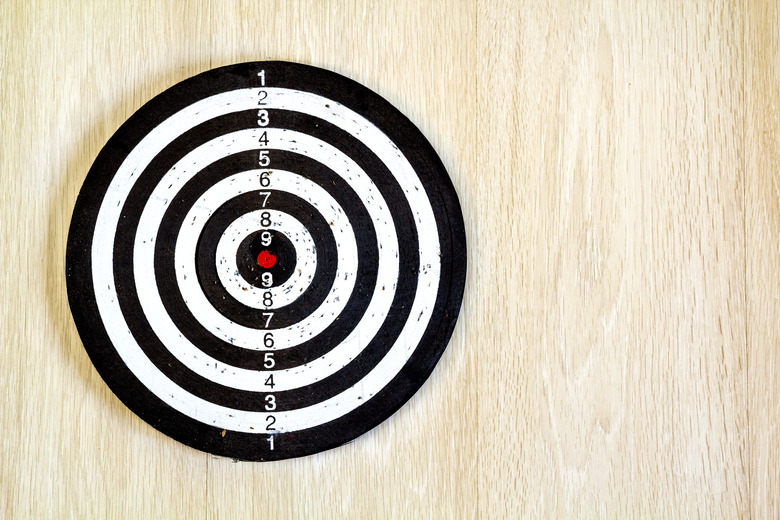
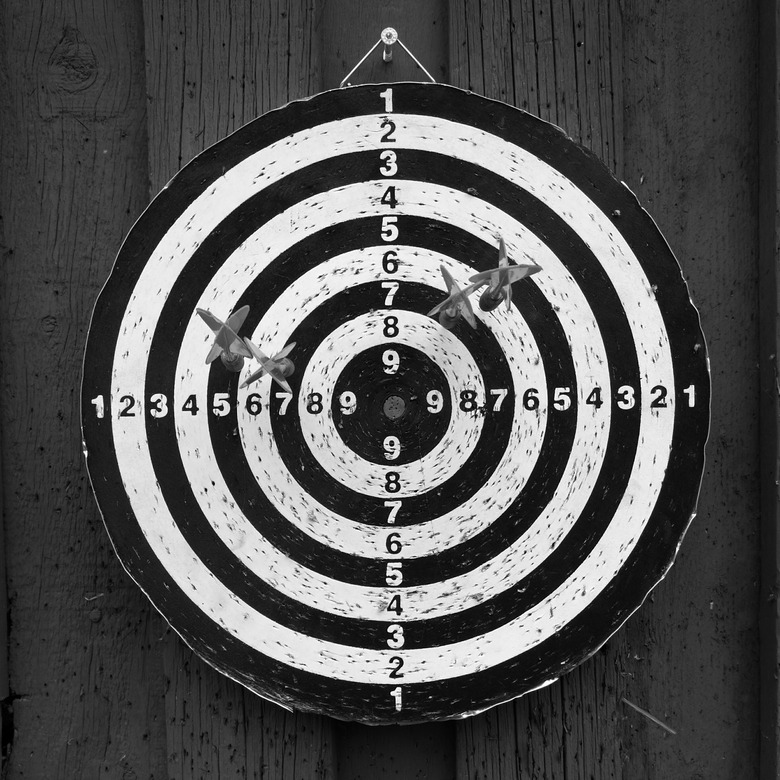
Dartboard Height and Distance Regulations
Dartboard Height and Distance Regulations
No matter what the wall surface, you'll need enough headroom and floor space to create a regulation darting area. The regulation height for a dartboard is 68 inches from the floor to the center of the bullseye. To determine proper placement of the throw line, measure the thickness of the dartboard, then measure 93 1/4 inches straight out from the wall, along the floor. Add to that the thickness of the dartboard, then place a piece of masking tape at this location to mark the front of the throw line. The actual placement may need to be adjusted slightly once the dartboard is actually on the wall, to account for the thickness of the hanging hardware.
Tip
Regulation distance from the front of the throw line to a spot on the floor perpendicular to the front of the dart board is 93 1/4 inches for steel-tipped darts, or 96 inches (8 feet) for soft-tipped darts.
Picking a Suitable Location
Picking a Suitable Location
Before breaking out the rest of your tools, make sure you've chosen an ideal location for the dartboard.
- There should be no obstructions in the general area from the throwing line to the wall.
- This location also should not be in a hallway between rooms, or any other area that people may pass through without realizing a dart game is in progress.
- The wall area also needs at least a few feet of clearance on either side, away from windows, electrical boxes, cabinets or anything else potentially damaged by errant darts.
- Finally, make sure there is at least two feet of clearance behind the throw line so players have enough room to aim and throw their darts. Ideally, the darting area of clear space should be at least 5 feet wide and 11 feet long.
Prepping the Dartboard for Hanging
Prepping the Dartboard for Hanging
Most dartboards and dartboard cabinets come with one of two easy-to-use hanger systems. One uses a hanging wire and mounts to the wall with a screw. The other type is a flange and bracket system, designed to easily slide the board or cabinet into place on the wall. A dartboard mounts inside a dartboard cabinet using this same type of hardware. Both the dartboard and the cabinet include instructions for using the enclosed mounting hardware, which may vary based on brand.
Some dartboards have a hanging loop already attached to the top, designed to fit over a screw or nail embedded in the wall. If using this type of hanger, first attach the three bumpers, usually included with the dartboard, to the dartboard back, using screws. Arrange them in a triangle formation somewhere near the outer edges of the board.
To hang the newer style flange system, attach the disc-shaped flange to the center of the dartboard back, inserting a screw in the center hole first, then the perimeter holes. The bracket portion mounts on a wall. The bracket location depends upon how many you'll use; typically one for a dartboard or four for a cabinet.
Hanging on Drywall: The Basics
Hanging on Drywall: The Basics
To hang a dartboard on drywall, it's best to mount the board to a wall stud. The stud provides ample support for the dartboard's weight. A board can weigh 10 pounds or more, enough to rip the mounting screws out of drywall if the board is hung from drywall without wall anchors.
- Locate a stud in the selected play area, using a stud finder.
- Measure the wall along the stud 68 inches up from the floor. Mark this spot, as this is where the bottom cup area of the mounting bracket belongs. Hold the bracket in this spot, open-side up, so the dartboard can slide into place.
- Use a pencil to mark positions for the pilot holes through the holes in the bracket.
- Remove the bracket and drill shallow pilot holes at the locations previously marked. Use a bit narrower than the screws included in the bracket set.
- Reposition the mounting bracket so the holes in the bracket line up with the holes in the wall.
- Insert and tighten the screws included with the mounting hardware.
Using Wall Anchors and Toggle Bolts
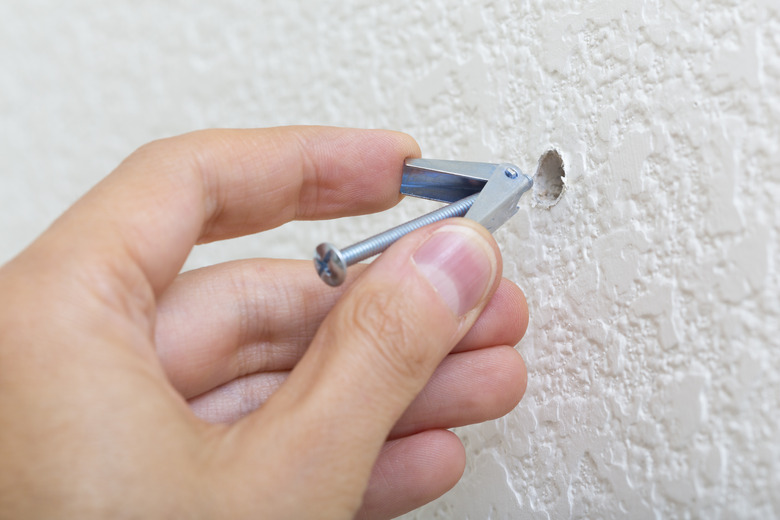
Using Wall Anchors and Toggle Bolts
If unable to hang the dartboard from a stud, use heavy-duty wall anchors or toggle bolts instead. Hollow metal or plastic wall anchors are ideal for drywall; toggle bolts can also be used. For plaster walls, toggle bolts are necessary to provide sufficient holding power. In either case, make sure the anchors or bolts are rated to hold more than the weight of the dartboard. Use one anchor or toggle bolt for each screw hole needed to mount the dartboard bracket on the wall. If hanging a dartboard cabinet, use one anchor near each corner. The cabinet should already have mounting holes in the proper locations.
- Drill a hole in the wall barely wide enough to insert each wall anchor or the folded "wings" of the toggle bolts. Check the package instructions for the ideal drill bit size.
- Push or hammer each anchor into the hole so the opening for the screw faces you. Skip this step if you are working with a toggle bolt.
- Insert each screw through its respective hole on the dartboard mounting bracket. If using a toggle bolt, take the "wings" off it first, then add them back on, after the bolt has been pushed through its respective hole on the bracket. The wings and bolt should form an arrow shape, pointing toward the wall and away from the bracket.
- Insert each screw into an anchor, tightening it with a screwdriver. For a toggle bolt, push the "wings" through the wall. They should open and spread behind the wall. Tighten the bolt with a screwdriver while applying pressure to hold the wings against the back side of the wall.
- Slide the dartboard or cabinet into position on the wall bracket(s). To do so, hold the dartboard near the wall, slightly above the mounting bracket, then slide the board downward into place.
Mounting on Brick or Concrete Block
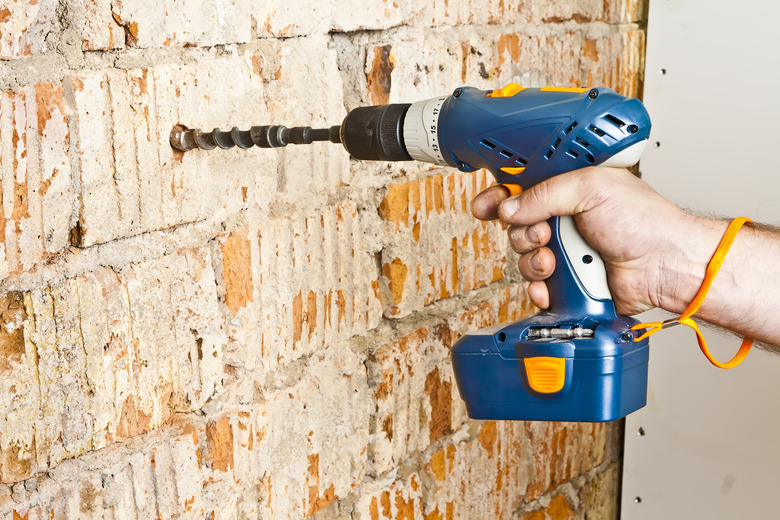
Mounting on Brick or Concrete Block
Mounting a dartboard directly to a brick or concrete wall isn't recommended, especially for steel-tipped darts. No matter which type of darts are used, the tips will face serious damage if hitting a stone-like surface rather than the dartboard.
If a brick or block wall is the only option, mount a sheet of plywood to the wall, several feet wider and taller than the dartboard, so the center of the plywood is at the proper darting height. Feel free to paint the board to match the room decor, or just paint it a neutral color before mounting the dartboard to the plywood.
- To mount the plywood backer board on the wall, enlist a friend's help and plot out the ideal location on the wall, using painter's tape to mark the perimeter of the board.
- Drill pilot holes every foot or so along the top, side and bottom of the board, with the holes drilled into the face of the board, not its edges.
- Hold the board up against the wall again and use a pencil to mark the wall through the pilot holes. If this proves difficult, use an awl to scratch the wall instead.
- Remove the board. Drill pilot holes at the marked spots, using a carbide-tipped masonry bit. Use the bit size recommended on the package of concrete screws.
- Position the board against the wall again. Insert one concrete screw through each hole, then tighten the screw with the appropriate screwdriver.
- Now mount the dartboard against the plywood backer board, following the instructions above. Here, simple wall anchors attached to the plywood backer usually are sufficient.