How To Distress Wood
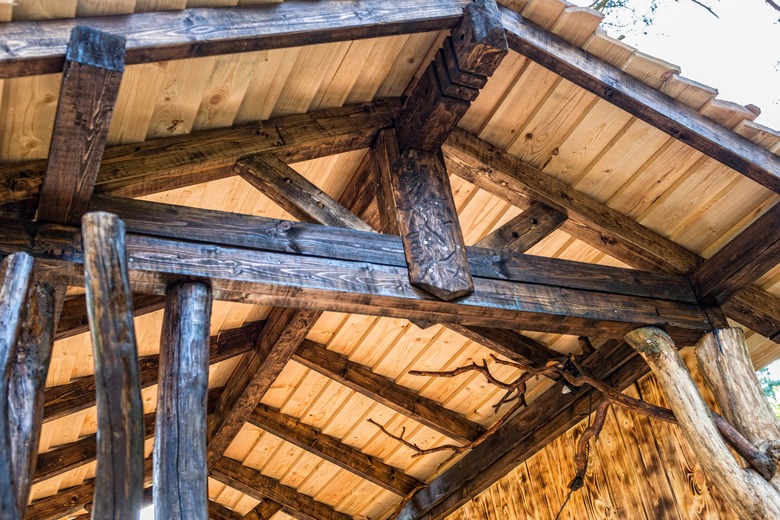
Not all furniture pieces that look old and vintage are actually antiques. You can add your own dents, dings and faux insect holes to wooden beams or furniture to give your project a vintage look without the hefty antique-shop price tag. This well-worn or distressed look is easy to pull off with typical supplies you have on hand in your workshop or garage. The best part: Imperfection is the goal, so there's no need for measurements or specialty tools to achieve the desired effect.
Weathered Versus Distressed Wood Finishes
Weathered Versus Distressed Wood Finishes
Like weathered wood, distressed wood is meant to look old and used. The main difference between a weathered finish and a distressed finish is that the weathered look mimics a piece of wood left outside to fade for years or even decades. A distressed wood finish, on the other hand, replicates the dents and wear a piece acquires as it's used and handed down through the decades. This type of piece is usually varnished or stained, although the technique can be done to a painted piece, as well. A similar faux aging effect called a distressed paint finish involves layers of paint purposely removed from some areas to make the piece look as if it's been well-used over the years.
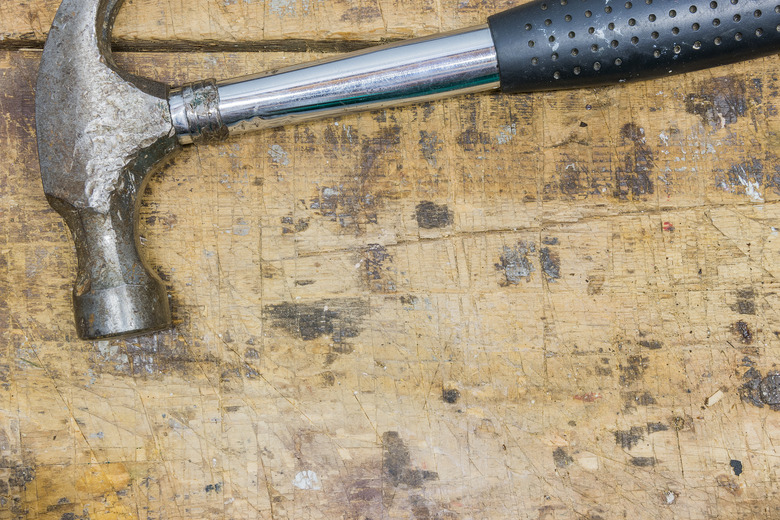
Distressing Wood by Denting It
Distressing Wood by Denting It
Dents are the "nuts and bolts" of a distressed wood finished. And actual nuts and bolts are a perfect combination to create the look, too, as long as the project piece is durable enough to handle a few beatings.
- Place a handful of heavy bolts, large nuts or other random durable hardware pieces in an old sock. You can also use small rocks in the sock if you don't have any heavy hardware on hand.
- Tie the sock closed, then swing the sock into the wood in various areas to add dents. On objects such as tables or chairs, focus on edges and areas near the edges of the project piece to create realistic wear.
- Smack the wood with various parts of a hammer, including the claw, to create more dings and indentations, especially along the edges. Or use the hammer to strike some nails or bolts resting on the wood surface to create interesting dents. Whacking the wood with the edge of a pry bar can also create some unique effects
Any tool or object durable and heavy enough to create dents can be used to distress the table. Even lengths of chain swung against the wood suffice—just be sure to steer clear of the moving portion of the chain to avoid getting hurt.
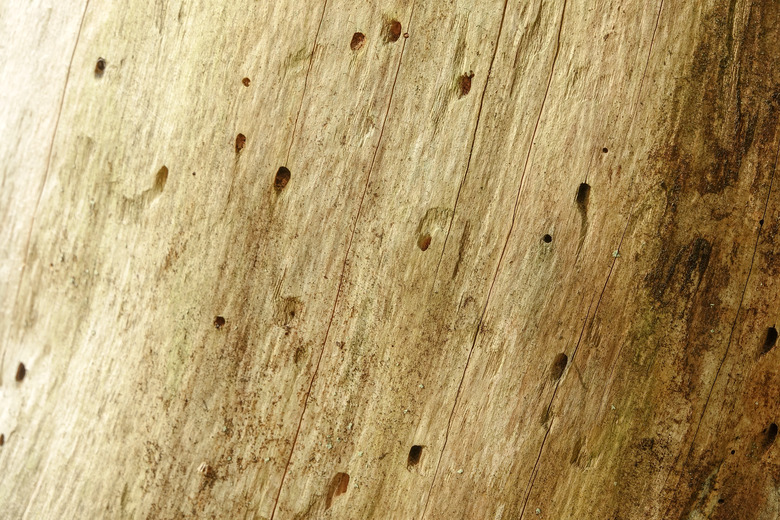
Adding "Insect" Damage to a Distressed Wood Finish
Adding "Insect" Damage to a Distressed Wood Finish
Old wood, even on live trees, often succumbs to damage from insects and worms. Tiny holes dot the wood in random patterns in equally random locations. Recreate this look by using awls, nails and drill bits. You can use these techniques on anything from wooden tables to picture frames, beams and homemade wooden boxes.
- Poke the tip of an awl randomly into one small section of the wood, creating a cluster of holes within the same square inch. An awl works best on soft woods, but even a slight impression adds the look of wear to the wood.
- Make your own wood-distressing tool by drilling four or more small pilot holes 3/4 inch or so apart near the end of a piece of scrap wood roughly the size of a hammer handle Keep the holes randomly spaced, rather than in straight lines. Insert drywall screws all the way through the pilot holes to create a spiked tool. Whack the wooden piece several times in various areas to create "insect" holes.
- Use a drill to make random clusters of holes in the wood. Drill down 1/8 inch or so using a 1/16-inch bit. If working on an overhead beam or area where tiny holes might be hard to spot, a slightly larger bit can make the holes more visible.
Tip
Keep faux insect holes to a minimum, and in just a few select areas. Too many holes dotting the entire surface won't look realistic.
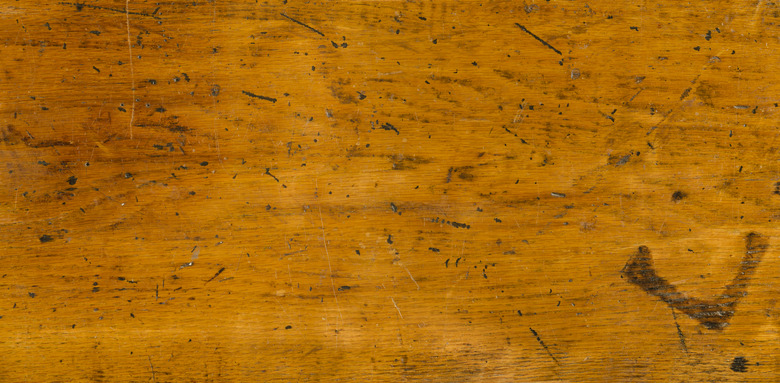
For Major Distressing, Remove Entire Chunks
 katerinasergeevna/iStock/GettyImages
Wood furniture or architectural features subjected to many years use and abuse sometimes loses a few chunks along the way. Edges of tables and chair seats or sharp corners on beams look even more distressed and old if you file or gouge some of the wood away. Feel free to experiment with several different methods on a large project piece, such as a beam. For example, you can use a chisel and hammer to break off a piece along a tabletop edge. For a less drastic look, use a hand plane or coarse wood file to remove a small portion of a sharp edge.
Distressed Finishes Need to Be Smoothed
Distressed Finishes Need to Be Smoothed
Remember that truly old, antique wood has a relatively smooth surface after years of use, and a distressed finish should mimic this look. After denting, gouging, drilling, or breaking your piece, remove any loose splinters and sand over the holes and chipped wood using a medium- to fine-grit sandpaper. The goal is to make the wood smooth again, as if the wear happened years ago. Wipe the dust away with a tack cloth.
If you've only dented the wood and the piece already has a finish on it, your work is done. If you want the holes and dents to stand out on unfinished or previously varnished wood, rub on a dark wood stain following the label directions. Wipe it away quickly so the stain affects the distressed areas more than other areas. Protect the wood once it dries, if you like, by applying a paste wax or a coat or two of polyurethane varnish.