How To Create A Weathered Wood Finish
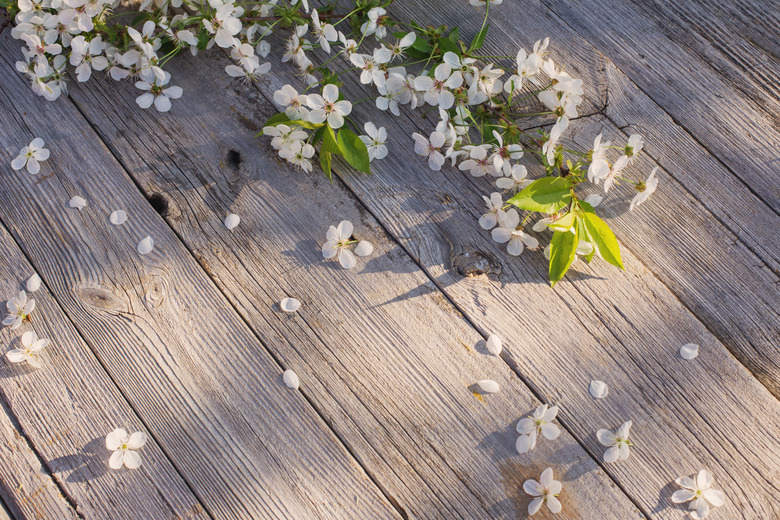
If your favorite home-decor style is of the rustic nature, then freshly varnished wood just doesn't quite capture the right vibe. Waiting years for new boards to get that perfectly weathered look isn't a realistic option either. Fortunately, it's possible to weather wood artificially, and it takes far less time than waiting for nature to do it. It also doesn't require any harmful chemicals, either—in fact, you probably already have all the supplies you'll need. Your homemade weathering solution has different effects on various types of woods, so you'll need to experiment to achieve the desired effect.
Why Wood Weathers
Why Wood Weathers
Wood used for fencing, homes and decks generally stays in good shape, as long as it's painted or sealed. Once that wood loses its protective sealant, however, it begins to weather. Exposure to chemicals in the atmosphere, precipitation, ever-changing temperatures and ultraviolet rays from the sun eventually lead to chemical and compositional changes in the wood's outer layers. As the wood loses some of its natural oils, its exposed surfaces age, changing to a somewhat gray color.
Picking the Wood to Weather

Picking the Wood to Weather
Ultimately, fresh, untreated lumber is your best choice for your DIY wood-weathering project, since you'll have the chance to weather all portions of the wood at the same time. Reclaimed lumber or any wood object that's free from paint and sealants also works well. The downside to using reclaimed wood is that cutting it reveals fresh, non-weathered wood along the cut surface. Artificially weathering the fresh area may not achieve an exact match to the surrounding wood that has weathered naturally. Nature doesn't always weather things evenly, though, so a somewhat imperfect match can still look acceptable.
Whatever wood you choose, you'll get the most uniform look if all the boards are from the same wood species. Oak won't chemically weather exactly the same as pine, for instance, due to different tannin content within the wood fibers. Two boards from the same species may also weather a little differently, depending upon the sap content in the wood. Don't become overly stressed by striving for perfection. The goal of weathering is an aged, antique look, and by definition such finishes are imperfect.
Making a Homemade Oxidizing Solution
Making a Homemade Oxidizing Solution
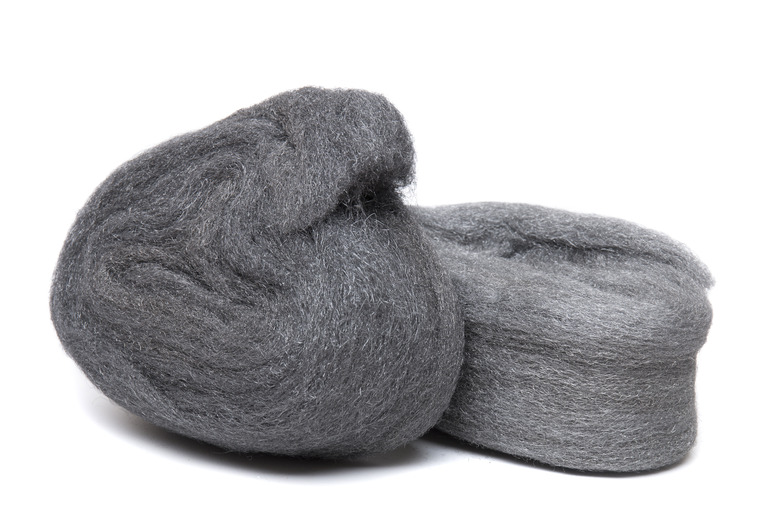
Create your own simple weathering solution from white vinegar and steel wool. This mixture oxidizes the wood and turns its surface light gray. Since the liquid barely penetrates the wood, do any necessary finish sanding before weathering the wood—otherwise, you may sand right through the weathered layer.
- Pour some vinegar into a clear glass jar. Use 1 cup or more, depending upon how much wood you want to weather.
- Tear or cut a clean fine-texture steel wool pad and put the pieces into the vinegar, using one pad per cup of vinegar. Exact measurement isn't necessary; just brew as much as you may need. Also, make sure the steel wool isn't the type with soap embedded in it, or the process may not work properly.
- Place the lid on the jar and swirl the jar around a few times a day. In 3 to 6 days, the steel wool completely dissolves, creating a super-concentrated wood-oxidizing solution. If you don't want to wait that long and only want a slightly weathered look on the project piece, feel free to test it after a few hours by spraying or brushing it onto a piece of scrap wood. Otherwise, wait out the dissolving process.
- Add an equal amount of water to the vinegar and stir thoroughy to create the oxidizing stain.
Applying the Oxidizer
Applying the Oxidizer
For the least amount of weathering, spritz the vinegar solution on the wood project piece. Wait half an hour or so before assessing the final look, as the wood weathers a bit after application. For a more weathered look, brush a light coating of the solution onto the wood with a foam brush or inexpensive paintbrush. Adding more will give you an even to achieve a darker look. Allow the wood to dry completely before using it in a project.
Tip
Apply the vinegar solution outdoors if you don't like the smell of vinegar. Protect the ground below work area with a tarp so the vinegar won't reach it. Keep any unused solution in an airtight jar for future use.
Creating a Darker Weathered Finish
Creating a Darker Weathered Finish
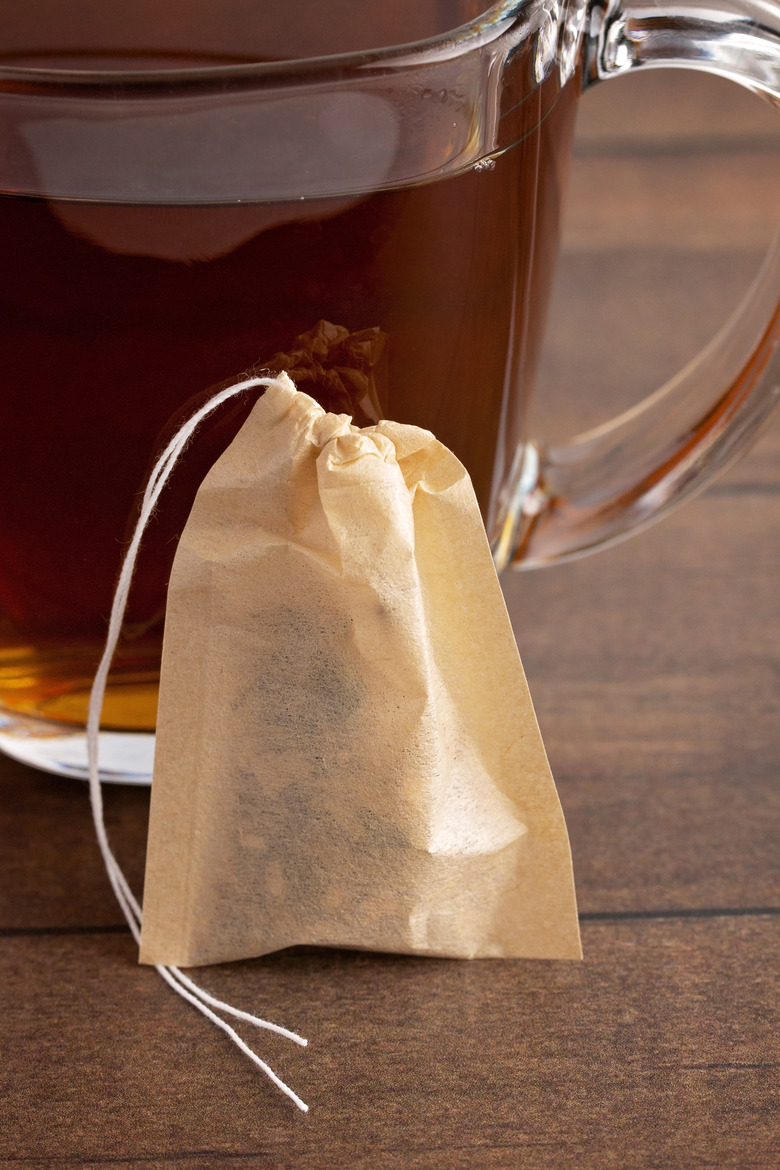
If the wood doesn't look weathered enough, even with a strong concentration of your homemade oxidizer on it, black tea is your new secret weapon. The tea can serve to stain the wood before applying the oxidizer.
- Heat a kettle full of water until it's hot but not boiling. Pour the water into a jar.
- Add at least two or three black tea bags per cup of water—the more used, the stronger and darker the tea. Allow it to steep until the liquid looks like black coffee, then remove the teabags.
- Dip a brush into the tea, then apply it to a piece of scrap wood of the same variety as the project piece. Otherwise, apply it to an inconspicuous area of the project, such as the back side of a wooden picture frame or furniture piece.
- Immediately brush the area with the vinegar-and-steel-wool solution. The solution will react with the tea, turning the wood a dark weathered gray.
Protecting the Finished Project
Protecting the Finished Project
If you truly want the look of weathered wood, do nothing to the project piece after it dries, as this will allow it to naturally age and weather on its own. Typical wood sealants such as polyurethane and most paste waxes will affect the look of the wood, making it either shiny or darker, or both. A micro-crystalline wax polish, however, doesn't soak into the wood and won't affect its hue. Brush this product onto the wood with a short-bristled nylon brush, using only a little wax at a time, since the wax will spread out. Use a polishing brush to smooth the finish over the wood.