How To Create A Distressed Paint Finish
One plus to creating your own distressed-paint finish, rather than buying an antique that already has chipped paint, is knowing exactly what's coating that furniture or art piece you're making. Antique paints may contain lead or other harmful chemicals, while homemade distressed finishes can be made even with modern water-based paints. One way to distress paint is to sand off parts of one layer to reveal the color beneath. A crackle medium is another way to get a distressed look, complete with cracks.
Distressed Paint: The Basics
Distressed Paint: The Basics
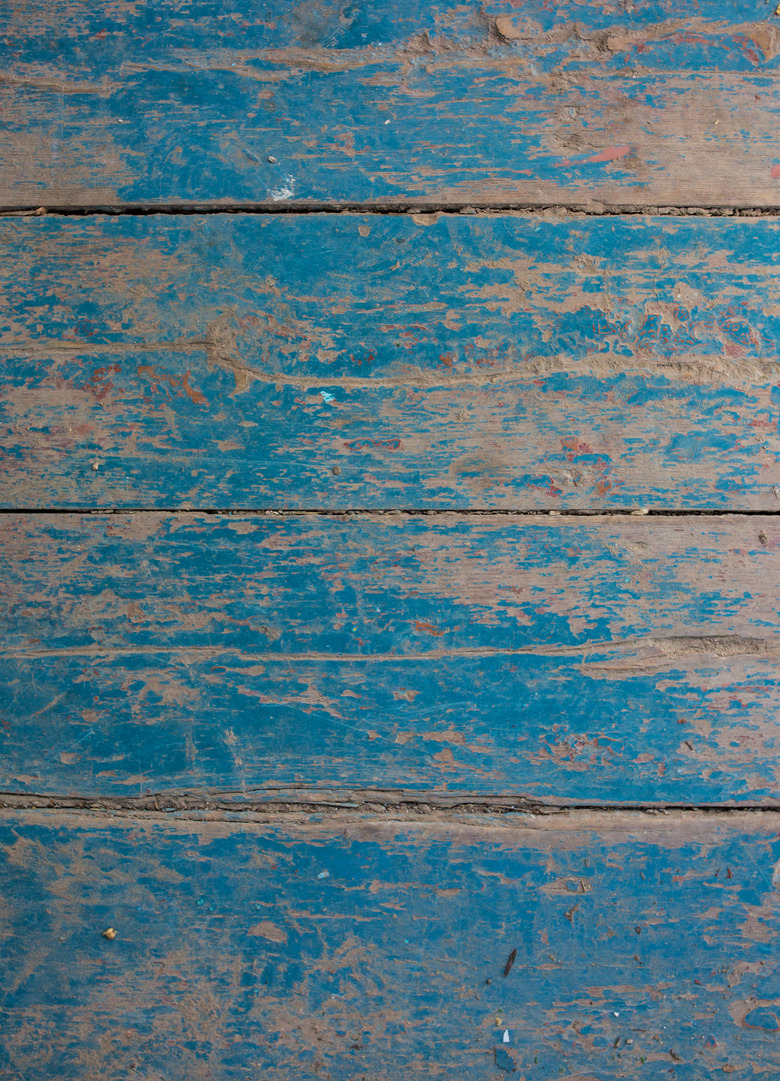
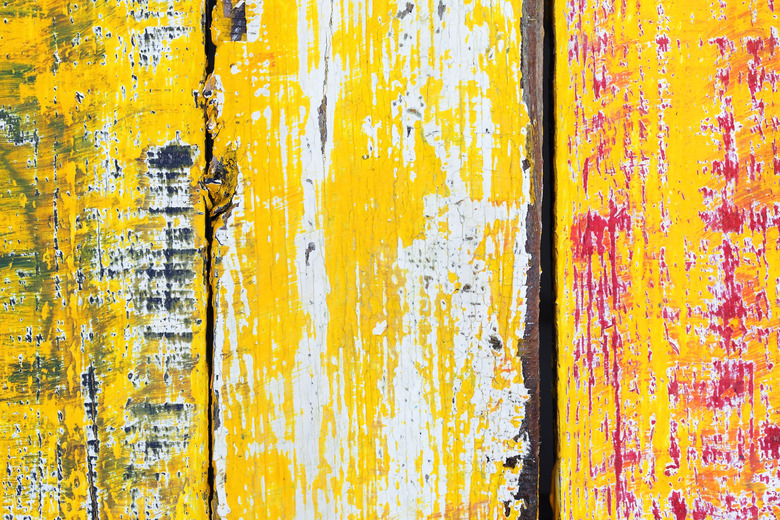
In a nutshell, a distressed-paint finish is a top coat that looks worn or cracked in a way that exposes another layer of paint or finish underneath. Multiple layers of paint in assorted colors is the way to go if you feel like sanding some sections to create a worn distressed look. Otherwise, use a crackle medium to create cracks between two different paint colors. The top paint coat is applied while the medium is still wet. When the medium dries, it affects the paint drying atop it, creating that cracked, old-paint look.
References
How to Create a Distressed Finish With Layering
Things Needed
-
Sandpaper
-
Base coat latex paint
-
Candle wax or crayon
-
Topcoat latex paint
-
Clear sealer or polyurethane finish (optional)
-
Paintbrushes
An old piece of furniture from a thrift store or rummage sale can make a great project piece for a distressed paint finish. Decide whether you want the piece's existing color to show through the new paint in the areas you distress. It doesn't matter if the piece is stained, varnished or painted—dark wood looks stunning when a lighter paint coat is applied and sanded off in some areas.
- If you prefer to paint the piece first for a new base coat, sand it lightly, wipe the dust away with a tack cloth, then apply a coat of latex paint in the desired color. Primer isn't necessary since any chipping or cracking will add to the distressed look.
- Rub pieces of old candle wax or crayon in the areas you plan to distress. With a table or any object with sharp edges, focus on the edges. On a wooden chair, the seat and legs are also good targets.
- Paint the entire piece with the chosen color of latex or acrylic paint.
- Once the paint dries, use fine-grit sandpaper to sand the areas you've previously rubbed with wax. The surface paint layer should come off easily.
- If desired, apply a clear coat of sealer such as polyurethane, or leave it as-is to allow the finish to wear more on its own.
Tip
Feel free to layer multiple paint colors in areas you wish to distress. Sand through one or more colors, showing portions of each color in various places of the project piece. Wax isn't entirely necessary between coats, but it does make sanding a lot easier.
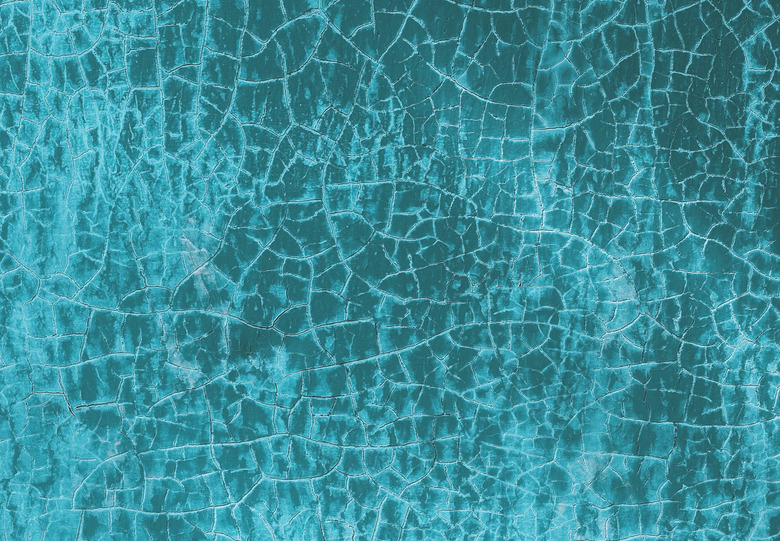
How to Create a Distressed Finish With Crackle Medium
 Martyna87/iStock/GettyImages
Things Needed
-
Sandpaper
-
Latex or acrylic base coat paint (if desired)
-
Crackle medium
-
Latex or acrylic top coat paint
-
Paintbrushes
Crackle medium, whether store-bought or homemade, creates intricate cracks in a topcoat of paint applied over it. Most craft stores and paint stores carry crackle medium, or you can use white school glue as a crackle medium. Decide if you want the project piece's current color to show through; if so, there's no need for a fresh base coat.
- If you prefer a new color, sand the piece gently, wipe off the dust, then paint it with a fresh coat of latex or acrylic paint in the color you intend to show through the cracks in the crackle medium topcoat.
- Read the crackle medium label to determine how much working time you have before it dries. (Once it dries, it will no longer crack.) Set all your paint supplies near the project piece so you can paint while the medium or glue is still tacky.
- Brush the crackle medium over the entire project area, or just in selected sections if you only want cracks to appear in these areas—near the edges, for instance.
- Brush latex or acrylic paint over the wet crackle medium, as well as any other areas you want to paint in this new color. Apply paint in full strokes without going back over any areas, as this may affect the end result. Spray paint can also be used; the resulting finish will have a cobweb-like look.