Can I Pour My Own Concrete Driveway?
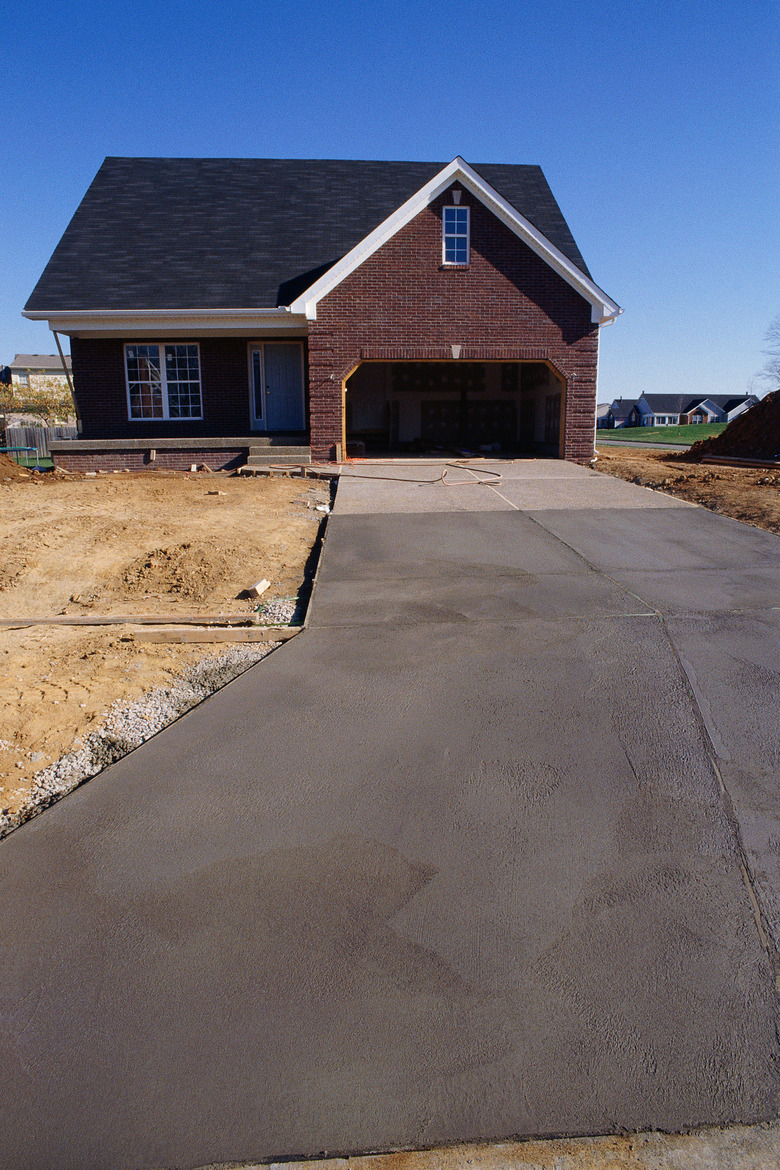
Concrete is an ideal driveway material that is essentially maintenance-free and can last for more than three decades. In terms of cost, concrete resides in the middle of the pack, at about $5 to $7 per square foot for a basic gray slab (installed), or about $3,600 for a standard 16-x-38-foot driveway. Doing the work yourself might save you half of that cost—let's say a savings of $1,800 to $2,000. That's no small change, but is it worth it? Probably not.
While some aspects of concrete work are doable for a handy DIYer, the most crucial tasks—namely, everything after the concrete truck arrives—require real skill and experience. And if you get the final finishing wrong, you can ruin the surface of the slab and end up with an ugly, pockmarked driveway...for the next three decades.
 Stockbyte/Stockbyte/GettyImages
The Concrete Process
The Concrete Process
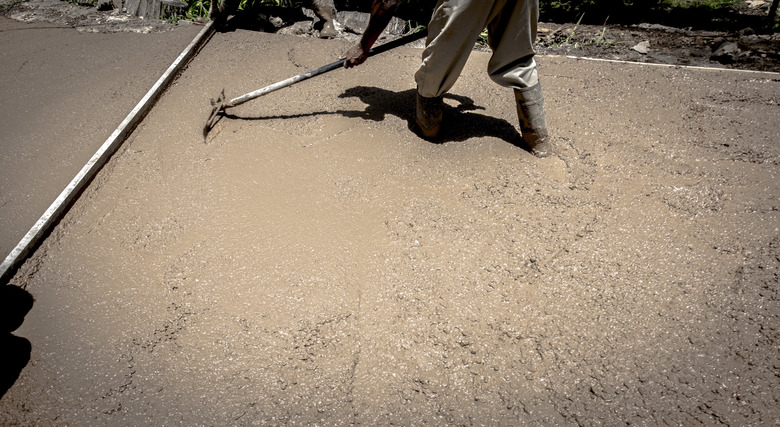
Concrete flatwork (the trade term for slab structures like driveways, floors and walkways) seems simple in theory: you dig out the area, build forms and pour in the concrete, then you smooth it out and let it dry. In reality, flatwork involves about 15 different stages, and about two-thirds of them occur while the clock is ticking—that is, while the concrete is steadily, irreversibly curing into a rock-hard mass. The basic stages are as follows (although these can vary by job and local building requirements):
- Demolition: jack-hammering and removing the old driveway, as applicable
- Design: assessing soil, creating slab specifications and gaining approval from the city
- Excavation: digging out the site to reach solid soil and/or make room for a gravel base
- Form-building: building the wood form to contain the concrete; the form must be sloped so the driveway will shed water
- Laying the base: adding a gravel base (as needed) and tamping it thoroughly
- Prep and reinforcement: installing a plastic moisture barrier and metal slab reinforcement, as needed; may include doweling into existing driveway slab, as applicable
- Concrete pour: filling the form with ready-mix (trucked-in) concrete, spreading it out and leveling it with shovels and rakes (take some Advil and pray for dry weather)
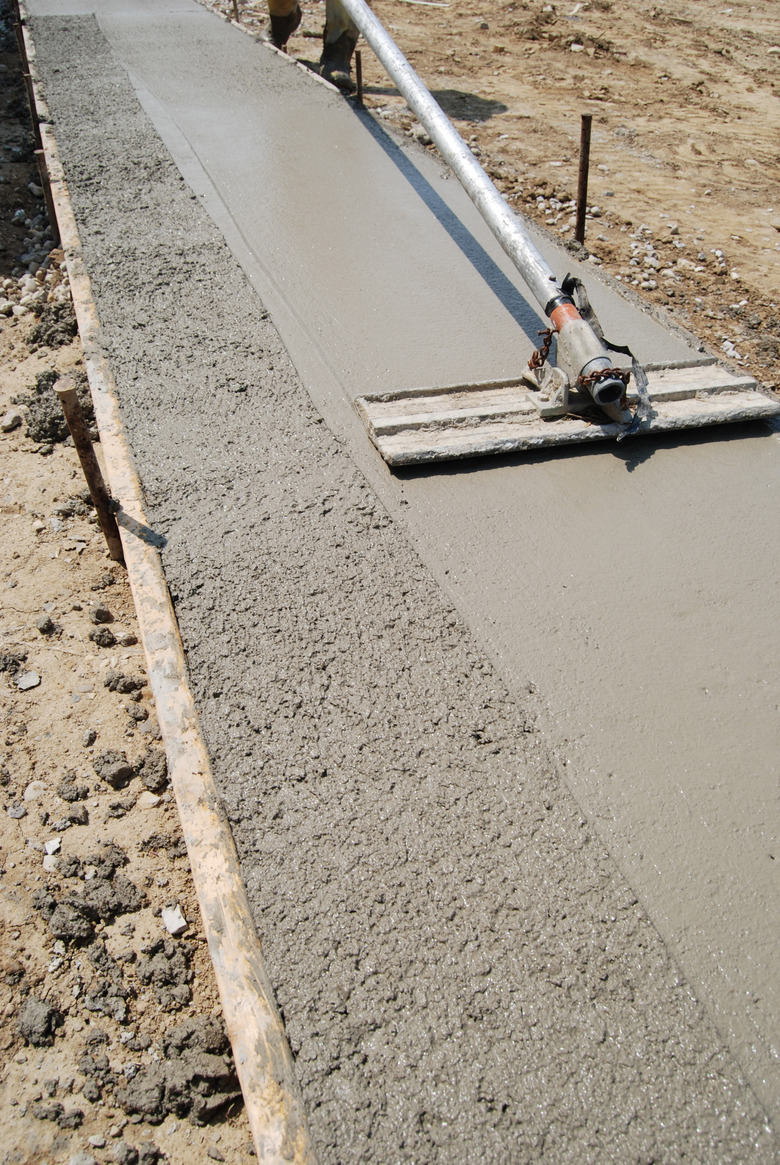
- Screeding: rough leveling of wet concrete with a long screed board; usually requires at least three people
- Initial edging: first shaping of the slab's edges with an edging tool
- Bull floating: floating (smoothing) the slab with a long-handled bull float
- Creating control joints: cutting into the slab to a depth of 1/4 its thickness (helps to control where the inevitable cracks in the slab occur later)
- Hand-troweling: smoothing the surface with a hand float or trowel, usually while kneeling on a board laid over the slab; this may happen more than during a pour
- Final edging: final shaping of the edges and, if desired, along the control joints
- Brooming: texturing the surface with a broom or applying another surface texture or finish
- Curing: spraying the slab with a curing agent and sealer
 copyright Dan Reynolds Photography/Moment/GettyImages
Good Reasons Not to Pour Your Own Concrete Driveway
Good Reasons Not to Pour Your Own Concrete Driveway
For beginners, every concrete project is a trial by fire. The curing concrete waits for no one, and it's usually difficult or impossible to fix mistakes. If that doesn't scare you away from a large project like a driveway, then you should consider the skill required to finish concrete correctly.
Concrete is made primarily of cement, gravel, sand and water. When you finish the surface with floats and trowels, you push the gravel just below the surface, and you smooth the top layer of "cream" made up of cement, sand and water.
 rtyree1/E+/GettyImages
The hard part of this, aside from making the finished surface look good, is knowing when to work the top layer and how much to work it. If you wait too long, it won't smooth very easily and you might end up overworking it. If you finish is too soon or for too long (also overworking it), you'll end up with a weak top surface that's prone to flaking and _spalling—_where little round pieces of the surface pop off, revealing the gravel below and leaving permanent pockmarks. In other words, improperly finished concrete has a far less durable surface.
Knowing when and how to finish concrete is not something you can learn from a book or article or video. It takes a lot of practice. And if you get it wrong, you can compromise the long-term appearance of your entire driveway.
 Bob Pool/Photographer's Choice RF/GettyImages
If You’re Still Not Convinced
If You're Still Not Convinced
Perhaps you're planning a small driveway, or for whatever reason, you're just hell-bent on doing this yourself. If so, you should first practice concrete flatwork by starting small, such as pouring a utility slab for trash cans or an air conditioner unit or even a small concrete walkway. At the next level, you might attempt a small concrete patio or a shed floor.
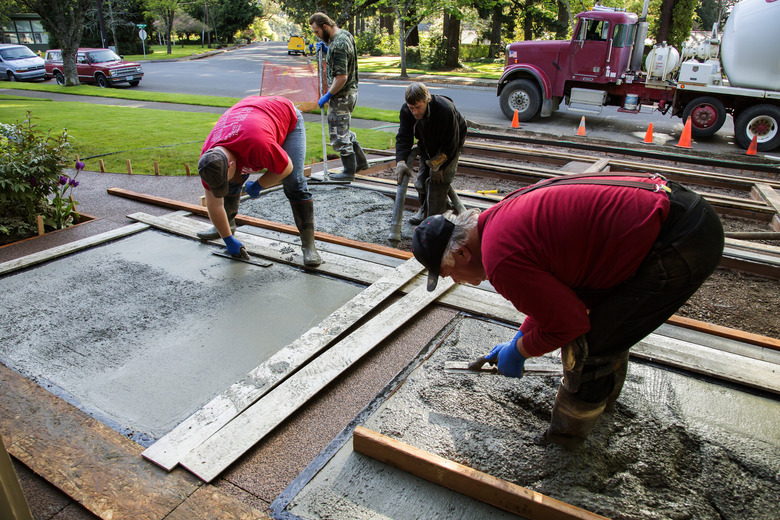
Most concrete flatwork involves the same basic process of forming, pouring and finishing, so all slabs are good practice. What's different about driveways is the scale. Even a small one-lane driveway might be 9 or 10 feet wide and 30 or more feet long. That's a lot of concrete to pour and finish at one time, and it's way too much material to mix yourself from dry bags of concrete. Plan to use ready-mix concrete, and round up a lot of helpers, each of whom knows their role when the concrete truck arrives.