The 5 Best Ways To Keep Gravel Locked In Place
Gravel driveways and gravel patios have proven their value and durability for years uncounted. Some have been in use for over 100 years. In addition to that ultra-practical characteristic, they can also be beautiful. But one concern folks who are inexperienced with gravel use may have is that the gravel might spread and make a mess. It is just a collection of small rocks after all. How would you keep them from spreading and going where you'd prefer they did not? There are five ways to keep gravel locked in place: deep digging, installing edging, permeable grids, mulch glue, and concrete powder.
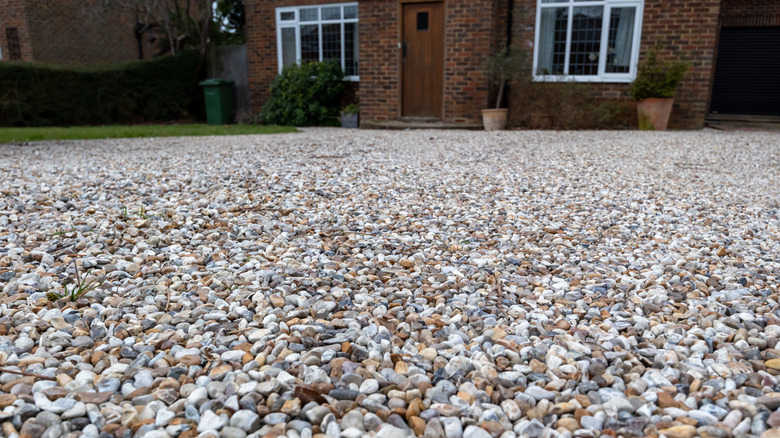
First off, choose gravel with the proper shape. There are many types of gravel, crushed rock, river rock, coarse gravels, pea gravel: Which one stays in place best? The answer is gravel with angular shape. Gravel with rough angular shape can be packed together tightly and those irregular shapes and edges will grab each other, "locking" them in place. On the other hand, round smooth gravel like river rock or pea gravel is "slippier" and does not pack tightly.
Proper construction is the key
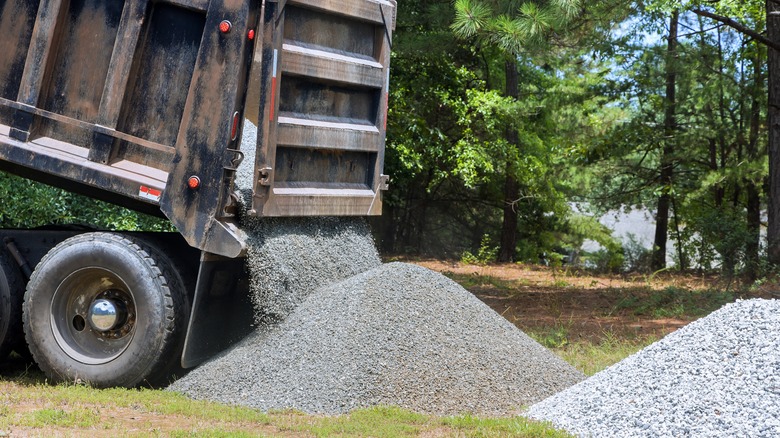
Building a gravel driveway or patio is more than just pouring a pile of gravel on the ground. To be done right, the first step must be excavation: digging down into the soil to create a level surface (sloped for drainage if it's a patio) that you tamp down firmly. How deep do you dig? That depends a bit on the project, but a minimum of six inches. If you are running a gravel driveway up a hill, 10 inches is needed to keep the gravel from sliding down the incline. After the surface has been prepared, the first layer of gravel is of a type with larger rocks. Naturally occurring #3 gravel, with rocks up to two inches, is often the choice. A two-inch layer is considered the Goldilocks "just right" depth. It should be tamped down firmly.
Next is a transition layer of crushed rock and sand of one to two inches in depth. The sand acts as a binder and the crushed rock allows water to drain properly. Again, tamping or compacting this layer in place is an important step. Last is your final layer of gravel. Crushed rock is a very good choice as its rough angular edges will engage firmly when you pack it down. Lay it a minimum of three inches thick, but five inches is even better. For a driveway, it should have a crown in the middle.
Install edging
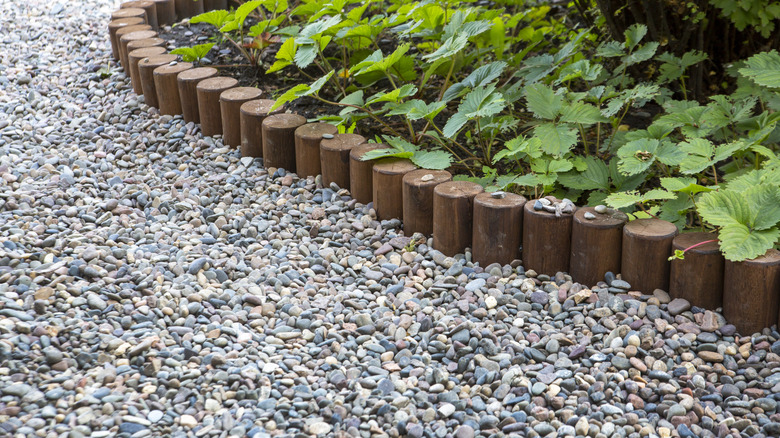
If properly constructed, your gravel should not spread around significantly. But if you want to choose a type of gravel that does not pack together well, pea gravel or river rock are two examples, then installing edging is a good idea. Edging is also a solid and low-cost solution if you have inherited a gravel driveway or patio that may not have been constructed with the best methods. To be clear here, we are talking about physical, constructed, edging here – not a border driveway of plants and shrubs.
Plastic garden edging is an inexpensive approach to the problem. Generally made of black plastic with a tubular top edge, it takes a minimum of digging to snug it up against the gravel. Long sections join together easily and provide a clean, attractive border. Bricks or pavers are another effective edging. They can add a beautiful accent in addition to keeping your gravel from going astray. They require a good bit of effort to install properly. A poured concrete edge or curb is a super strong method, but technically challenging and expensive.
Permeable grids to the rescue
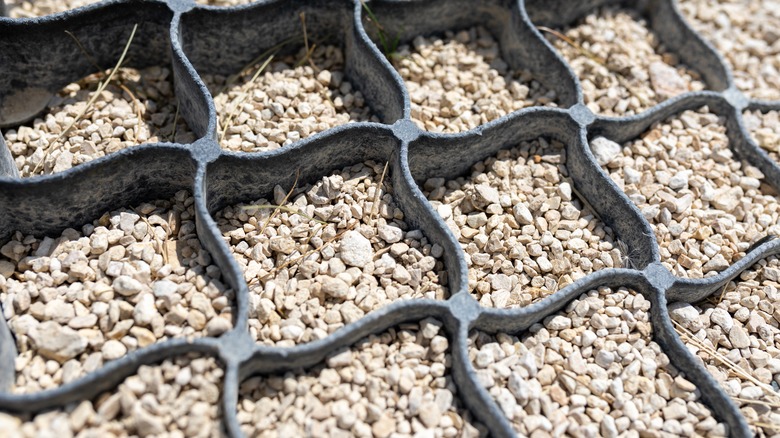
Permeable grids, sometimes called geo-grids, are just what they sound like: sturdy grids that you join together across the entire surface of your gravel installation. The open sections of the grid allow the gravel to be packed down and provide excellent water drainage. These are not to be confused with permeable pavers; these are grids with significant openings that grab the gravel. There are several versions of these grids and it is best to follow the instructions that come with each type for site preparation, gravel depth, and how to deal with inclines.
Most commonly used in new installations, they can also be used if you are attempting to fix an old improperly constructed driveway or patio. If the directions indicate that you should only use a thin layer of gravel with the grids, you may want to consider using landscape cloth under them. Thin layers of gravel are more susceptible to weed growth than thick layers, which are very effective at stopping weeds.
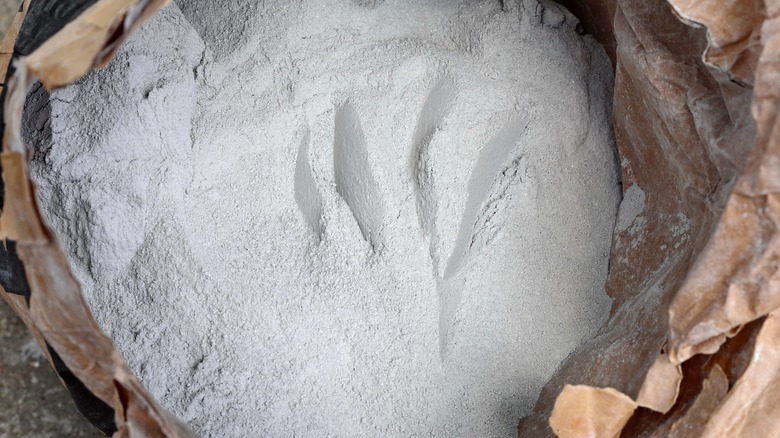
Mulch glue or concrete powder
There are a couple of other options for keeping your gravel gathered together: mulch glue and concrete powder. Both of them use their adhesive nature to stick the individual components of the gravel together. Both can be somewhat permeable to water, although the concrete powder is less so. They will work best if the gravel is properly installed in the first place. A patio should have a gentle incline that helps water to flow off of the surface. In the same way, a driveway should have a crown — a higher center section to the roadway, encouraging water to flow to the sides of the driveway.
Mulch glue is usually a mixture of natural polymers made from plant starches. Mix it with water and spray it on your gravel. The bond is flexible. If you choose a gravel that "flows" such as pea gravel, it may be just what you need to prevent excessive spreading.
Finally, concrete or, more properly, cement powder is the "glue component" of concrete (cement plus aggregate) that you see everywhere. Sweeping the powder into a layer of gravel will join the aggregate together, making it less likely for stray rocks to leave the whole. Less flexible than mulch glue, it is effective for steep inclines in a driveway. Some people think this is the secret to a more durable long-lasting driveway.