How To Paint A Bathroom
We may receive a commission on purchases made from links.
Perhaps more than in any other room, the walls in your bathroom need frequent maintenance, and if the walls are painted, that means frequent repainting. Moisture promotes mold, especially in corners and behind the toilet, and mold has a habit of leaving permanent discoloration that only a new coat of paint can remedy. Even if the walls aren't dirty, repainting provides an ideal opportunity to update the colors and alter the mood of the room you're sure to visit every day. To get the best results, you need to use the right kind of paint, and you need to properly prepare the walls to ensure your brand-new paint doesn't flake off after a few months.
Paint Color and Sheen
Paint Color and Sheen
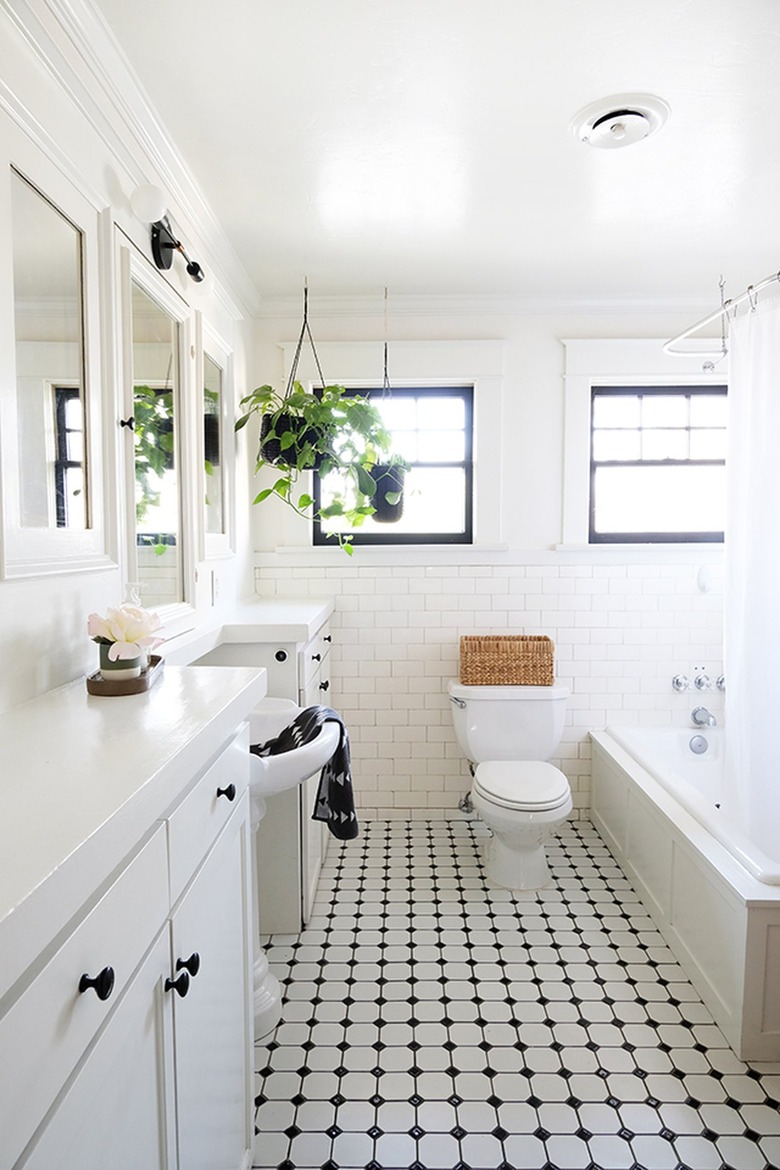
Choosing colors can be a confusing exercise, because it's not just hues and shades that matter, but also how you mix them. Whites, off-whites and grays are almost always safe choices if you're feeling indecisive. When choosing pastels or colors, keep the hues close to those of the permanent fixtures in the bathroom, such as tile countertops, if you want your paint job to feel comfortable and understated. Sharp contrasts create drama that is usually inappropriate for a bathroom. You may want to choose darker shades if the bathroom has a lot of light and needs to feel cozier. Conversely, choose light colors to open up a small, dark bathroom and make it feel bigger.
When it comes to the type of paint to use in your bathroom, the glossier it is, the better. Glossy paint contains a higher concentration of binders, which repel moisture and dirt better than pigments, which predominate in matte coatings. Go for full-gloss or semi-gloss finishes, and stay away from satin, eggshell or flat sheens, which are intended primarily for living rooms and bedrooms. You can use latex trim enamel for all the woodwork. It's glossy, and it works just as well in the bathroom as it does in other parts of the house.
The Key Is Preparation
The Key Is Preparation
The mantra professional painters repeat before every job is "preparation is everything." Clean the walls of your bathroom with a solution of trisodium phosphate (TSP) and water. TSP is a strong detergent that removes grease, soap and even mold, and it de-glosses the existing paint. It's slightly caustic, so wear gloves while using it.
You'll want to scrape off flaking and peeling paint with a paint scraper, and after you've rinsed the walls and ceiling with water and they have dried, scuff the surfaces with 120-grit sandpaper. This will ensure that you've gotten all the flecks and that no more old paint will come off. If any areas of the wall are particularly moldy, scrub the mold with your TSP solution until it's all gone. No need for bleach — its fumes will just choke you, and it's no more effective than TSP. After cleaning and sanding the walls, mask off the areas you don't want to paint, spread your drop cloths, and you're ready to prime.
You normally don't have to prime a wall that is already painted, but in a bathroom, it's a good idea to do it anyway. Use a high-solids latex primer—it ensures good paint coverage, prevents bleed-through and all but guarantees a bubble-free finish. You can avoid the need for extra coats by tinting the primer a hue similar to that of the topcoat.
Time to Paint
Time to Paint
You need a brush and a roller to apply paint to the walls and ceiling—that's a given. Be sure to purchase a synthetic-bristle brush if you're spreading latex paint. A natural-bristle brush used with latex paint will turn as floppy as Peter Rabbit's ears as soon as it gets wet. The best brush for cutting in is a 2- or 3-inch sash brush with a tapered edge. This also works well for painting trim. A 6 1/2-inch mini roller covers the limited wall space in a bathroom as efficiently as a full-sized roller, and the smaller roller gets into tight spaces that a larger one can't reach, such as between the toilet and the wall.
Paint the ceiling first, then the walls, and finish up by painting the trim. Cut in the edges of an entire surface with your brush before rolling. When you roll, remember to keep a wet edge, which means you're always overlapping fresh paint. Overlap at least half the length of the roller on each pass to avoid overlap lines.
It's best to plan on two coats, even if you tinted your primer. If you try to get complete coverage with a single coat, you're apt to apply too much paint at once, which will cause the paint to sag or drip. If that does happen, wait for the paint to dry, then sand the sags flat and apply another coat.
Wait for the walls and ceiling to dry before painting the trim. You may have to remove some masking tape to get to the trim, and wet paint on the tape can end up in all kinds of places you don't want it to be. It's up to you whether or not to mask the walls prior to painting the trim, but many pros simply rely on good eye-to-hand coordination to get straight lines. Paint tends to seep under masking tape, anyway, and pulling tape off a freshly painted wall is very likely to take some of the paint with it.
Work Safely When Painting
Work Safely When Painting
Interior latex paints have low concentrations of volatile organic compounds (VOCs), but it's still a good idea to wear a respirator while painting. You should also keep a window open, if practical. If the bathroom has an exhaust fan, keep it running. It will suck fumes out of the room and circulate the air, which speeds drying time.