How To Disassemble A Tuff Shed
We may receive a commission on purchases made from links.
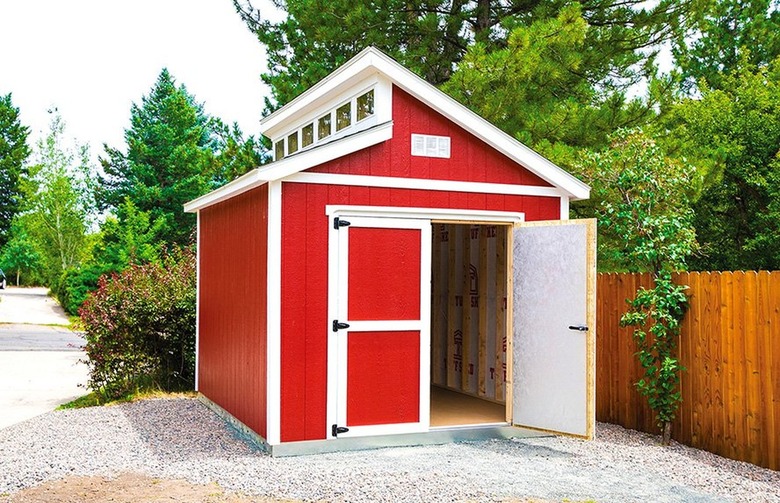
Tuff Sheds are made with domestically produced materials that customers or local dealers build. If you move and your storage shed is in good condition, it may be worth taking it with you. On the other hand, you may want to remove an older Tuff Shed on a property you recently purchased that is more of an eyesore than a convenience. While it may be tempting to grab a sledgehammer to demolish the structure, it is not necessarily the safest option or the best if you want to reuse the shed. Taking apart an empty Tuff Shed in a sequenced manner can make cleanup and/or reassembly simpler.
Things Needed
-
Tuff Shed construction instructions
How to Disassemble a Tuff Shed
1. Get the Construction Plans
Find a copy of the construction plans for the Tuff Shed model. If you cannot find the plans that came with your shed, contact a local Tuff Shed dealer about obtaining one. Use the plans and work backward to disassemble the shed.
2. Take Off the Roof
Take apart the roof. Use a crowbar or hammer to remove nails in the roof. A drill can help you loosen screws used in the roof assembly and the crowbar can help you pry parts such as the trim of the roof loose or apart. Disassemble the roof from the outside of the Tuff Shed. Make sure no one is inside and avoid being on top of the shed itself, in the event of a collapse.
3. Remove Trim and Vents
Remove the exterior trim, siding and vents. You may find decorative trim around the outside of windows and doors, as well as the corners of the structure. When removing the siding panels, work slowly so you do not cause materials to snap off accidentally and cause injury. You can use a crowbar to remove the siding. However, using a reciprocating saw between the siding and the building to cut the nails will make the process quicker.
4. Take Out the Windows
Carefully remove the windows in the Tuff Shed. To avoid breaking the glass, remove the frame that contains the glass and set it in a safe location.
5. Take Off the Doors
Remove the doors at the hinges.
6. Uninstall Shelving Units
Disassemble any shelving installed in the Tuff Shed. Use the drill to remove screws. A crowbar can help you loosen the shelving units, while a reciprocating saw can cut through any nails or screws.
7. Remove Wood from Roof
Remove the lumber that supported the roof, working from the outside of the Tuff Shed.
8. Separate Walls from Frame
Use the crowbar to pry the walls away from the shed frame.
9. Remove the Frame from Foundation
Separate the frame of the Tuff Shed from its foundation.
10. Disassemble the Frame
Take apart the frame.
Tip
To minimize the risk of injury, wear leather work gloves, a hard hat, and safety goggles.
