How To Connect Duct Work
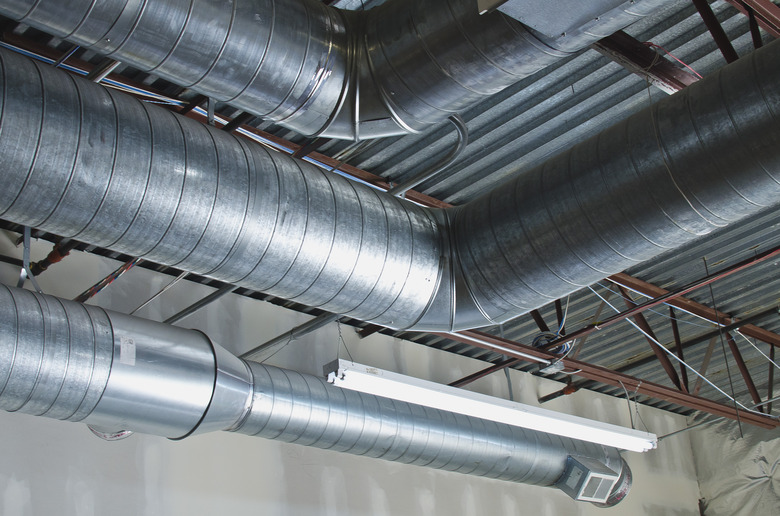
Residential duct work is part of your HVAC system that supplies heated or cooled air to the living space from the furnace and returns the same amount of air from the living space back to the furnace. This process provides a mixing of the air and maintains proper air pressure in the house, especially when the windows and doors are closed. The duct work is made of pieces of sheet metal that are either round or rectangular. These pieces are connected to distribute air throughout the house. To ensure proper connections, minimize leaks and maximize efficiency, it is important to understand how to properly connect the duct work.
How to Connect Round Ducts
1. Crimp One End
Select standard duct pieces for the connection that have crimped and uncrimped ends. If one end is not crimped, you must crimp it by using a crimp tool, which looks like a pair of scissors. Place the sheet metal in between the two blades of the crimp tool, with the tool pointing into the duct. Squeeze, release and remove the crimp tool. Move the tool along the duct opening and repeat the squeeze-and-release procedure until you have created the crimped duct end.
2. Insert Duct Into Next Piece
Insert the crimped end of the round duct into the uncrimped end of the next round duct. If the ducts are difficult to attach, use one or two flat-head screwdrivers to guide one duct into the other.
3. Tape the Seams
Tape the seam of the duct connection with foil tape. Smooth the tape to prevent air leakage.
4. Screw the Pieces Together
Insert a 1/2-inch-long self-tapping sheet-metal screw at the location where the two ducts overlap to provide a solid connection. Insert two additional screws along the seam, with equal spacing between the three screws. The three screws will prevent the two ducts from moving and separating at the new seam.
How to Connect Rectangular Ducts
1. Attach S-Cleats
Attach S-cleats on two opposite raw metal edges of one duct to be attached. Make sure that the S-cleats are shorter than the length of the side being connected.
2. Align the Pieces
Align two rectangular ducts with the same dimensions.
3. Connect the Pieces
Slip the two raw edges of the next duct into the S-cleats that were installed on the adjoining duct. If necessary, use a flat-head screwdriver to slightly open the S-cleat to provide easier installation. Continue pressing the two ducts together until the gap between the ducts is minimized.
4. Prepare the Drives
Slip the drives onto the two remaining sides of the duct work, one at a time. Make sure that the drives are at least 2 inches longer than the side of the duct being attached. Leave 1 inch of drive hanging over each corner of the duct seam. Use a hammer to pound the extra 1 inch of drive material over each corner of the duct seam to lock the drive in place and provide a greater airtight connection.
5. Tape the Seams
Tape the seam between the two ducts. Smooth the tape to ensure an airtight connection, which helps improve energy efficiency of your HVAC system.