How To Use Joint Compound For A Textured Ceiling
We may receive a commission on purchases made from links.
Ceiling texture adds visual interest to any room and in the bargain helps hide taping imperfections, visible seams, and other problems, but those aren't the only reasons to use it. A textured ceiling can actually make a large room feel smaller and a small room feel more cozy. The price for these benefits is a little extra effort over and above that of taping, mudding, and painting.
You can purchase texturing compound in powder form or in aerosol cans, but you don't really need to because premixed all-purpose joint compound works just as well. Some texturing methods call for thinning the joint compound, but for others, you can use premixed mud right out of the container. Whatever you do, be sure to move furniture out of the room and cover the floor with drop cloths because things will get messy.
Here are three simple ceiling texturing methods.
Method 1: Roll the Texture
Method 1: Roll the Texture
The rolling method gives you a mottled texture known as orange peel. To produce it, you'll need to thin the mud to a paintable consistency, which you can do by putting some in a 5-gallon bucket and adding water. Drop a grate into the bucket, get a paint roller with a 1/2- to 3/4-inch nap and an extension pole, and you're ready to go.
Dip the roller in the bucket, immerse it in the mud, lift it out, and squeeze out the excess on the grate. Roll the texture onto the ceiling using light pressure to get good coverage. Continue like this until the ceiling is covered and then wait overnight for the mud to dry before priming and painting. This technique produces a subtly textured surface with just enough body to hide ugly seams.
Method 2: Apply a Knock-Down Texture
Method 2: Apply a Knock-Down Texture
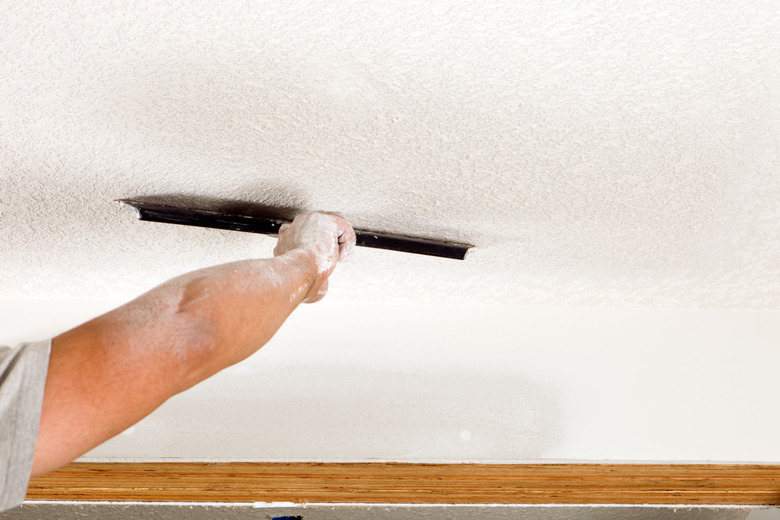
Knock-down textures are some of the most common, and they are great when you want the texture to have a discernible pattern without being overbearing. The technique involves two steps: applying the texture and then using a drywall knife to slightly flatten it (knock it down).
When applying the texture, you want it to splatter onto the ceiling in an irregular pattern, so you need a texture sprayer. Rather than renting one that needs an external compressor, make life easy on yourself and buy a handheld sprayer with an attached air turbine. Thin the joint compound to the consistency recommended by the sprayer manufacturer and spray it lightly on the ceiling. Let it stiffen for about 30 minutes and then run a 10-inch drywall blade over it using light pressure to flatten it. That's all there is to it; in the morning, it will be ready to paint.
Method 3: Use a Texturing Tool
Method 3: Use a Texturing Tool
You can use a number of different tools to produce specific texturing patterns. Some of these are simple notched trowels that you drag across preapplied mud smoothed with a drywall knife. Others, such as slap brushes and roller covers that produce crow's foot or floral patterns, are more elaborate. You can even use a sponge or a paintbrush as a texturing tool; they provide many creative possibilities.
When you use a patterning tool, you need a firm mud base. Apply unthinned, premixed joint compound directly out of the container using a 10-inch knife and use the knife to level it into a smooth surface. Use the patterning tool while the joint compound is fresh. Don't worry if you make a mistake; you can just smooth it over and try again. This type of texture takes longer to dry, so plan on waiting two or more days before priming and painting.
